What is it about those cute peanut butter cups that we find in the candy aisle and at the front of the cashier? We see those orange wrappers and we can almost taste the creamy peanut butter and chocolate together in our mouth. I’m sure you’re craving one right now or you wouldn’t be here!
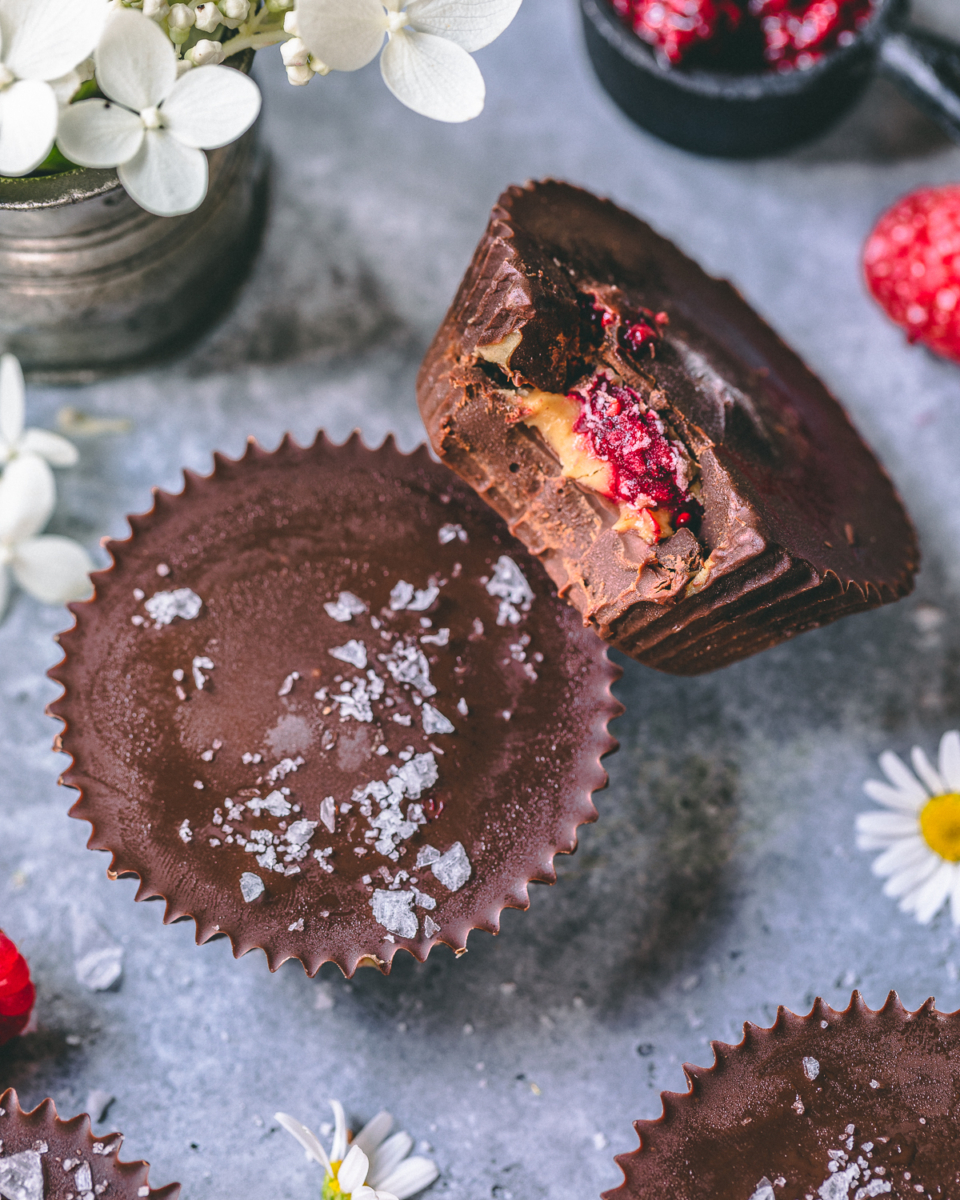
Combination of Raspberries and Peanut Butter
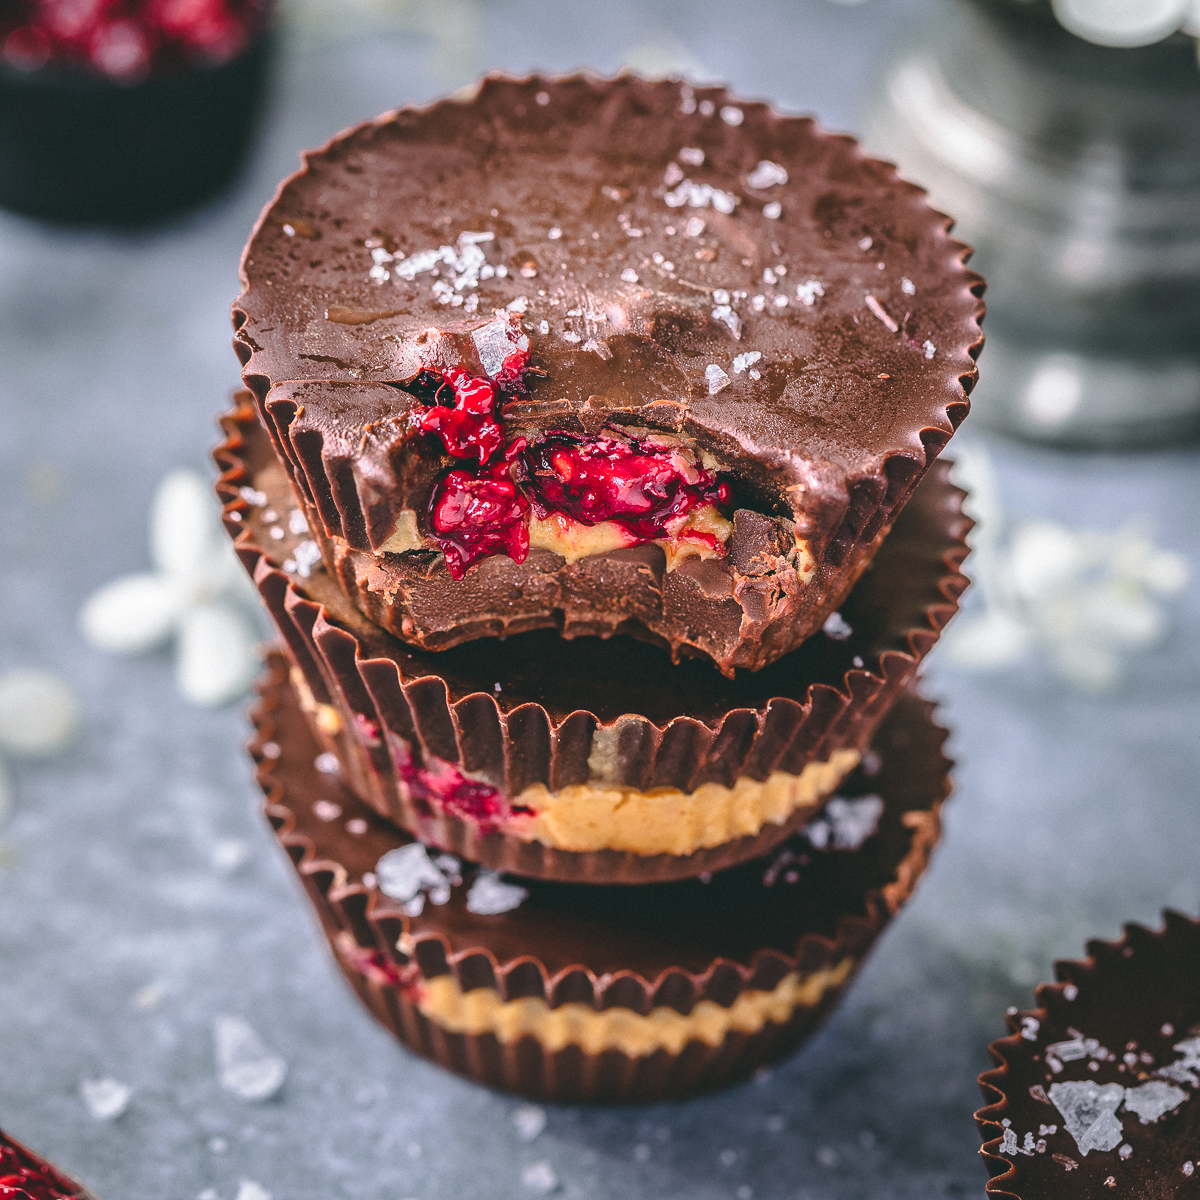
What’s the twist? Raspberries! If you’re like me I love eating fruits in anything sweet. The combination of tanginess and creaminess is a sure winner. Plus you can store them in the freezer and take them out whenever you feel like having a treat. You could also make a double batch and keep them stored in an air tight container.

What is in the peanut butter cups?
These cups are literally 5 ingredients and so easy to make! All you need is:
- Melted chocolate – I used dark dairy free chocolate
- Homemade raspberry filling – cook it all together (the instructions are below)
- Raspberries – gives the treat a nice balance
- Maple syrup – adds a perfect touch of sweetness
- Chia seeds – thickens the filling by soaking in the liquid from the fruit
- Peanut butter – I used a maple flavoured one for a nice twist. I used Fatso. Try not to get the natural kind that’s very dry and stiff. The stickier and the drippier the better!

The Raspberry Filling
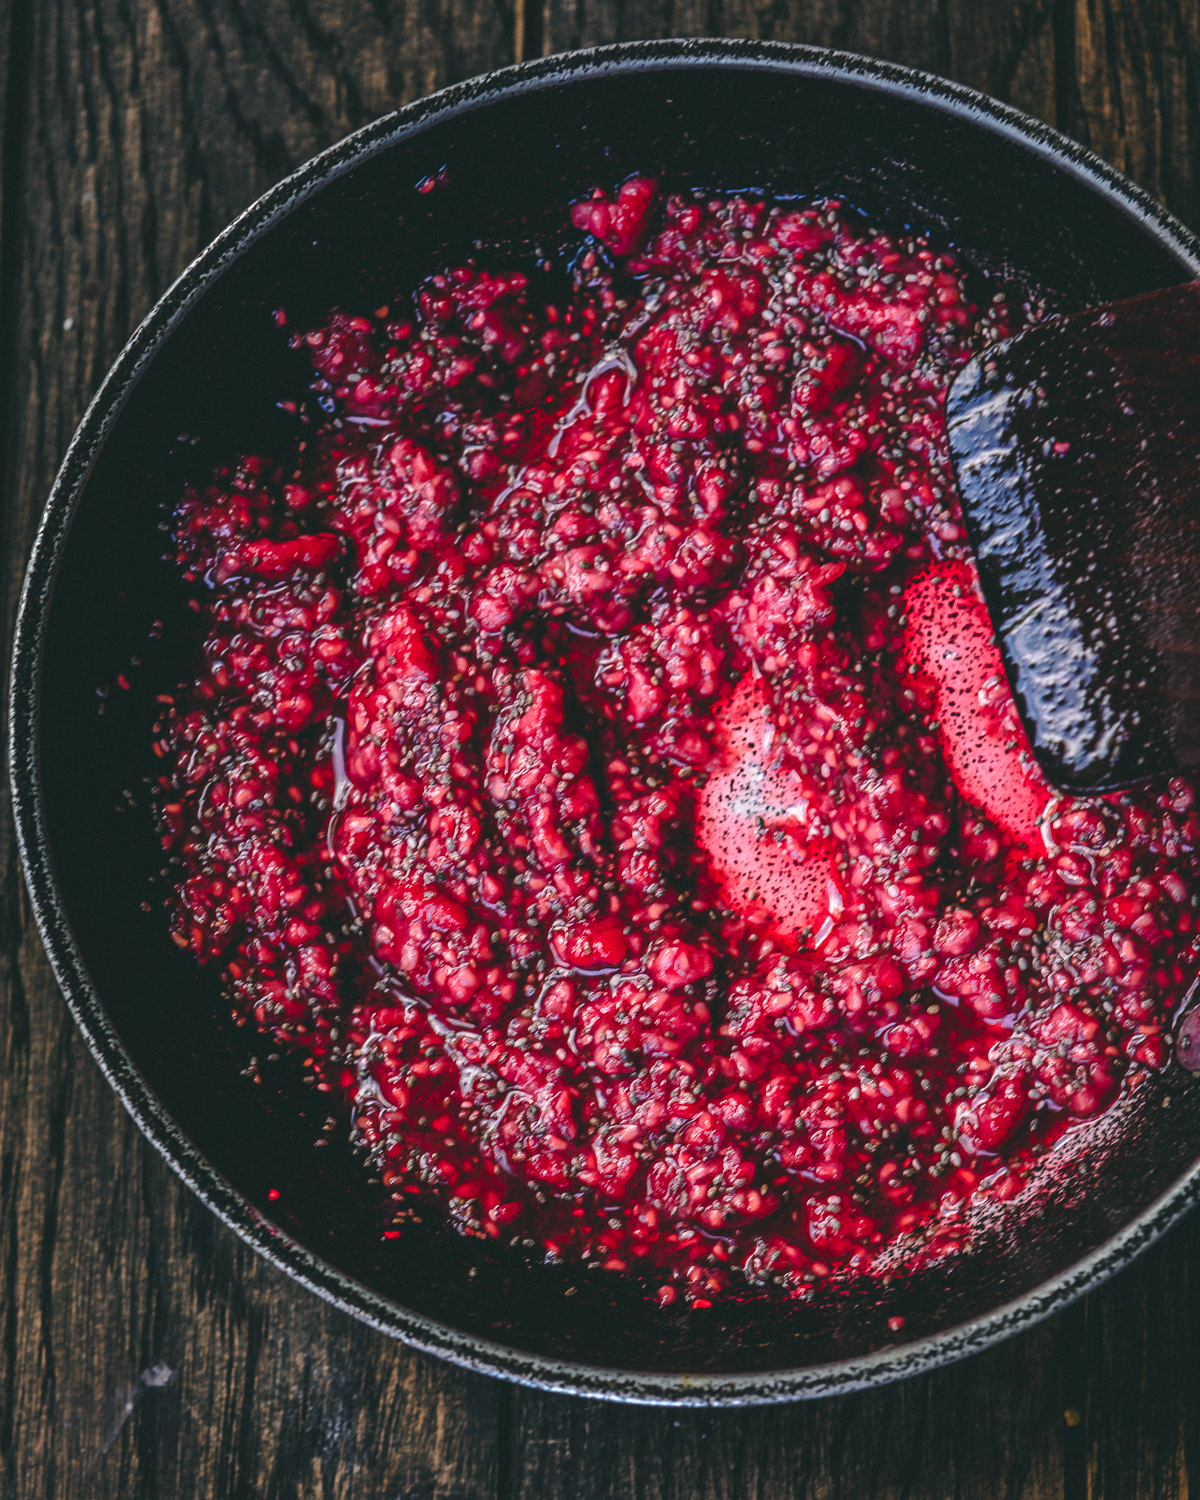
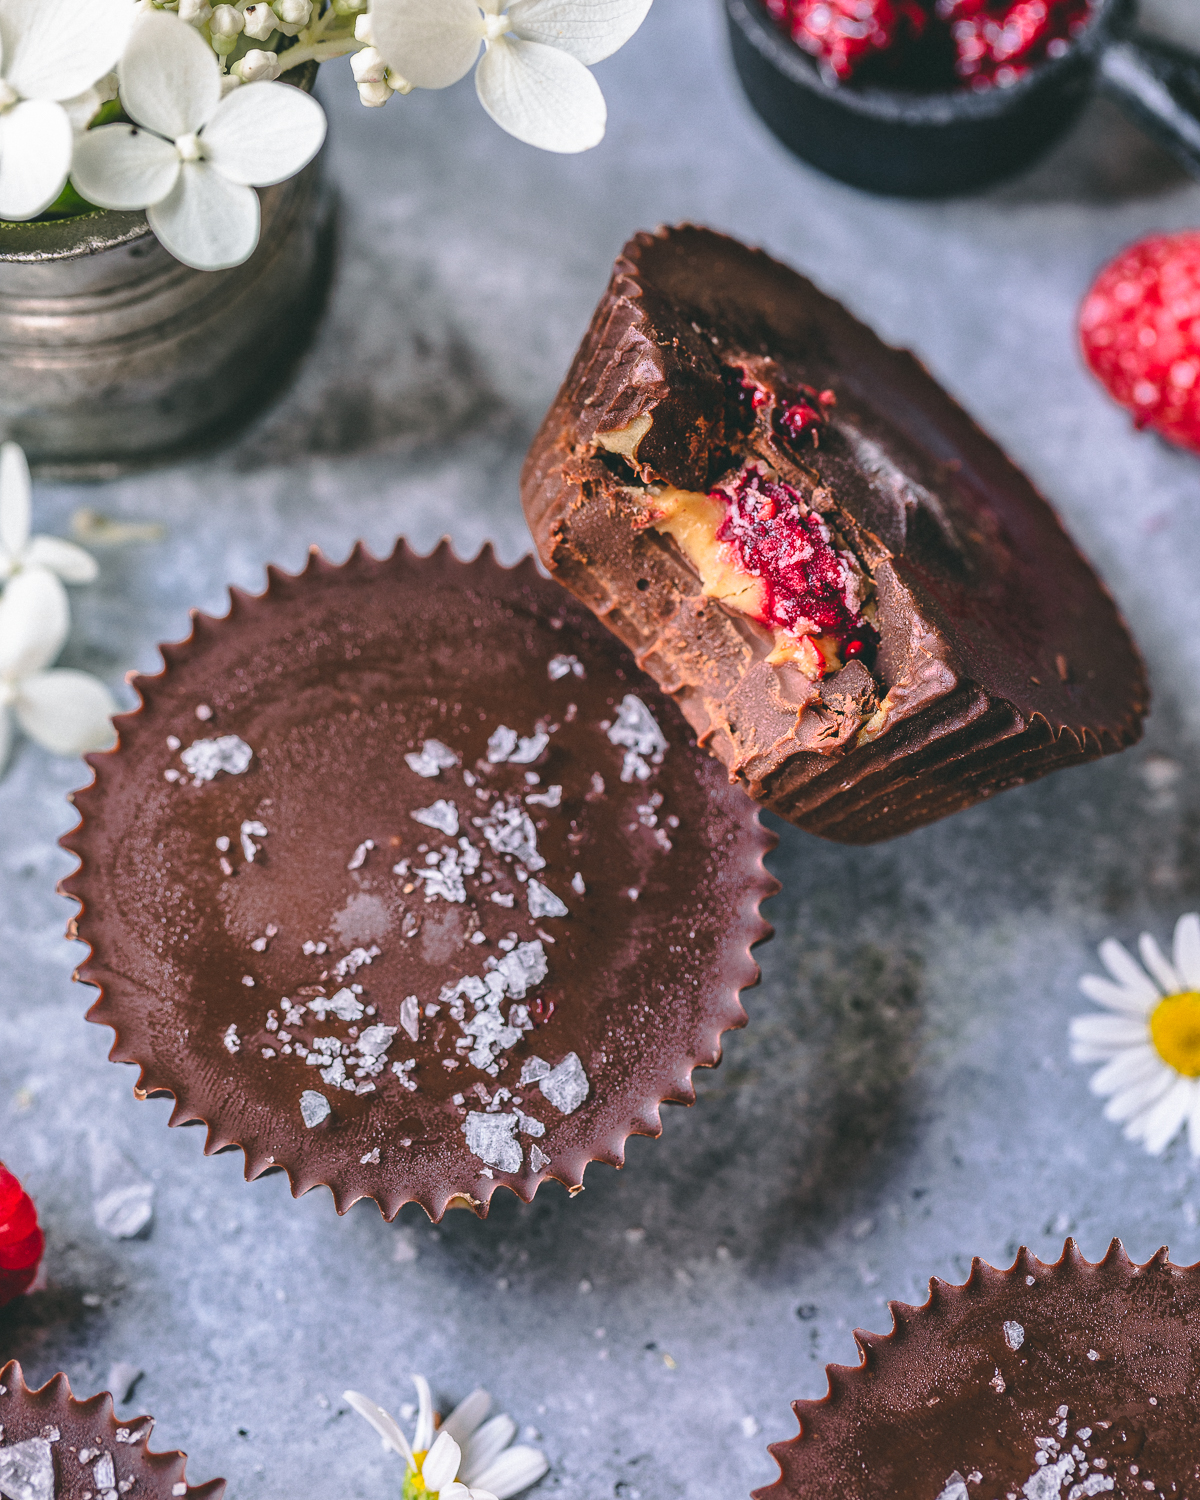
The addition of raspberries is so delicious, and not to mention looks so pretty when you bite into it. It adds a such a lovely tart and freshness to break through the chocolate. You can choose to skip it and stick to the classics, but I would highly recommend adding it in. It’s a great surprise and pop of flavour. I mean just look at that colour!!!
Start with some fresh raspberries and maple syrup in a pan:

Let that cook down together on low heat to a simmer:

Add chia seeds and cook it together. You should notice it thickening up:
How to make raw peanut butter cups
- Choose your muffin tray. I chose a regular muffin tray but you could also use a mini muffin layer to make some bite sized treat!
- Make your peanut butter discs. Freeze the peanut butter into 1 tbsp disks. Let it freeze for at least an hour on a lined tray. This is an extra step but I feel like it helps with the assembly and placing the jam on top easily without the two layers blending. If you’re short for time, you can omit this step.
- Melt the chocolate. Prepare your double boiler to melt your chocolate. If you don’t have time you can place your chocolate in a microwave safe bowl and heat it up in 20 second increments.
- Prep the cups. Add a tablespoon of melted chocolate to the bottom of each muffin liner. Place the pan in the freezer for a few minutes to harden the chocolate layer.
- Make the jam. While everything is freezing you can make your jam filling.
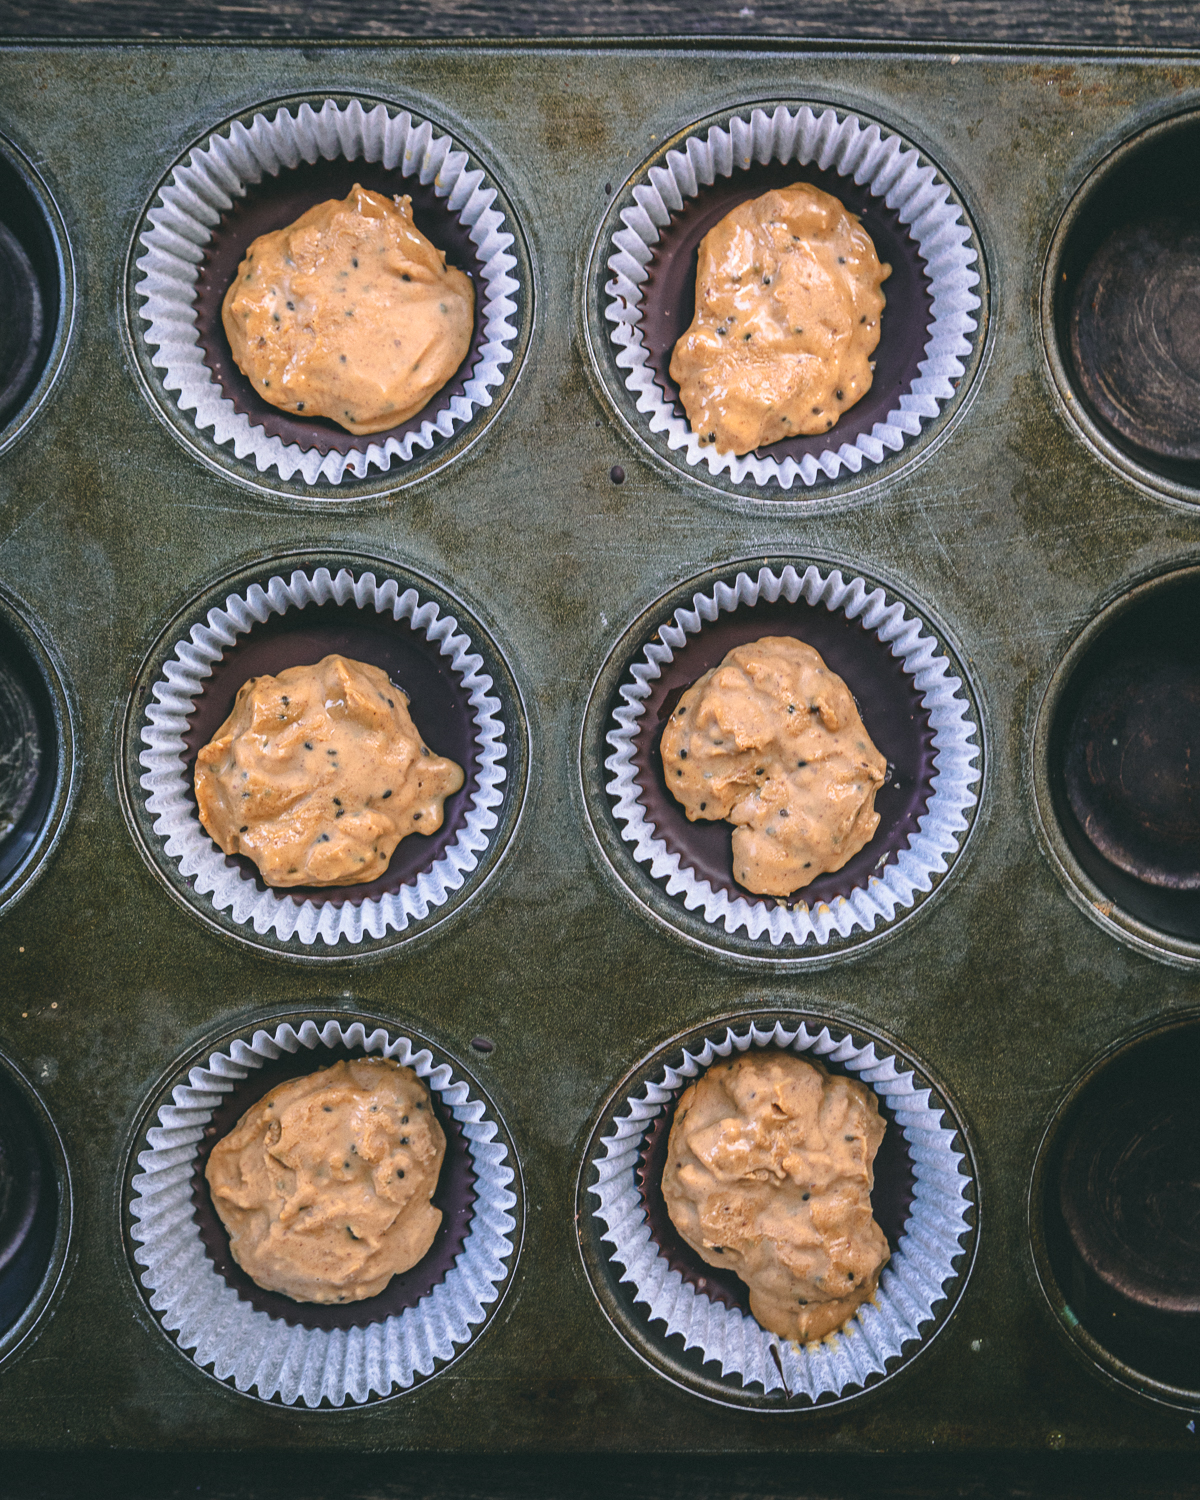
- Assemble your layers. You can take your frozen muffin liners with chocolate out and place your peanut butter discs on top and then follow it with a dollop of raspberry jam.
- Re-freeze the cups. Place the pan back in the freezer while you melt or reheat the rest of the chocolate if it’s gotten solid since your initial melting.
- Top, freeze and enjoy! You can add anything like rose petals, or sea salt or extra nuts on top of your treat to make it a unique looking cup. Enjoy!


- add the frozen peanut butter disks

Substitutions For this Recipe?
Peanut Butter – if you’re allergic or intolerant to this nut butter feel free to use any other nut butters like almond!
maple syrup – honey is an easy 1:1 swap for maple syrup if you’re not vegan. I haven’t used agave personally but that could be another consideration.
Raspberries – if these berries aren’t available please alternate with strawberries, blueberries, blackberries! I wouldn’t try anything like peaches or anything because it may be a strange taste as they don’t go well with nut butter!
Storage
The beauty of making these is that you will always have something to sink your teeth into when you’re craving something sweet. I take them out of the muffins trays and put them in an air tight container or a big bag and place them into the freezer for 3 months. They won’t last for 3 months though!

Other tips and tricks
- Coconut oil. You can try melting a tablespoon of coconut oil with the chocolate . This will harden the chocolate and it’ll act as a shell.
- Natural peanut butter. These days you’ll find that peanut butter comes in all sorts of different flavours. You can experiment and see which one you like. I personally enjoy maple and sea salt caramel. Do pick one that is drippy and full of liquid.
- Sea salt. Some nut butters don’t come salted, to which it is highly recommended that you add some sea salt to the top of the chocolate to get a balanced flavour that is delicious!
- Fridge or freezer? I personally like to keep them frozen and let them thaw out for a few minutes. You can also keep them in the fridge but I feel like they will be too soft to eat.
Other Similar Recipes to Try
There are so many treats to try if you have a jar of pb at home. Here are some of my favourites. You can substitute with any nut or seed butters you have!
Incredible Raspberry Chocolate Vegan Bars
Irresistible Homemade Vegan Snickers Bar
If you do end up making these or any of my recipes remember to tag me @sculptedkitchen or leave a rating and review below! I really appreciate it! Thank you so much!
Equipment
- freezer
- muffin tray
- muffin liners
Ingredients
- 14 oz dairy free baking chocolate
- 2 cups raspberries
- 1 tbsp maple syrup
- 1 tbsp chia seeds
- 6 tbsp peanut butter flat freeze into tbsp disks
Instructions
- Melt the dairy free chocolate over a double broiler
- Meanwhile simmer the raspberries with the maple syrup and chia seeds for 10 minutes, or until thickened
- While that is simmering, flat freeze tbsp disks of peanut butter on a parchment lined tray
- Line a muffin tin with 6 muffin liners.
- Pour a heaped tbsp of the melted chocolate to coat the bottom of each of the liners. Place in the fridge for 10 minutes to set
- Once cooled, place a tbsp of the raspberry compote in the centre of the muffin liners, followed by the frozen peanut butter disk
- Cover with the melted chocolate and freeze the peanut butter cups to set. Preferably overnight.
© sculptedkitchen.com. All content and images are protected by copyright. Please share this recipe using the share buttons provided. Do not screenshot or republish the recipe or content in full. instead, include a link to this post for the recipe.
