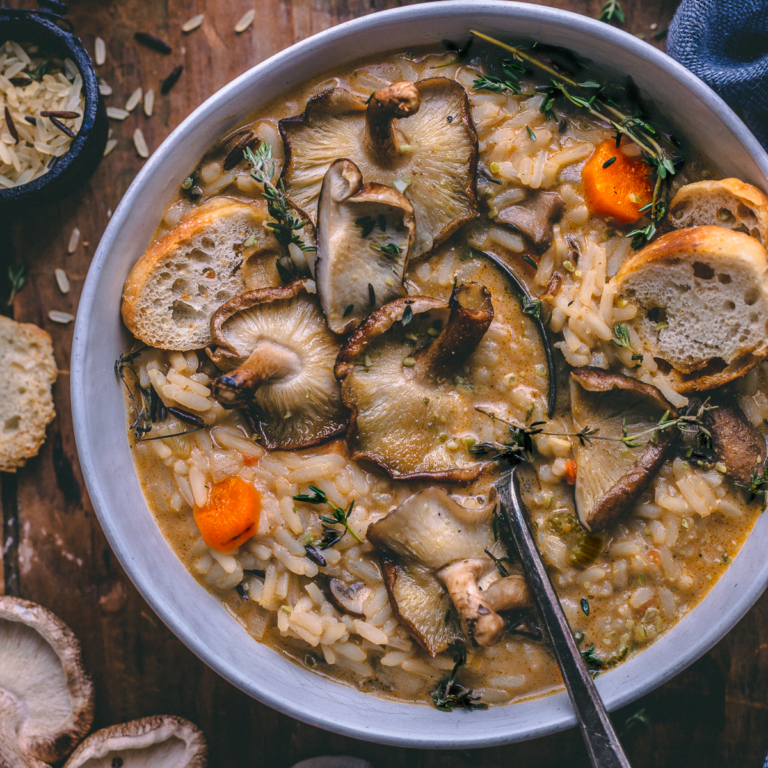
These are twix bars with a TWIST! Raspberry jam sandwiched between shortbread and caramel. You heard me right. Don’t delay – RUN to make these healthier version of the classic chocolate bar!

How to make these vegan twix bars?
I have to say it’s a bit of a process but SO worth it. I double the batch to not only make some for myself but to share with friends too. Trust me – these are SO appreciated and loved by others!
Preparing the pan
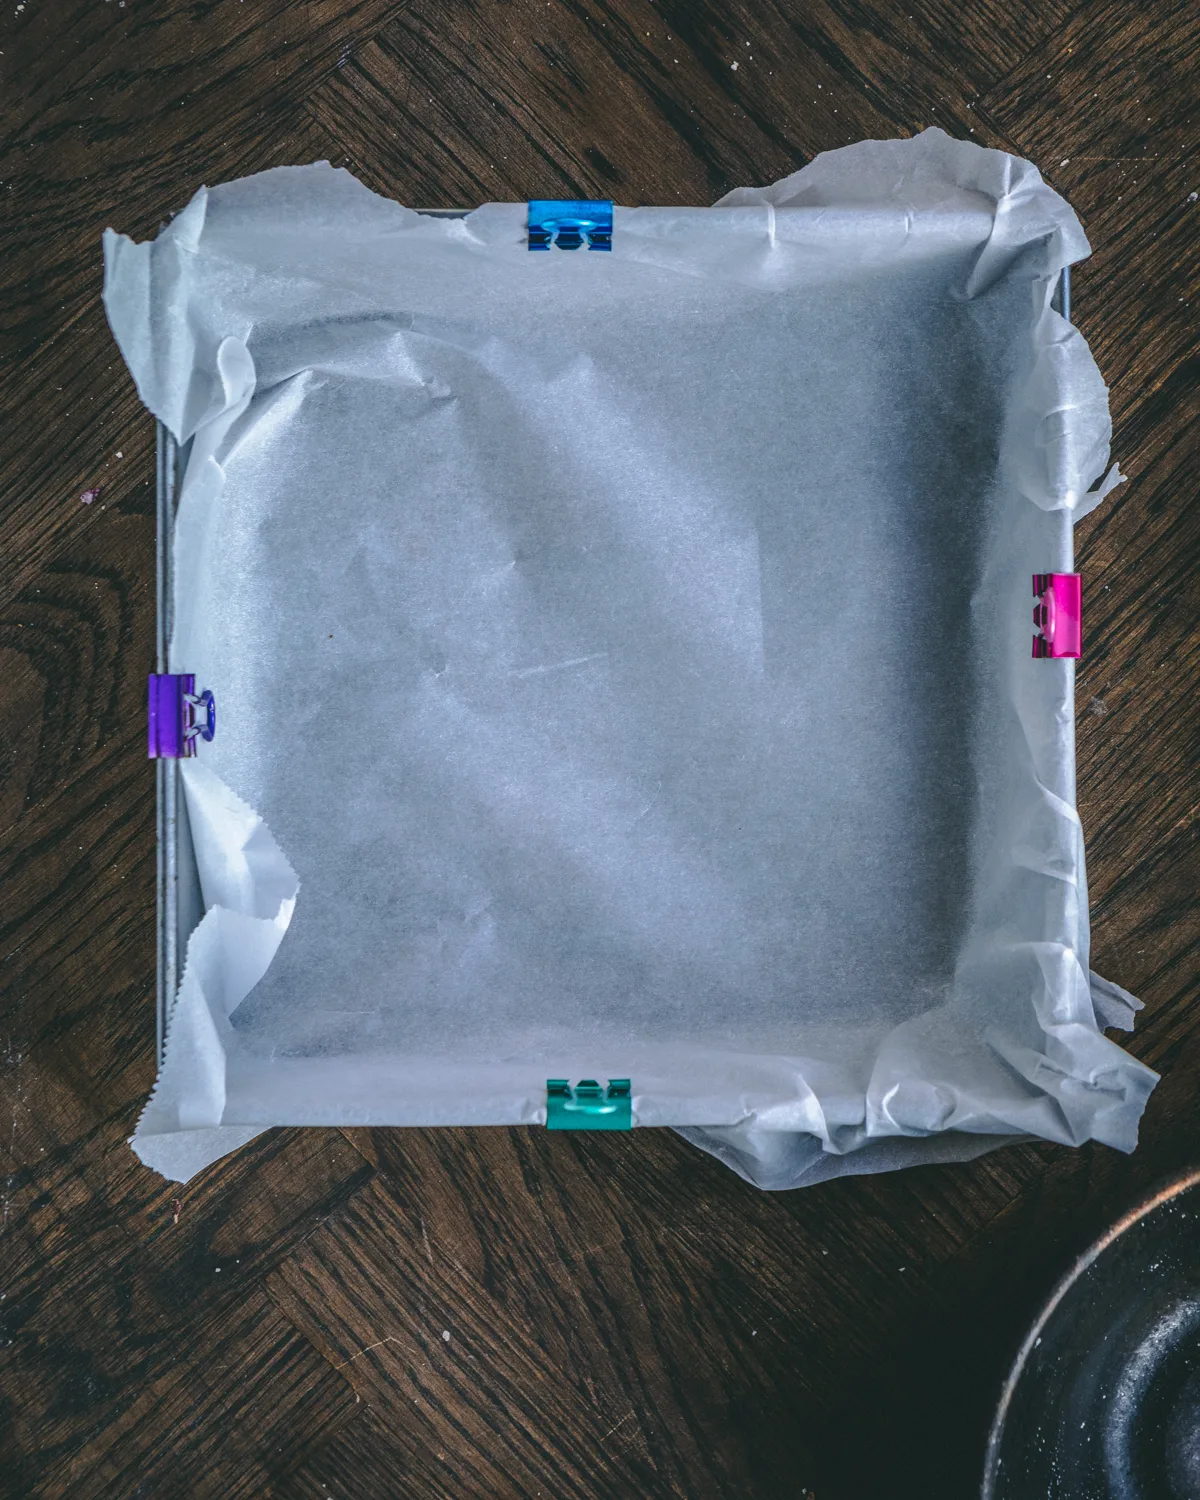
I start with a square baking pan (9 inches by 9 inches) and line it with parchment paper. I let some extra parchment paper hang over the sides and clip it using a small metal clip.
Ingredients for shortbread
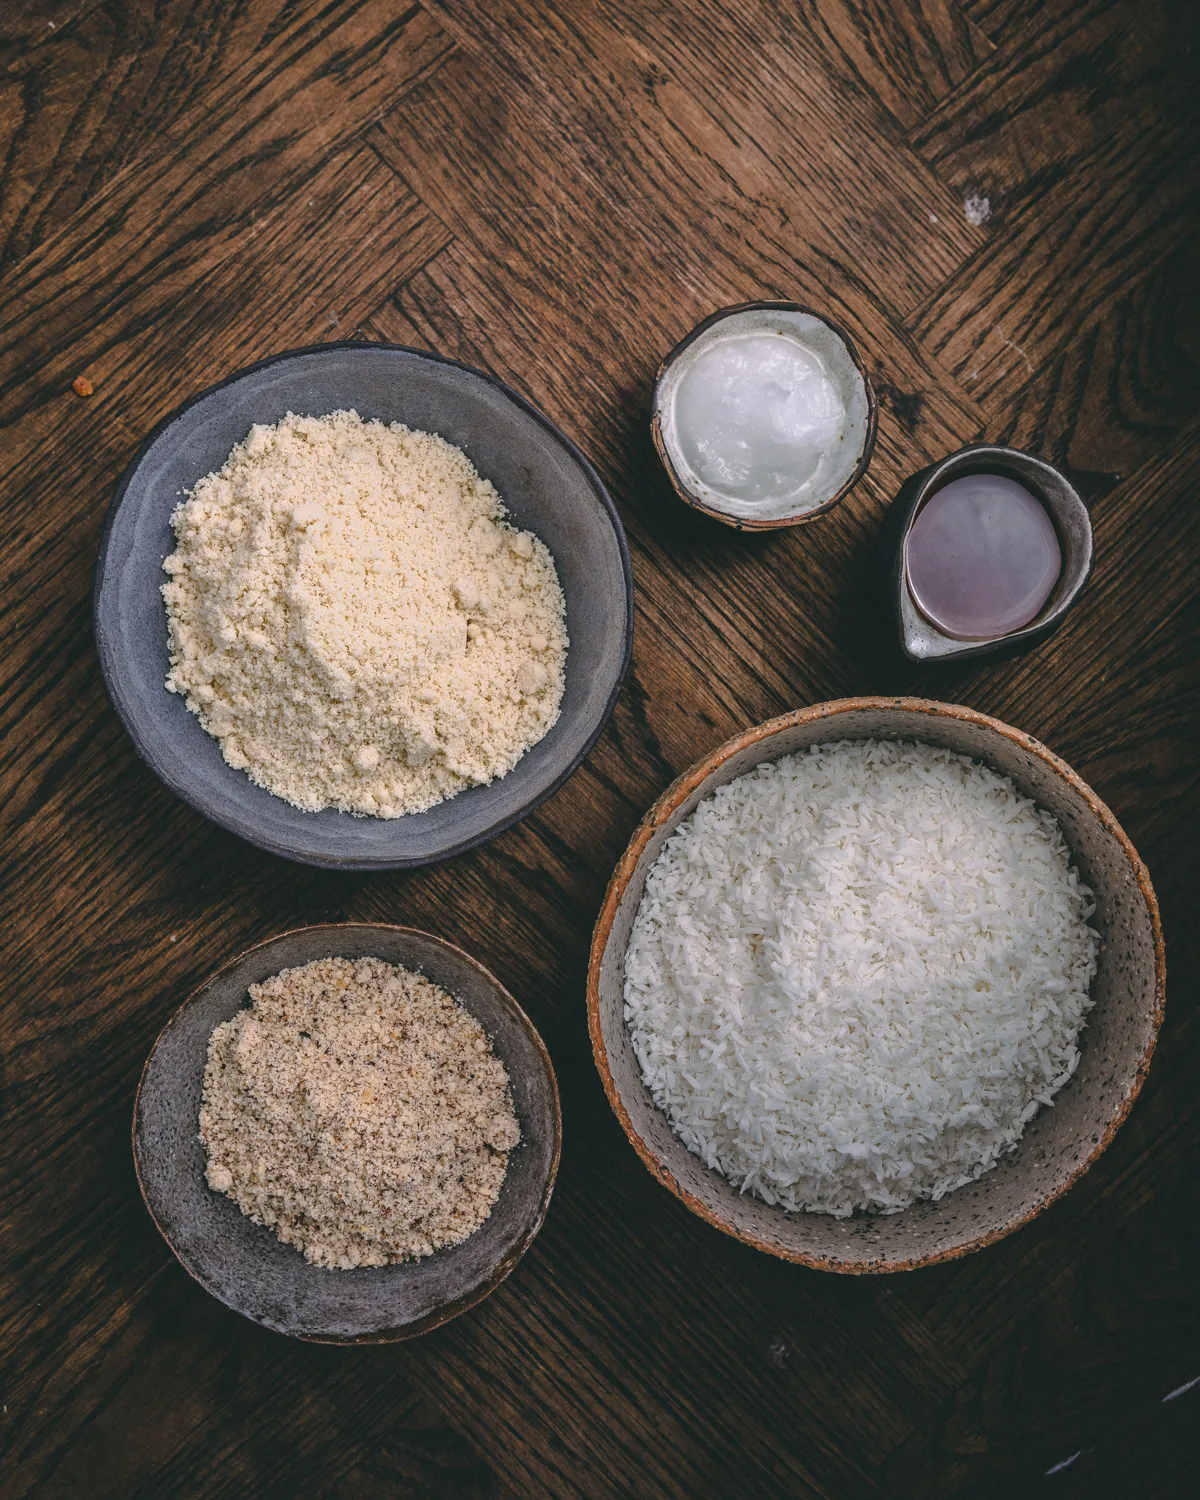
The beauty of this recipe is that the ingredients are healthier and wholesome. What do you need?
- Maple syrup: I love the taste of Canadian maple syrup. Alternatively I love rice malt syrup as well. It’s your preference which one you’d like to use. The liquid from these are required to bind the dry ingredients together. You could also use agave but I haven’t used it so I don’t know what the taste would be like.
- Coconut oil: coconut oil solidifies in cold temperature and even at room temperature it doesn’t get liquify. It helps binds the ingredients and ensures it stays together.
- Almond meal: You could also use cashews or any other nuts like peanuts if you wish.
- Fresh hazelnuts: You could also just use hazelnut meal or sub for another nut here. I think roasting whole hazelnuts adds a dimension to the taste of this raw bar! Once toasted, rub the peels off and toss them into the food processor to turn into a meal like consistency. It’s okay if there are crumbs that are a bit bigger than others.
- Shredded coconut: If you don’t like the taste of this you could omit it all together. I don’t know what the resulting taste would be or how much of the nut meals you’d need to add though.
Mixing the ingredients together
Everything comes together in a food processor. I add the toasted hazelnuts first so I can turn them into a meal-like texture. I then added the almond meal (or any other sub you had made for this) and gave it a good spin. Finally I added the wet ingredients. When I picked it up it was sticky and held together but not too sticky like taffy. Add more nut meal if it’s too sticky or more maple syrup if it’s too dry and crumbly.
Pressing shortbread ingredients into the tray
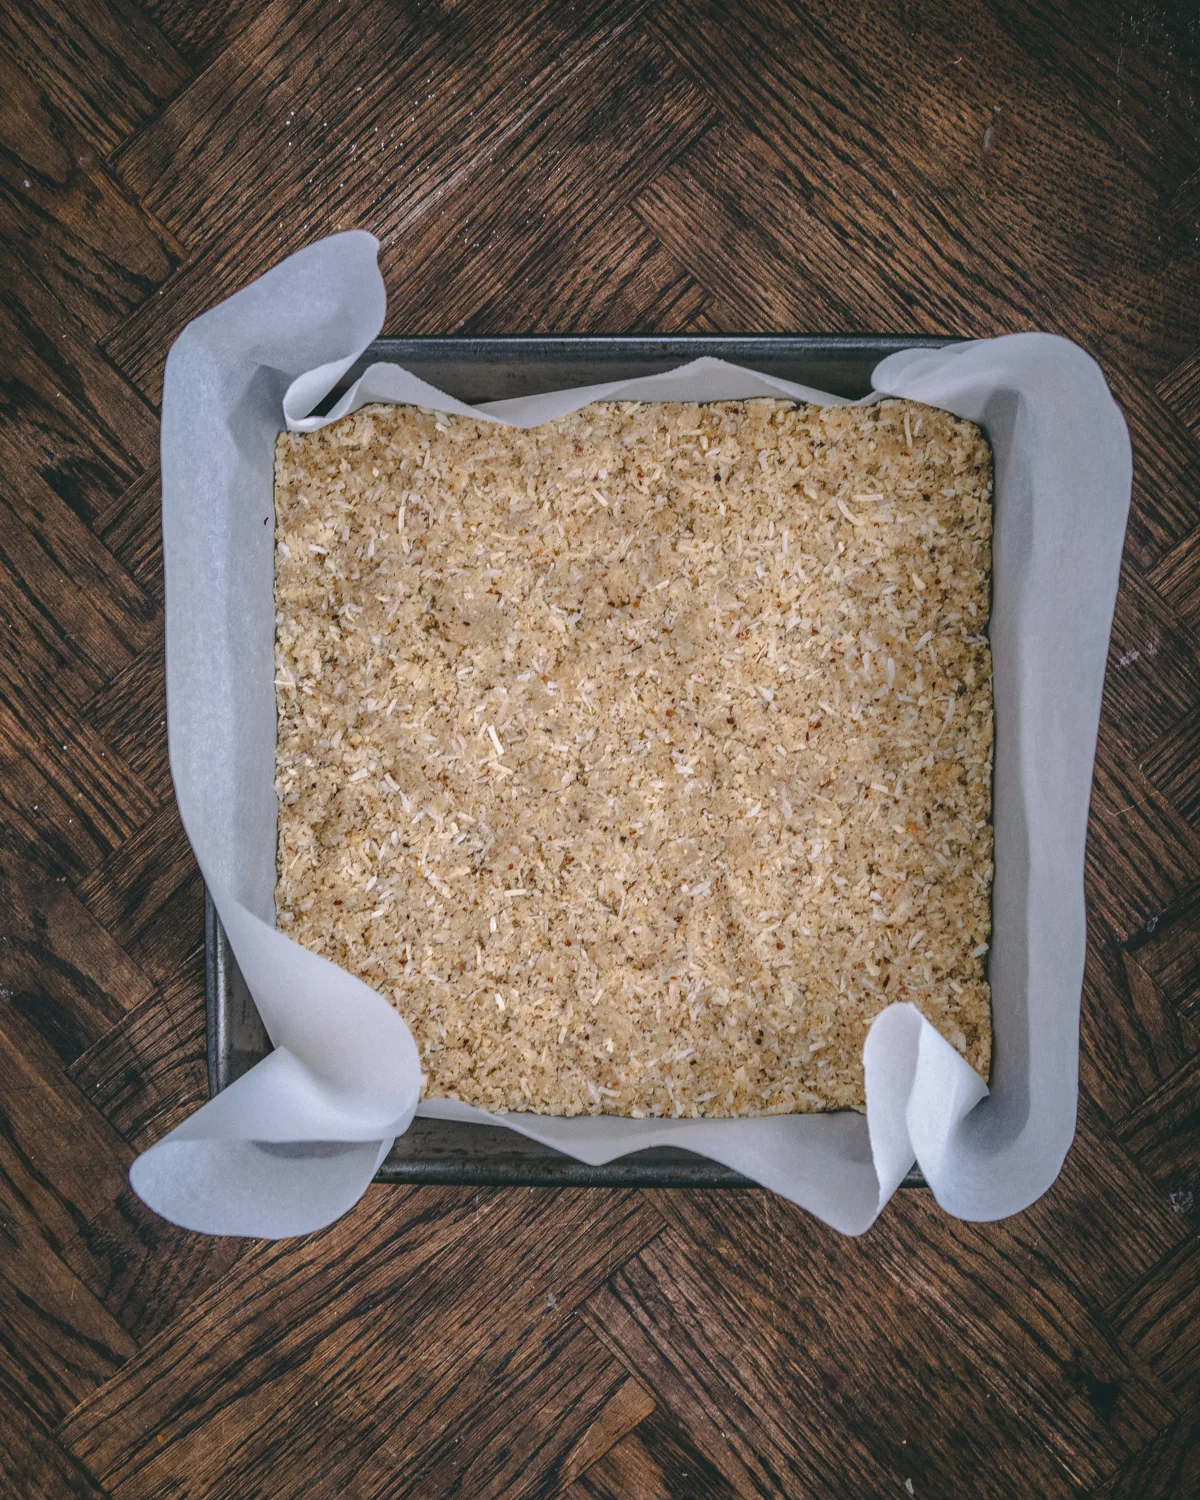
This step can take a bit of time. Sometimes if the batter is sticking to my finger I lightly wet my hands and press the batter into the bottom of the square pan. I use a wide metal spatula (used for flipping things really) to press down and create an even layer. Once done, I pop it into the freezer for 20 minutes or the duration of time it takes me to make the raspberry jam.
Raspberry layer
Whether you have frozen raspberries or fresh, both will be fine. Saute your raspberries in a small pan with the heat simmering to low. Let the raspberries start to warm up until the juices start to release and the raspberries are soft. I take it off the heat and add chia seeds to thicken it up and soak up the extra liquid. I leave it until it’s cooled.
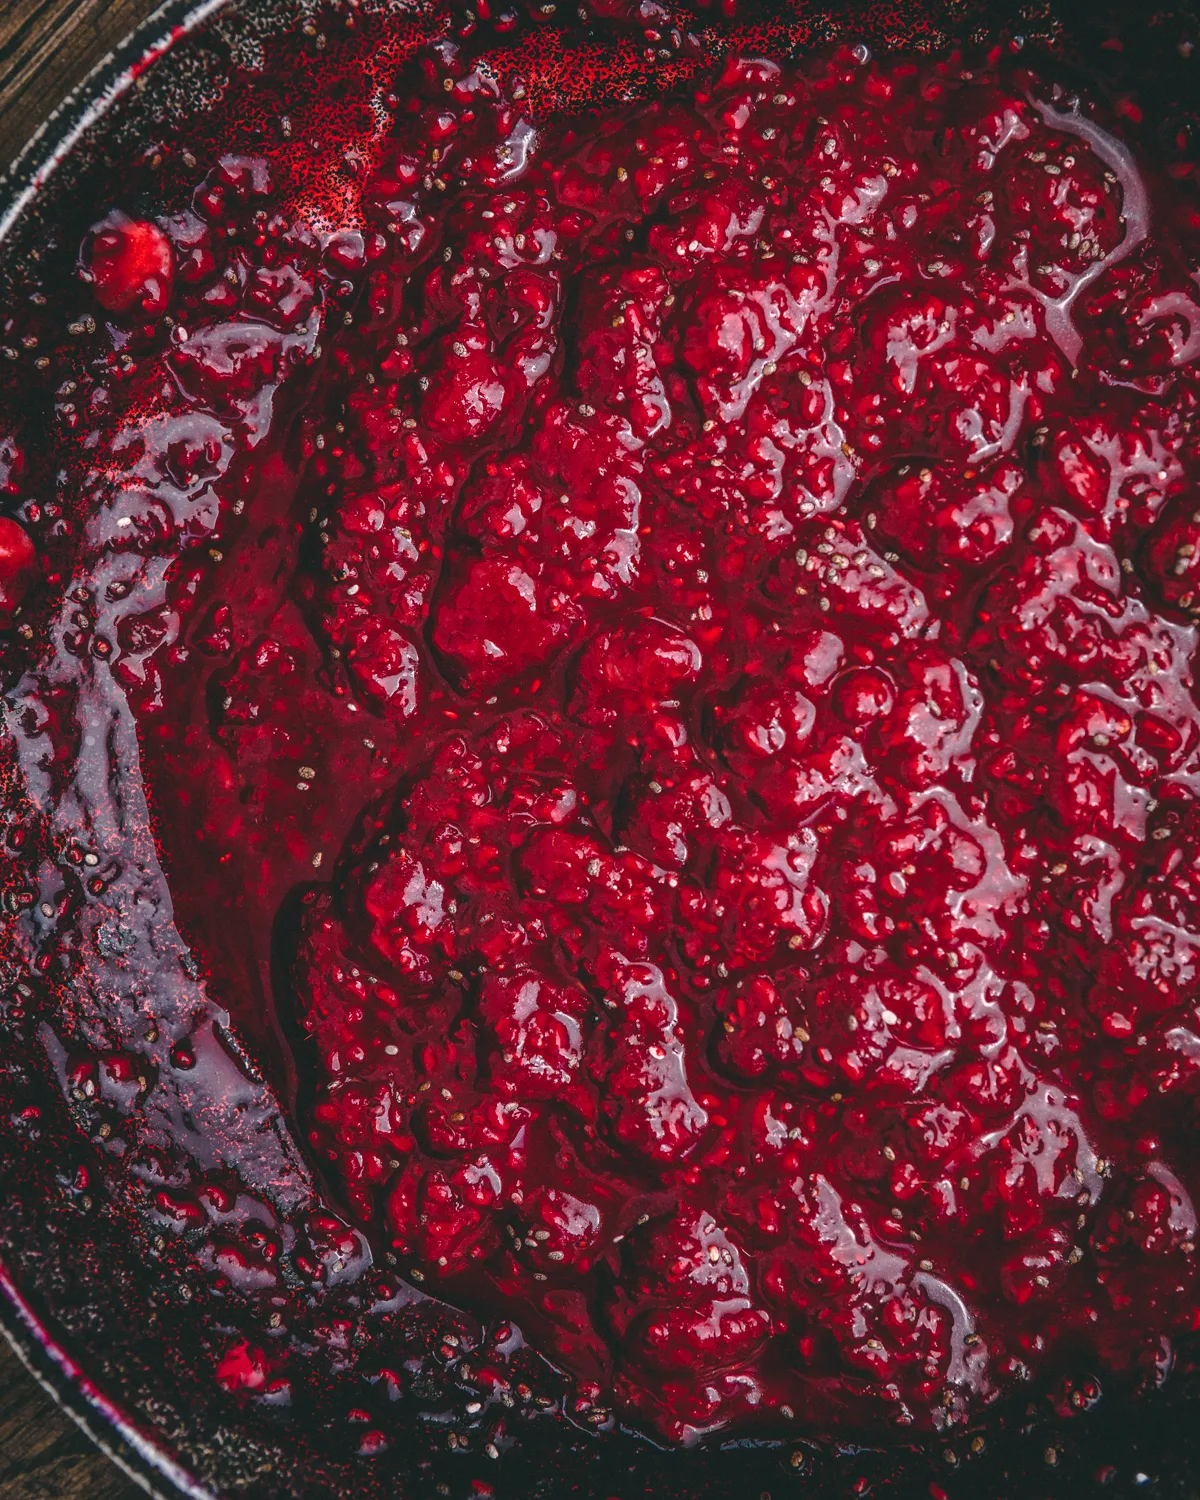
I love raspberry jam the best. I love how you can see each seed and looks so beautiful even when it’s made into a jam. Add some maple syrup to sweeten the tangy taste, if desired.
Add it evenly to your prepared pan and let it freeze so it’s easier to place your caramel layer on top.
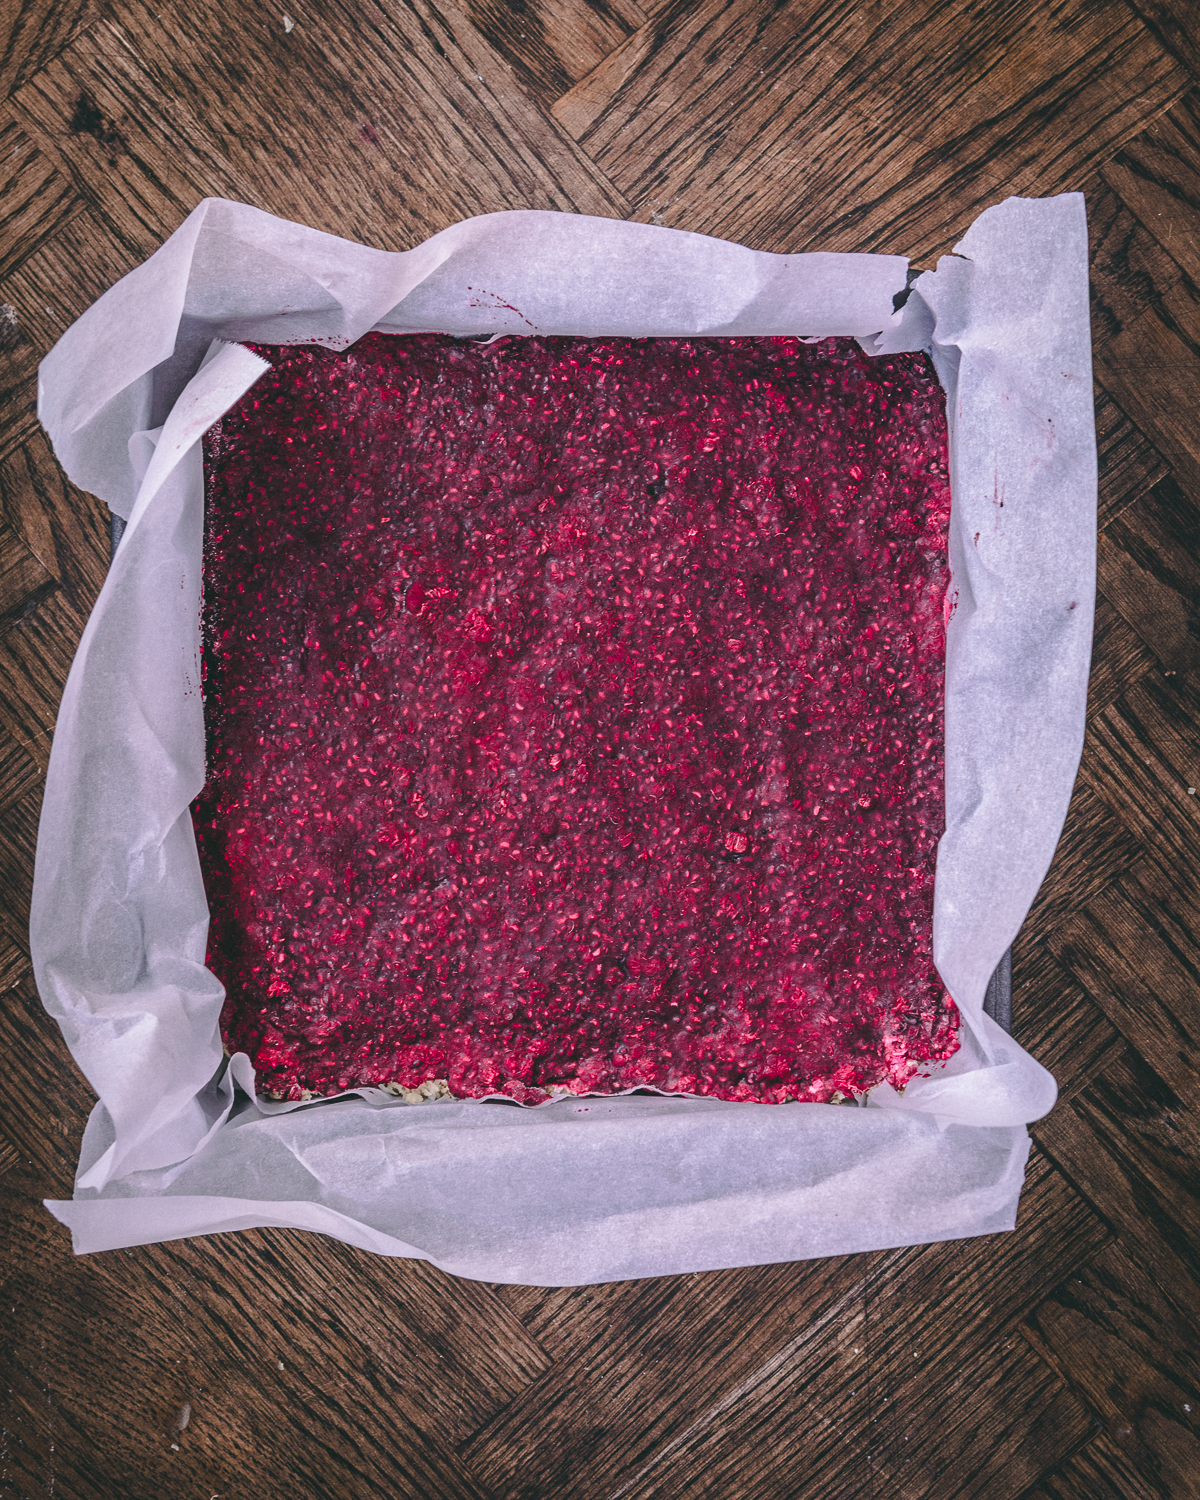
Caramel layer
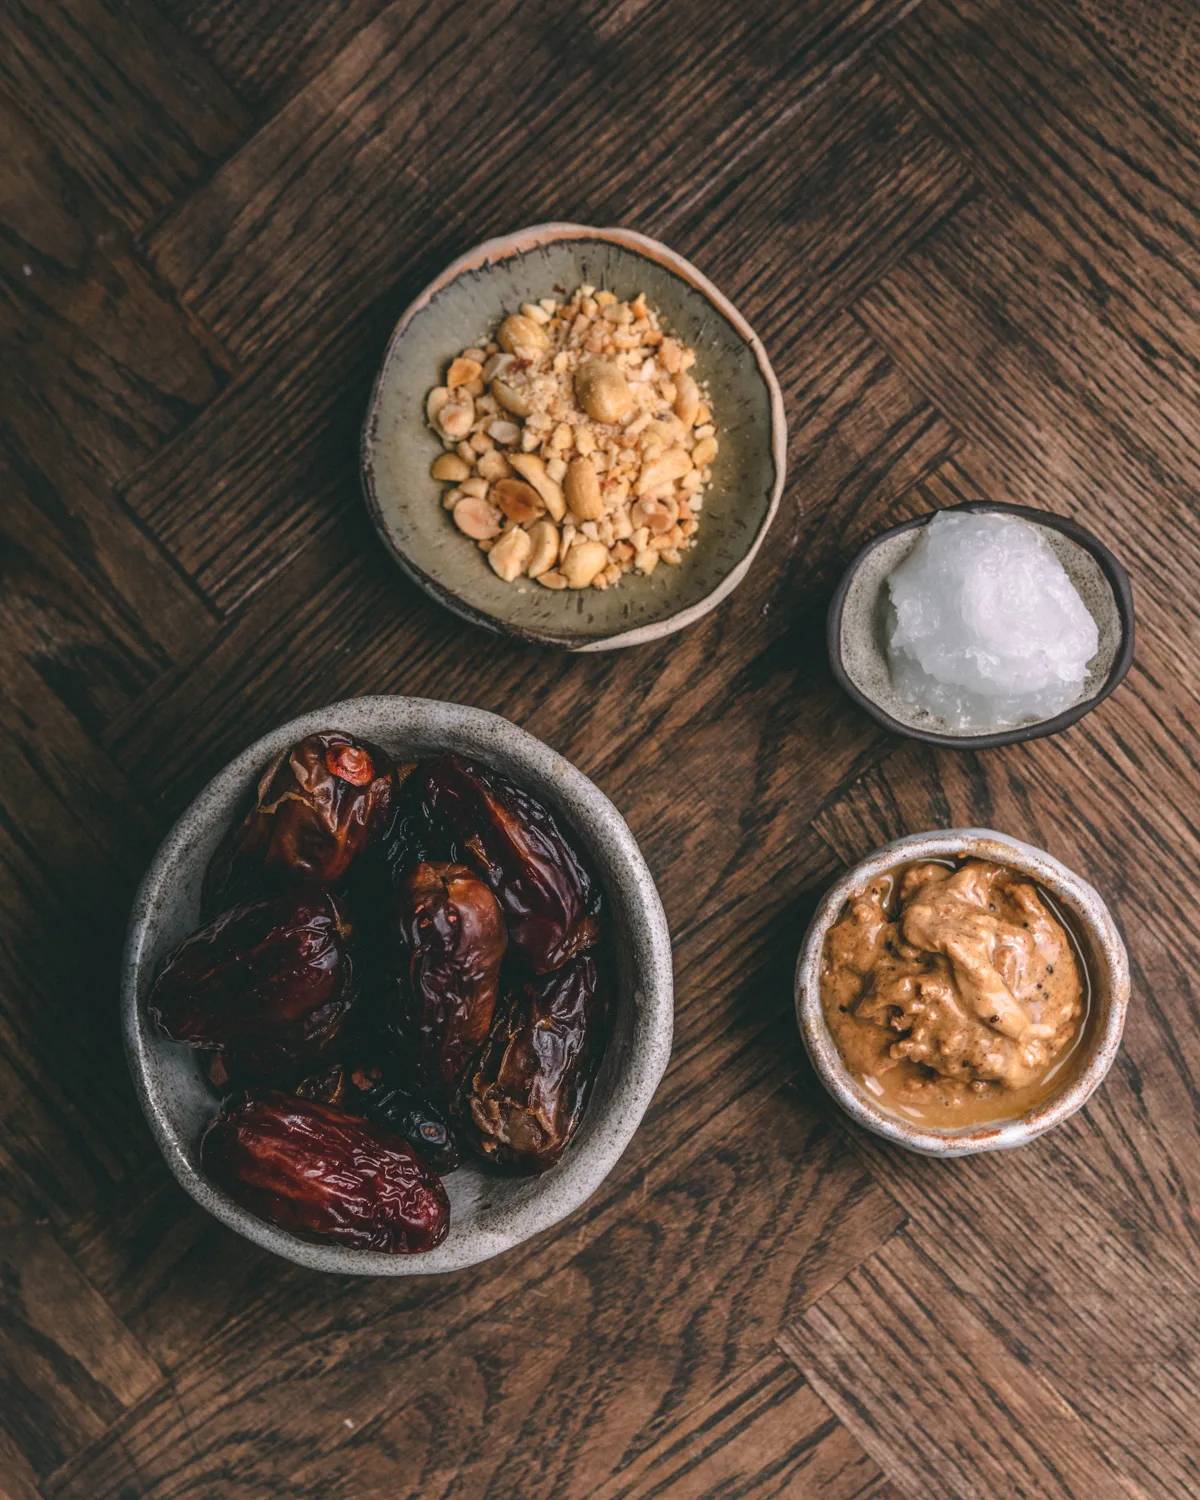
This layer consists of:
- Dates: I like to soak mine in hot water to make it extra soft! It’s not necessary but I like this extra step.
- Peanut butter: This step is crucial. Pick a nut butter that is creamy and tastes good. I love using Fatso peanut butter. It’s so creamy and delicious
- Coconut oil: again something that creates a bit of stability and helps the layer not ooze and liquify when you cut the bars
- Roasted salted peanuts: Having the peanuts roasted and salted will add more flavours and complement the sweetness of the dates.
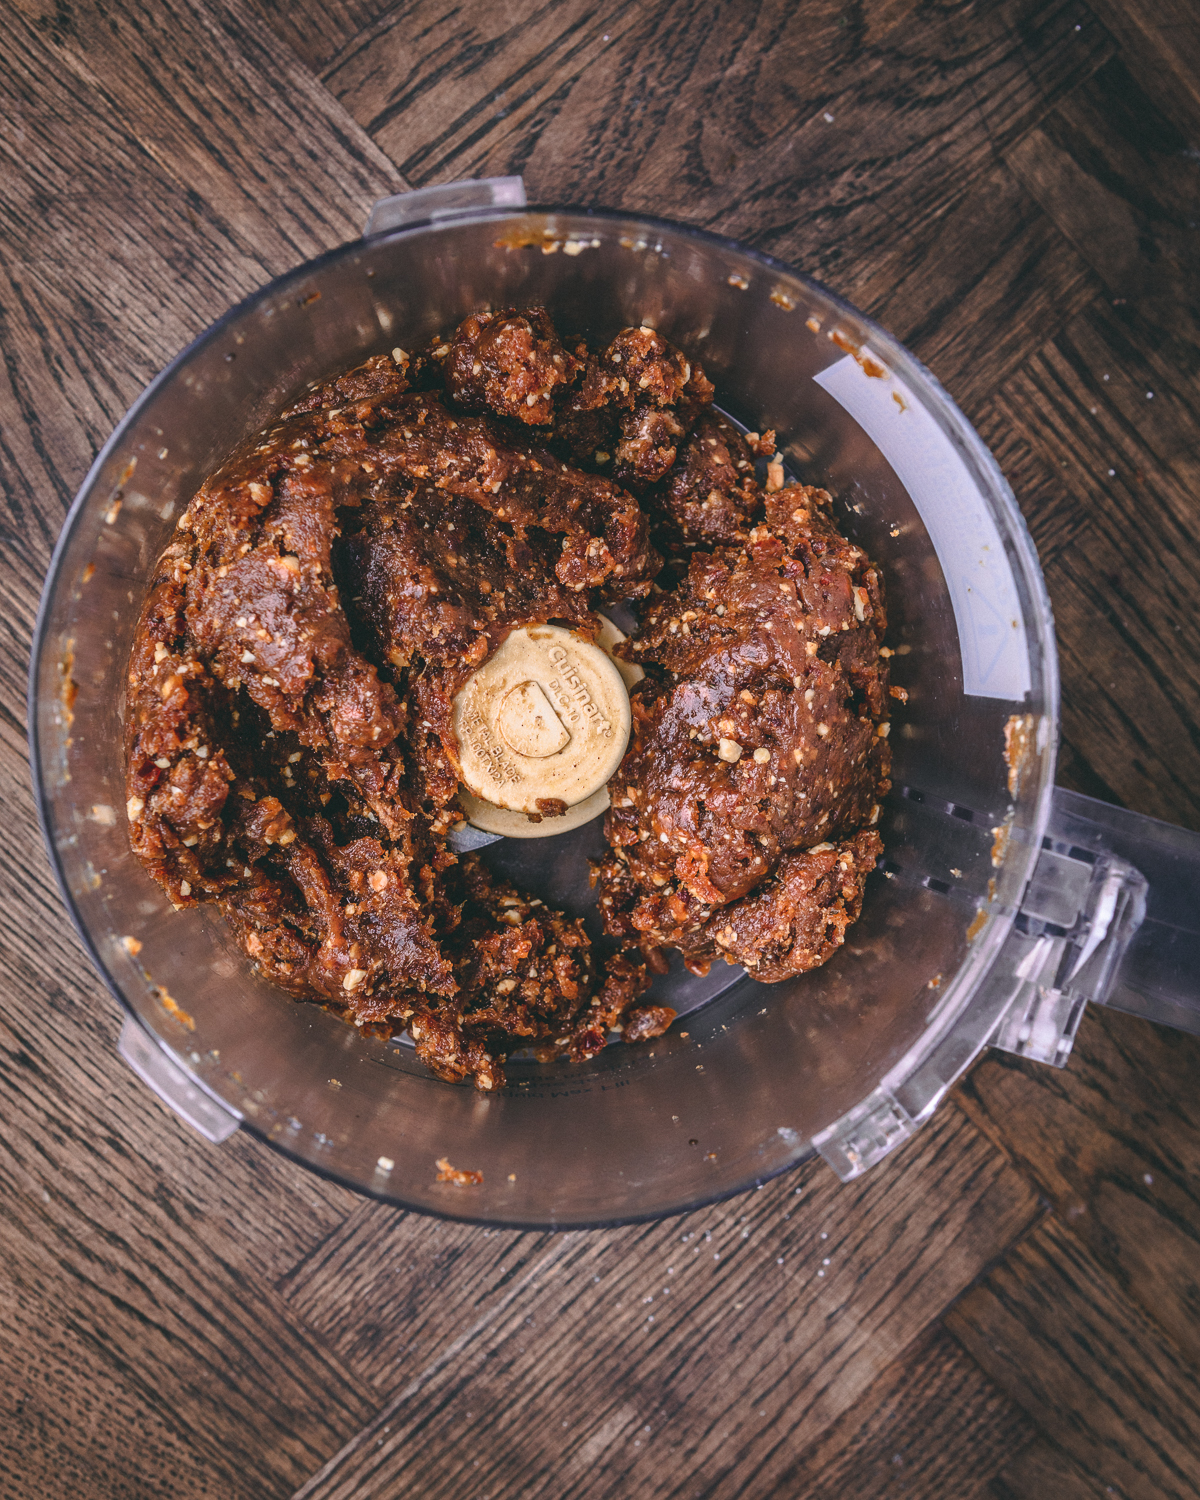
I pulse the dates inside the food processor first. I then add in my nut butter and coconut oil. I scoop out the caramel goodness from the processor and add in the peanuts. I use my hands to mix it. It’s a bit sticky and some patience is required to both mix it and add it to your shortbread.
The raspberry layer should be slightly cooled from the freezer and you can use two spatulas and your fingers to smoothen the caramel layer on top. I would leave it to freeze for at least 6 hours. Overnight is preferred.
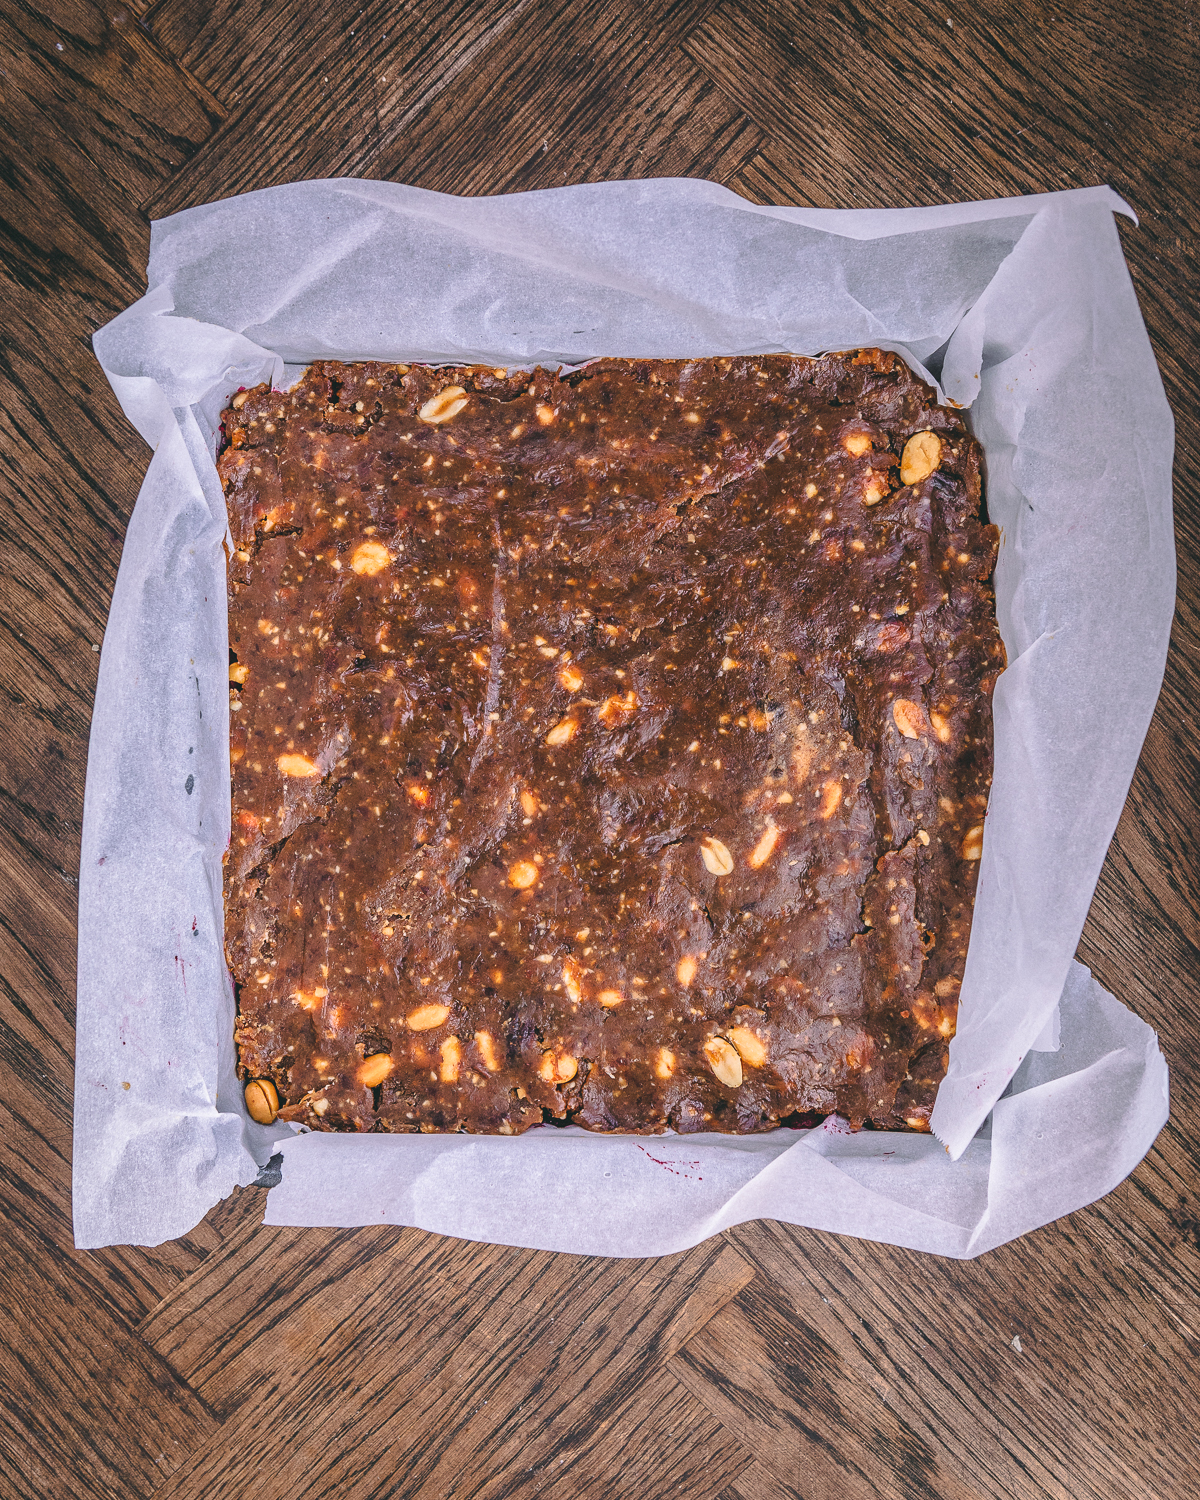
Once your Twix batter is frozen you can remove it from the pan and lay it on a flat surface. I use a heat proof tall glass jar and fill it with hot water. I let my knife soak in the glass for 10-20 seconds and wipe it clean with a paper towel/towel. Being very careful, I use this hot knife to make slices into my desire strip length. I use the paper towel to wipe off the batter and repeat this method for the remainder of the batter. You can make them mini sized or regular sized!
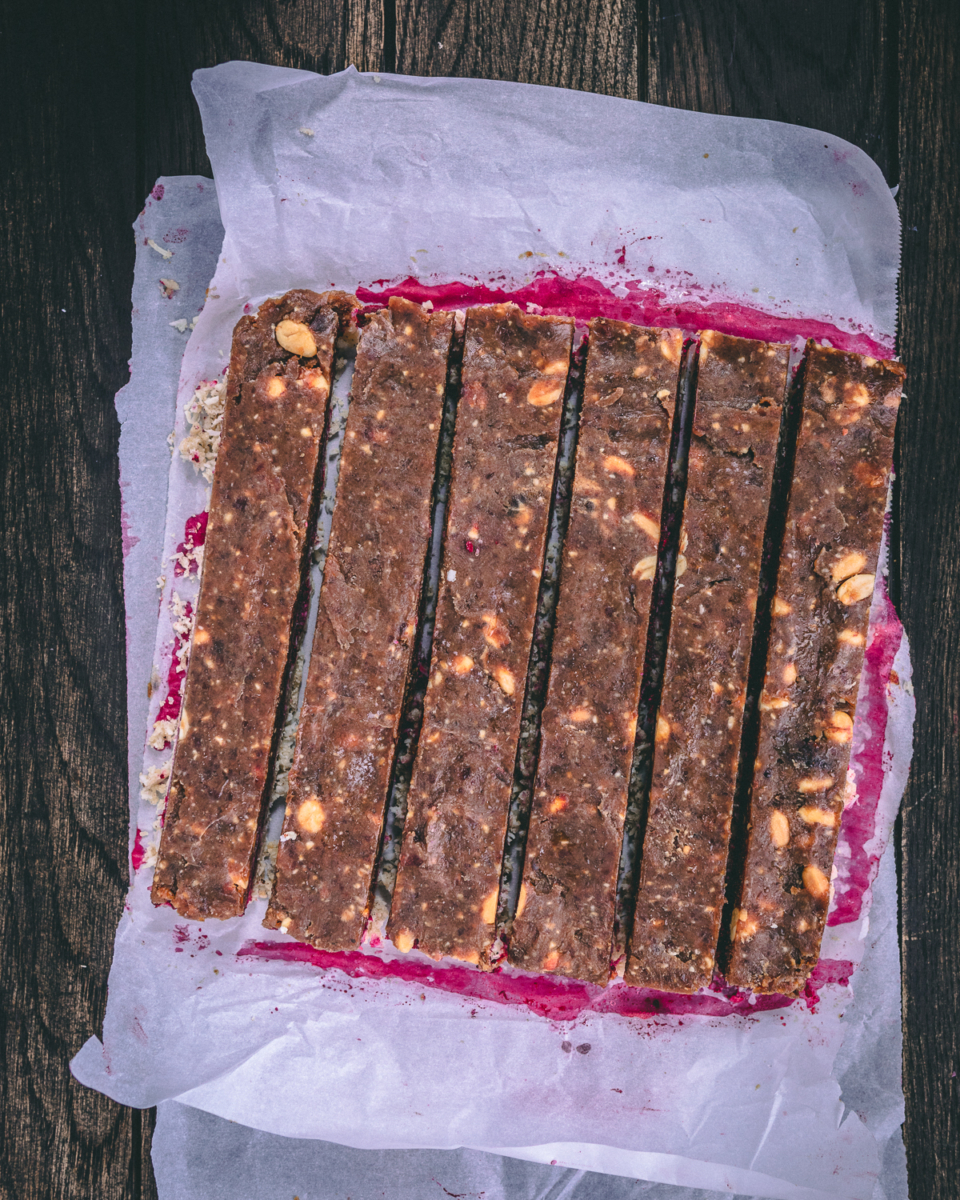
Dipping your bars in chocolate
I used vegan chocolate chips and vegan dark chocolate squares used for baking. Depending on the sweetness and how dark you want your chocolate, this step is entirely up to you! Usually I run out of chocolate to dip my bars into, so start with two cups of chocolate chips or 16 ounces.
Using a double boiler method, melt your chocolate. Carefully pour your chocolate into a tall glass jar.
Using a fork, toothpick, or your hand dunk your bars into the glass holding your melted chocolate. Take it out carefully, holding it over the glass to let the excess chocolate drip off.
Place it on a wire rack, with parchment paper underneath to catch the chocolate drips. Wait around 10 minutes and carefully take the raw bars off the wire wrack and place into a baking tray lined with parchment paper. Line them up side by side making sure they don’t touch. Place them in the freezer for 6 hours or overnight.
Garnishing your chocolate bars
The next morning, remove your bars from the freezer. Have some rose petals, lavender petals, sprinkles or dried fruits (that you crumbled) to add to your Twix bars.
Melt some more chocolate and place into a piping bag. Cut a tiny hole and drizzle it haphazardly in criss cross lines across your tray over the bars. Working quickly add your garnishes you’ve set aside on top so they set with the chocolate drizzles.

Can I substitute raspberry with another fruit?
If you prefer not to use raspberries, you can use:
- blueberry
- strawberries
- blackberries
Berries work well in this recipe! I haven’t tried it with stone fruits or apples as I can’t imagine them freezing well or tasting quite the same.
Incredibly delicious and full of chocolate and caramel-like flavours, these bars will be an instant hit in your home!
How long do these raspberry chocolate bars store in the freezer for?
I don’t store these in the fridge as they will melt and get soft. They’re best in the freezer for up to 3 months (if they last that long, that is!). Every time a craving hit, I just stick my hand into the freezer and pull one out. I love this as a frozen treat!
That’s all there is to it! Hopefully these tips and tricks will help you make your own bar! Let me know how they taste by leaving a comment below! I really appreciate you!
Try a slight variation to this recipe where you can omit the raspberry and make it colourful inside:
Irresistible Homemade Vegan Snickers Bar
Craving chocolate?
Try this recipe:

The most delicious raspberry raw vegan twix bar
Ingredients
- ½ cup shredded coconut unsweetened
- ½ cup Hazelnut Meal from freshly roasted hazelnuts if possible
- 1 Cup Almond Meal
- 1 tbsp Coconut Oil
- 3 tbsp Maple Syrup
Ingredients for raspberry jam
- 2 cups raspberries fresh or frozen
- 1 tsp chia seeds
- 1 tbsp maple syrup
Ingredients Caramel:
- 12 dates soaked, pitted
- 2 tbsp Peanut Butter
- 1 tbsp Coconut Oil
- 2 tbsp Peanuts
Instructions
- Toast your hazelnuts on low for 15 minutes for 350F. Let them cool and rub off the peels. Alternatively you can purchase hazelnut meal.
- Pulse your hazelnuts in a food processor until it resembles tiny crumbs
- Place the rest of your ingredients for the shortbread inside the food processor with the hazelnuts and pulse until combined.
- Press into a square container lined with parchment paper. Place in the freezer until you are ready with your raspberry jam
- simmer your raspberries until they release their juices. Continue to simmer for a few minutes and turn off heat. Add your chia seeds and maple syrup. Leave aside
- Remove your chilled shortbread and spread your raspberry jam evenly. Freeze for at least 1-2 hours until the raspberry doesn't run or it'll seep into the caramel layer
- Place all your ingredients for the caramel in the cleaned food processor until it resembles gooey caramel.
- With wet hands, press the caramel onto the frozen raspberry layer (the wet hands make it easier to press and won't stick to your fingers
- Freeze for at least 6 hours or overnight. When ready, cut into bars using a sharp knife.
- Melt chocolate in a double boiler and dip your bars! Enjoy!
Nutrition
© sculptedkitchen.com. All content and images are protected by copyright. Please share this recipe using the share buttons provided. Do not screenshot or republish the recipe or content in full. instead, include a link to this post for the recipe.

