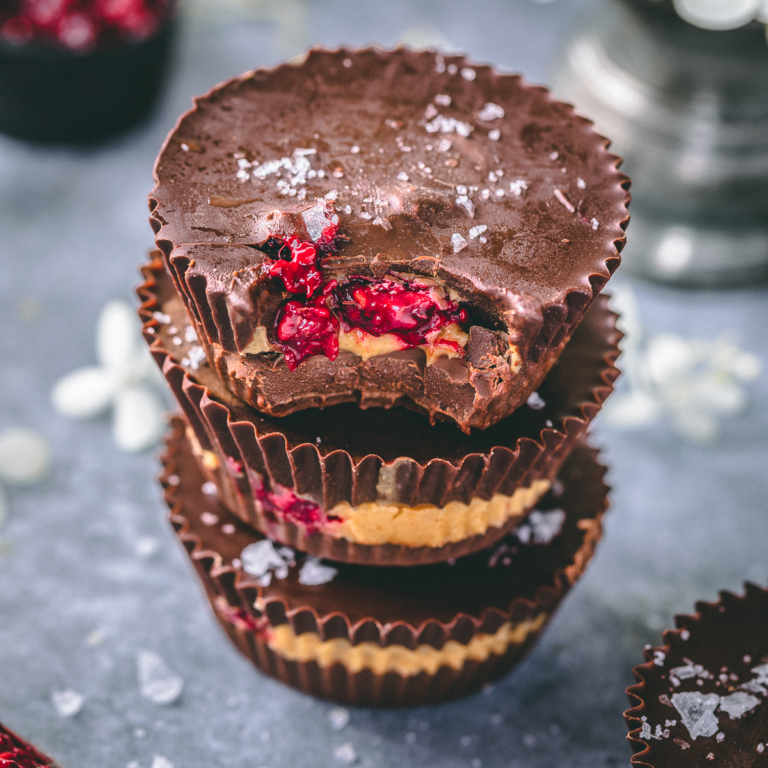
This recipe for chocolate raspberry truffles is the frozen treat you need to make! With just a handful of ingredients, they’re the perfect combination of tart & luxuriously decadent!
You only need seven ingredients and about 15 minutes of hands on time to get going with this recipe! I think the hardest part of this recipe is just waiting for the truffles to finish freezing in the freezer so we can finally bite into them!

These chocolate raspberry truffles are a dream with a cashew based creamy centre, a raspberry centre and covered with a delicious chocolate shell. These are treats that go in the freezer and you’ll be reaching for them every time you need a sweet treat!
Usually when we eat a truffle, we’re eating just chocolate. With this recipe, you’ve got raspberries, cashews AND chocolate. It’s such a fantastic healthy alternative!
Why do you NEED to make these truffles?!
These chocolate raspberry truffles are such a crowd pleasure and up there with the best desserts I’ve made. I love reaching into the freezer for these little jewels.
They’re:
- gluten free
- dairy free
- delicious
Also, they’re full of:
- Flavor: The flavor of these truffles is a perfect balance of decadent chocolate, creamy raspberry flavoured cashew cream and tangy raspberries.
- Texture: Each bite is creamy and delicious!
What ingredients do you need for this recipe?

Cashews: This will be the bulk of what makes the insides soft and creamy. Presoak them for a few hours for an easy blend or pour hot water on them for an hour and you can blend them until creamy.
Raspberries: The tang of this berry really goes well with the sweetness of the chocolate.
Beet powder: this is an option but it adds more red to your creamy inside. You could also use red food colouring.
Coconut cream: this adds a bit more flavor to just using nuts and adds more bulk.
Coconut shreddings: I added to this to bulk up the cream to be less creamy and hold its shape better.
Almond butter: adding some flavor and bulk!
Raspberries: I add a handful of them into the food processor for a tang and a bit of color. I also keep a dozen or so extra on the side to stick into the center when freezing.
Maple syrup: I’m pretty generous with the maple syrup or it’ll taste so bland. There isn’t any added sugar so I feel the maple syrup
These ingredients are to add flavor so it’s not just nuts blended together.
Making Chocolate Raspberry Truffles from Scratch
Gather all your ingredients including a cake pop mold. I haven’t found or thought of another way to have them circular but please leave a comment below if you think of something!
Start by soaking cashews in boiling water for at least an hour or 10 minutes if you’re tight on time or overnight (preferable). This is an extra step but I feel that it softens the nuts that when it comes to blending it will blend so nicely with the other ingredients.
Drain the water and add the soaked cashews to a food processor with the other filling ingredients such as shredded coconut, coconut cream, maple syrup, almond butter, a few berries and beet powder, if using.
Blend well until creamy and achieved the color you wish.

Using one side of a cake mold mold fill up all the half circles with the cream you just made.
I would leave a bit of room and not fill it to the top so you can press a raspberry into the centre of it . I also didn’t use the side that had a tiny circle on the other side which I wasn’t sure what it was for but used it to pipe the cream into the second half of the hole. This comes in handy when you’ve frozen your first half of the cake pop mold and slip on the second side, empty, tightly on the first half. I then pipe the cream through the hole until it’s filled (by tapping the mold often to settle it on top of the first mold on the top.

Alternatively, you could fill both molds up freeze them for an hour and carefully put one on top of the other ensuring it’s frozen enough that it doesn’t fall out but soft enough that the two layers merge and freeze together.

Another way you could do it, would be to freeze the batter for an hour to make it more solid. Then working quickly, take a tablespoon or two of hardened cream and roll balls between your hands. Then, on a prepared baking tray lined with parchment, line them up and freeze them for a few more hours.
Freeze until frozen. I would try overnight for sure.
Make a double boiler and place your chocolate in the heatproof bowl. When ready, pour into a tall heatproof glass so you can dip easily. I use a wooden skewer to pierce the truffle and dip the truffle into the chocolate. I take it out and let some access drip off. I place it parchment paper and sprinkle some garnishes or leave it to go on to the next one.
Just a note of caution, if you have 12 truffles out of the freezer it will take time for you to finally get to the final last one and it may gotten soft and become very difficult to dip into the chocolate. I would work in batches of 3-4 truffles at a time removing them from the freezer when ready.
Place your balls back into the freezer to harden. When ready to serve you can drizzle the remainder of your chocolate in a piping bag and drizzle some zig zag chocolate lines on your finished product.

Substitutions
Raspberries: You can use freeze dried berries if you don’t have fresh ones.
Other berries: you could substitute strawberries, blackberries, blueberries or any berries with this recipe.

Peanuts: If you have a cashew allergy, you could substitute peanuts for it. I haven’t done it personally but it could work just as well!
Garnishes:

When the chocolate is still warm after you’ve dipped the truffles, you can garnish it with:
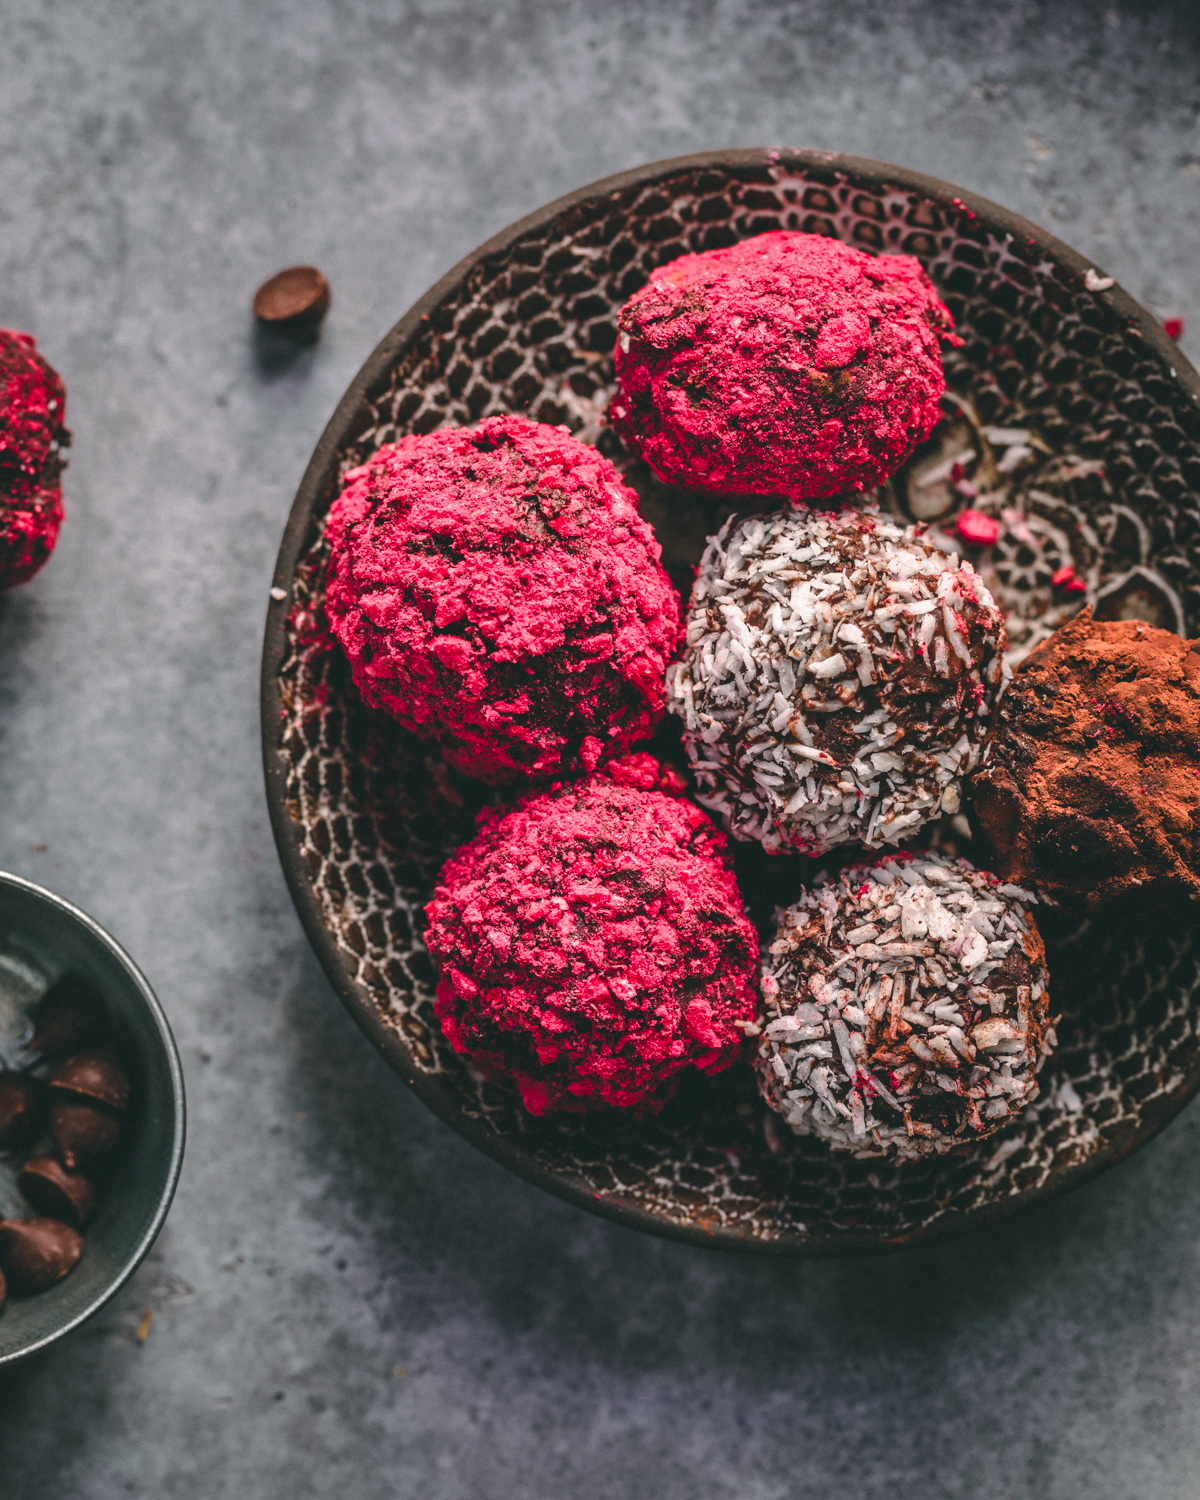
- natural food powder (like spirulina, beet root powder etc.)
- coconut shreddings
- edible flowers like rose petals
- freeze dried berries like raspberries and strawberries
- cocoa powder
Tips and tricks for a successful recipe execution
Sometimes we get frustrated if the photo doesn’t match our expectation. I’ve done this a few times and have a few tricks that may help you:
Chocolate: Also the higher the cacao percentage the more easier the chocolate will melt, I find. It’s also healthier as dark chocolate is higher in anti-oxidants.
Cake pop mold: If this is just making a mess then just try to roll a more stiffer batter in your hands quickly by putting the batter in the freezer for an hour or two. Working quickly, roll out the ball and use the freezer/fridge if things are getting soft.
Use the freezer: don’t by shy to use the freezer to keep the balls frozen until ready to dip into chocolate.
Other uses for the extra batter
You could use the extra batter for other things such as:
Mixing it with chia pudding or oatmeal as an extra way to increase protein and cream.
Make a ice lollies to give to the kids as a treat (or yourself!).
If you’re making a frozen cheezecake, you could add it as topping!


Creamy Cashew Raspberry Truffles
Equipment
- 1 cake pop mold
- 1 freezer
- 1 blender
- 1 double boiler
Ingredients
Truffles
- ¼ Cup raspberries
- 1 Cup cashews soaked, drained and rinse
- ½ Cup maple syrup or rice malt syrup or agave
- 1 tbsp beet powder optional
- ½ Cup coconut cream
- ¼ Cup shredded coconut
- ¼ Cup almond butter
- 1/2 cup raspberries to place in the middle
- 4 oz chocolate Dark chocolate melts easier than milk chocolate. I would do 2 bars so you don't run out of chocolate and use the rest to drizzle on top of your truffle balls when they're set.
Chocolate glaze
- 4 oz dark chocolate I would do 2 4 oz of a dark chocolate bar
Instructions
Truffles
- Gather all your ingredients and have all your equipment ready. You can freeze the cake pop mold until ready to use. Realize your limiting step is the cashews so try to do it the night before.
- Start by soaking cashews in boiling water for at least 10 minutes if you're pressed for time or overnight (preferable). You can also
- Drain the water and add the soaked cashews to a food processor with the other filling ingredients such as shredded coconut, coconut cream, maple syrup, almond butter, a few berries and beet powder, if using
- Blend well until creamy and achieved the color you wish.
- Using one side of a cake mold mold fill up all the half circles with the cream you just made. I would leave a bit of room and not fill it to the top so you can press a raspberry into the centre of it . I also didn't use the side that had a tiny circle on the other side which I wasn't sure what it was for but used it to pipe the cream into the second half of the hole. This comes in handy when you've frozen your first half of the cake pop mold and slip on the second side, empty, tightly on the first half. I then pipe the cream through the hole until it's filled (by tapping the mold often to settle it on top of the first mold on the top.
- Freeze until frozen which is at least 6 hours or preferrably overnight.
Chocolate Glaze
- Make a double boiler and place your chocolate in the heatproof bowl. When ready, pour into a tall heatproof glass so you can dip easily. I use a wooden skewer to pierce the truffle and dip the truffle into the chocolate.
- When ready, pour into a tall heatproof glass so you can dip easily.
- Remove the stick from the chocolate and let the excess drip off before placing it on a tray lined with parchment
- Sprinkle with garnishes, if desired
- After you've completed all your truffles and dipped them all, freeze them for 10-20 minutes before drizzling access chocolate to make zig zags on the balls.
Notes
You’ll also need a few hours or overnight to freeze the balls until ready to use. So hopefully keep a night aside for this recipe with overnight being used to freeze and 2-4 hours to make the recipe including keeping the cashews soaked.
Nutrition
© sculptedkitchen.com. All content and images are protected by copyright. Please share this recipe using the share buttons provided. Do not screenshot or republish the recipe or content in full. instead, include a link to this post for the recipe.