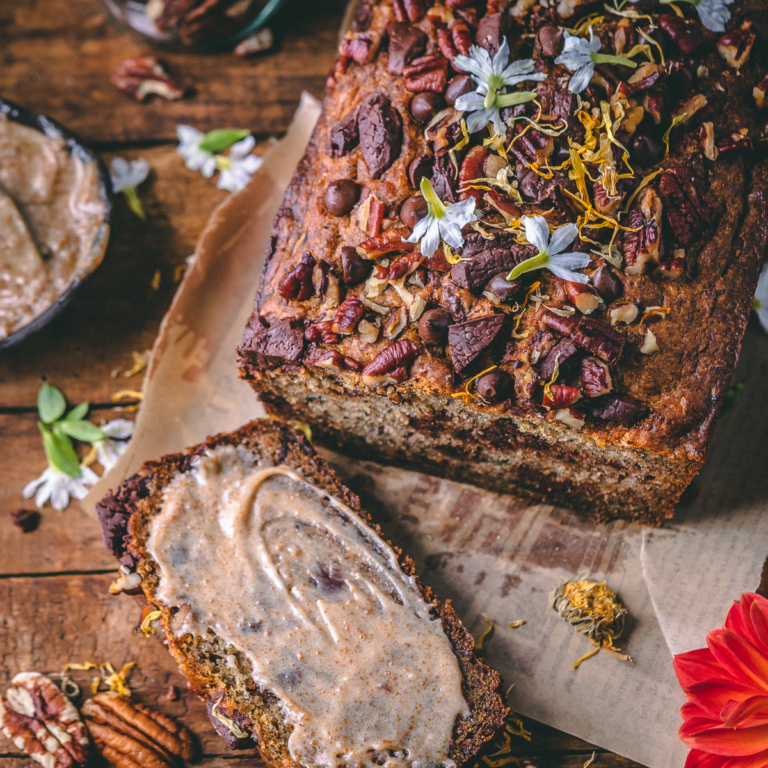
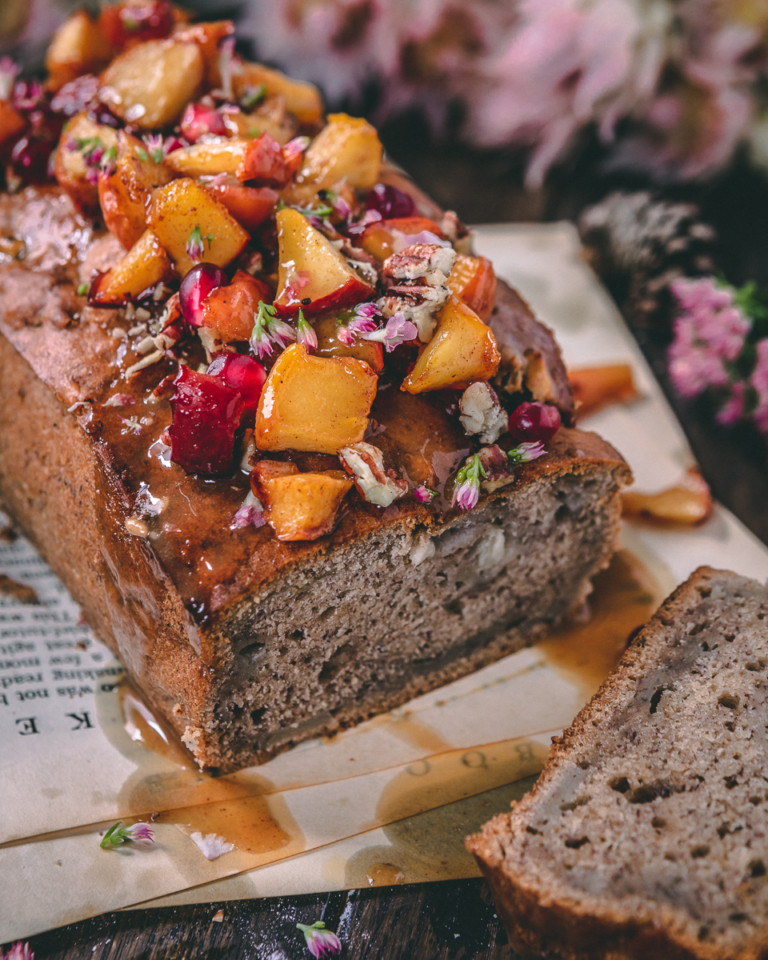
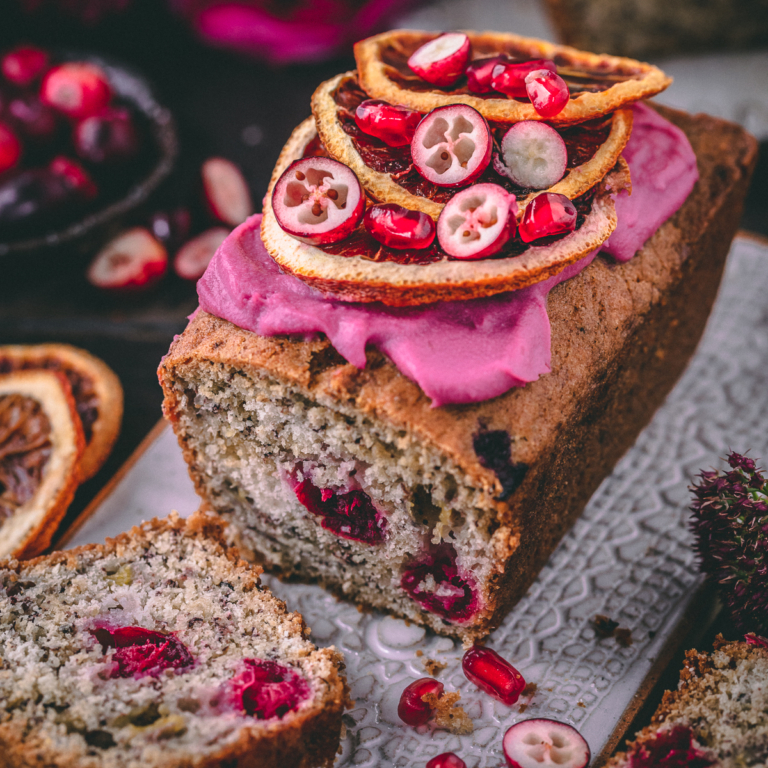
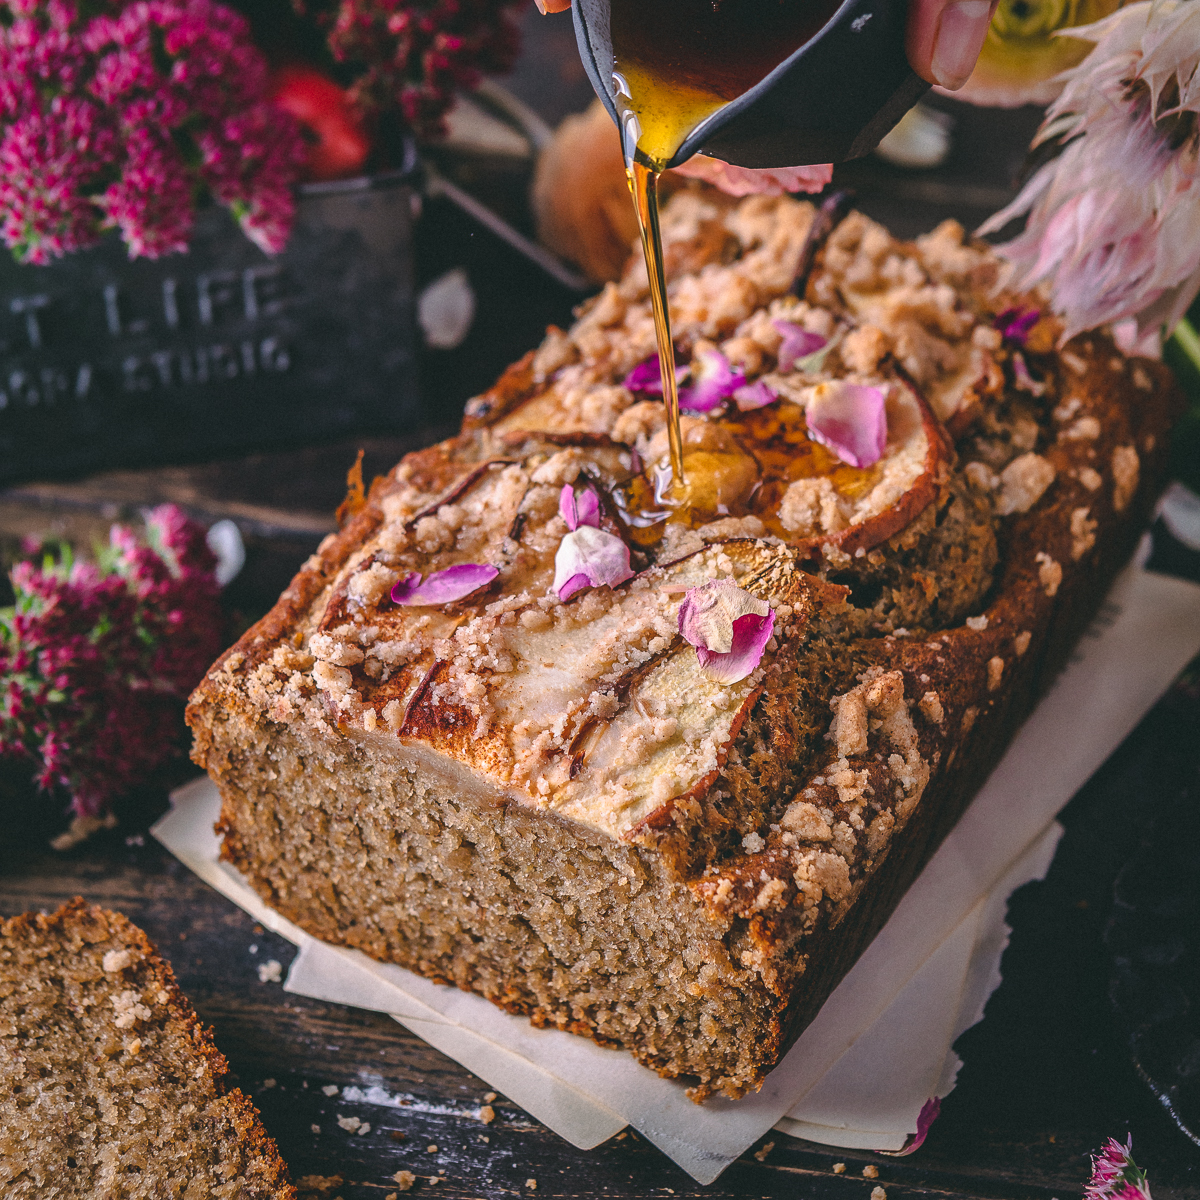
This spiced pear and banana bread is just THE best thing you’ll taste. With a hint of delicious spice, the perfect amount of moistness and a crunchy and satisfying streusel – you’ll be wanting to Make this over and over again!
We had some very ripe bananas and some local pears to use up. I find that bananas are just the perfect replacement for eggs.
What equipment you’ll need to make this loaf
- A stand alone mixer
- A shredder (preferably one with larger holes)
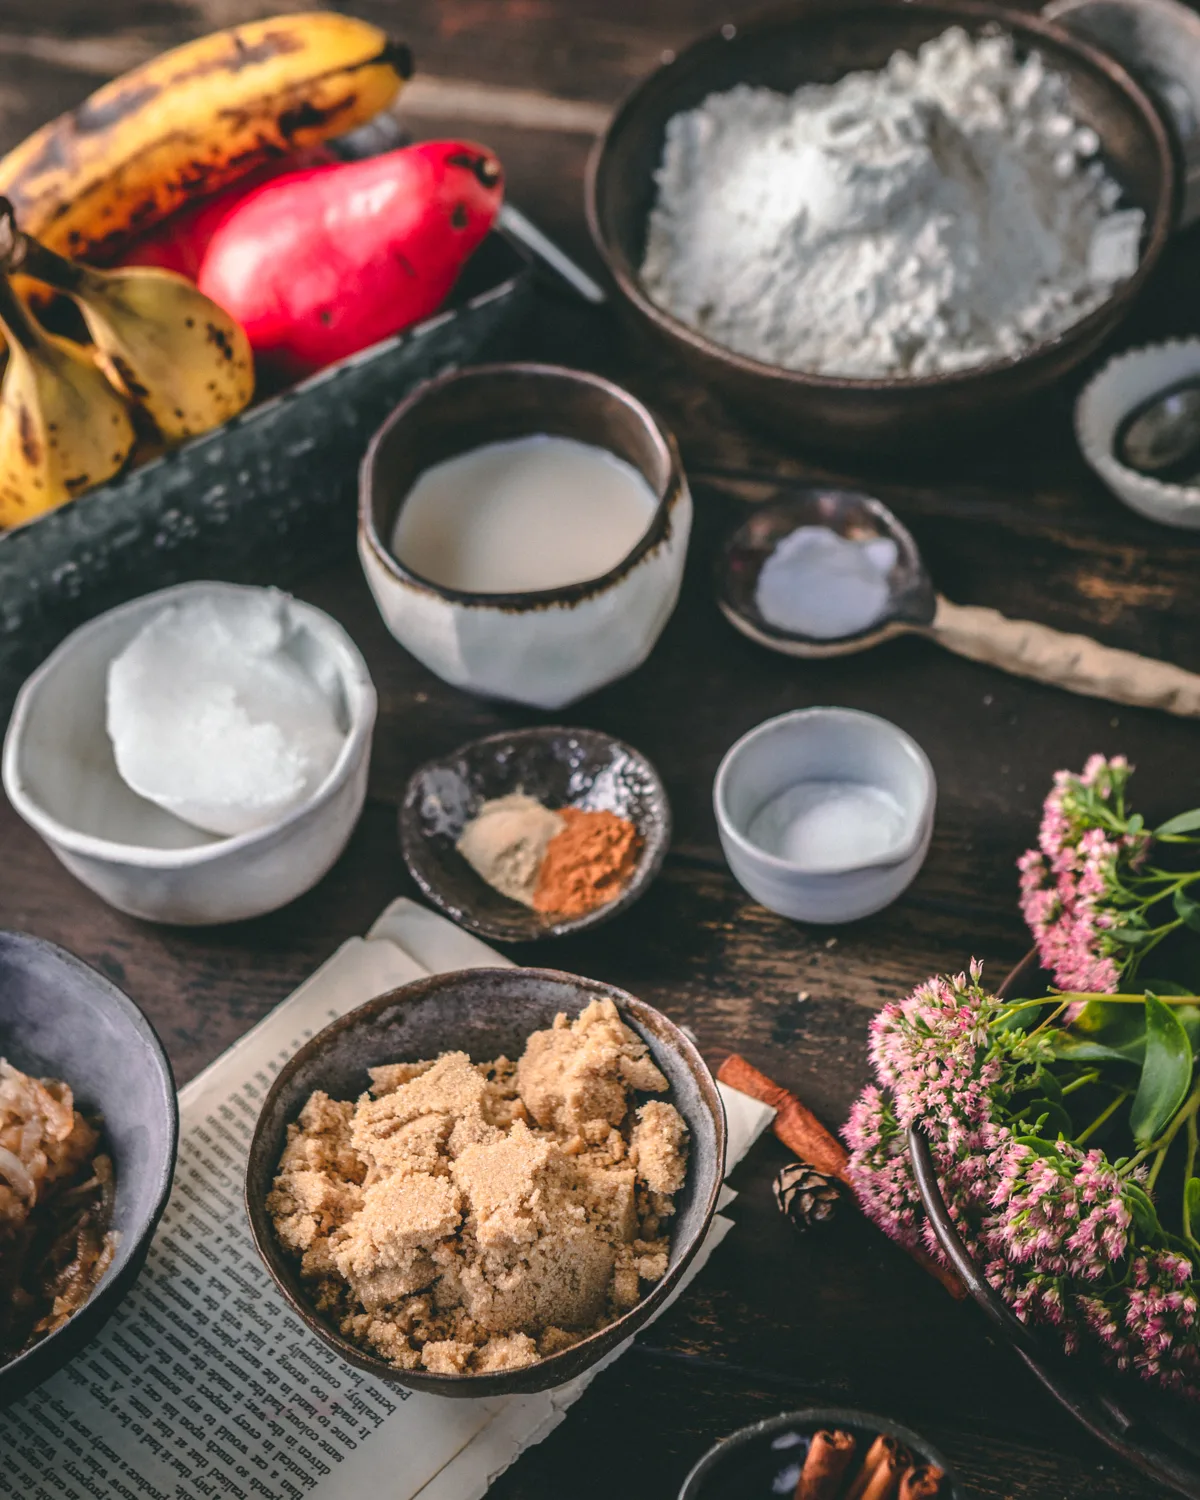
What’s in this loaf?
- Baking powder and baking soda – the duo that is always needed to help the loaf rise. I used 1 tablespoon of baking powder which helped the loaf rise perfectly and not cave in with the extra slices of pears on top
- Brown sugar – you can sub this in for coconut sugar if you want to go refined sugar free
- Milk and oil – needed to add some moisture to the cake. Both at room temperature. I prefer my oil to be fully melted though
- Cinnamon powder and cardamon powder – if you don’t have cardamon powder you could add ginger or omit it completely or even add double the cinnamon powder
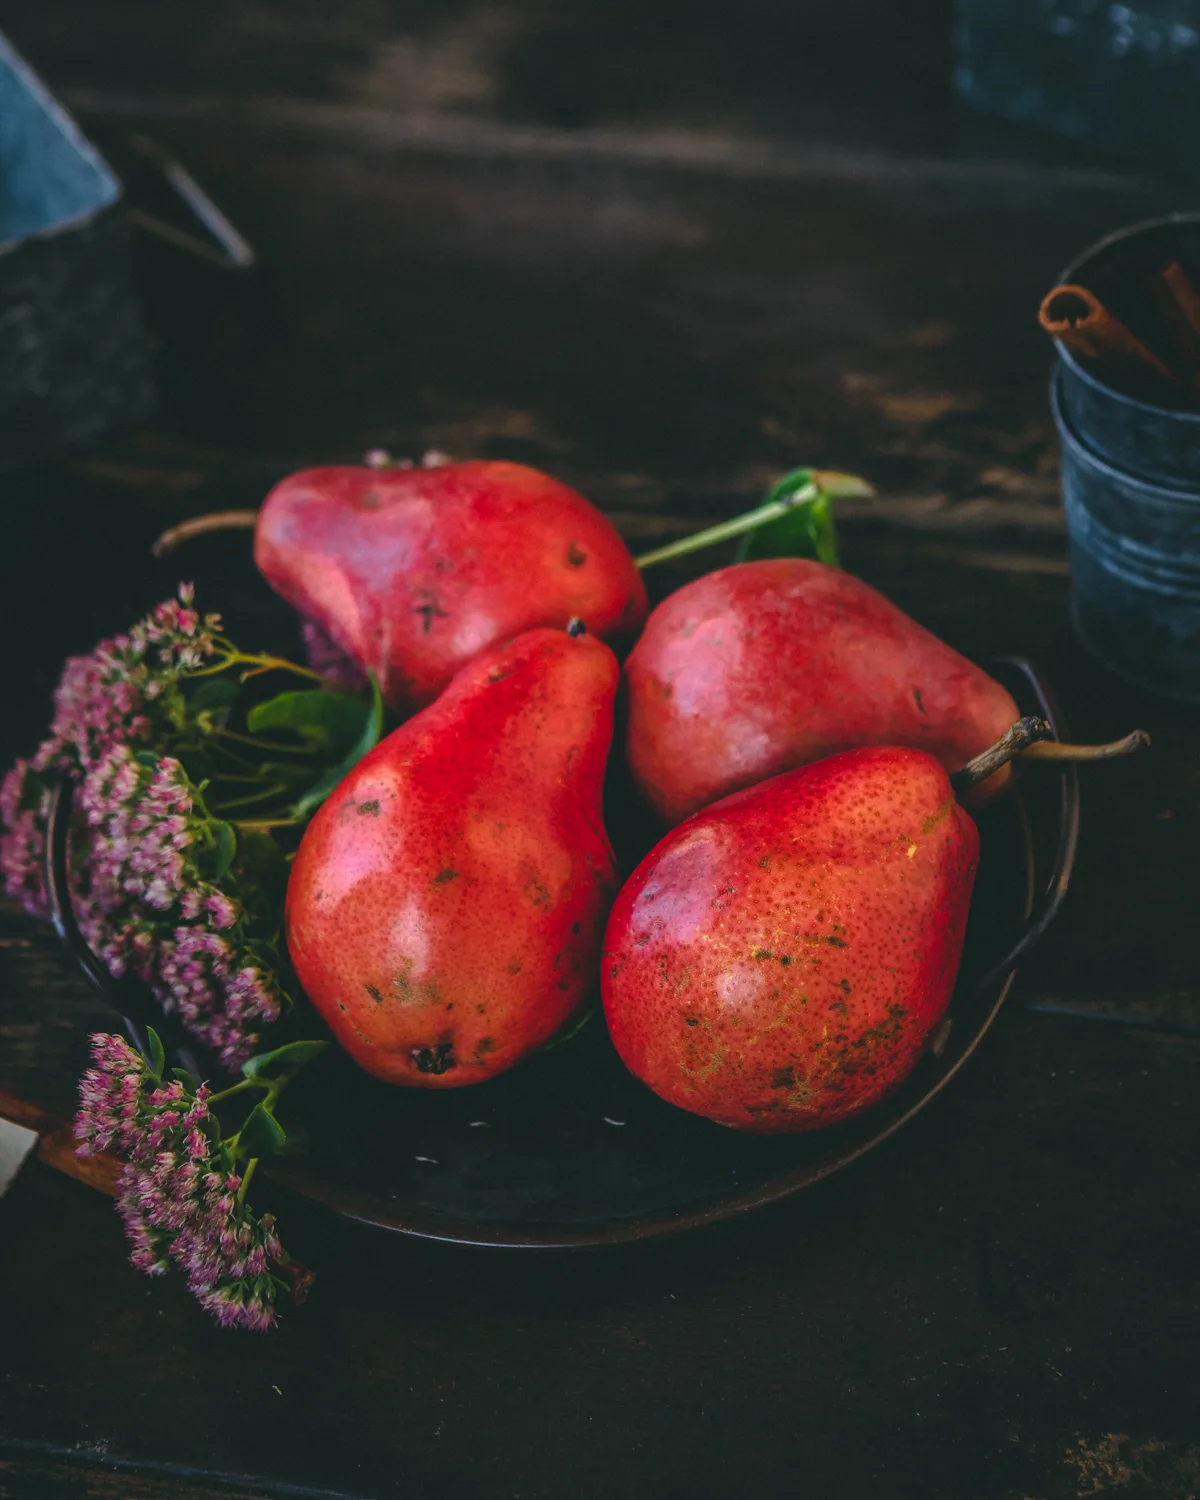
- Pears – ideally pick ones that are firm. Otherwise they will turn to mush when you’re shredding/slicing them. It does turn brown if left for a few minutes and has a bit of liquid. I just added all of the liquid and fruit in. The brownness of the fruit doesn’t affect the taste of the loaf
- Flour – I used all purpose flour but you could sub in 1:1 bobs red mills gluten free flour
How do you make this recipe
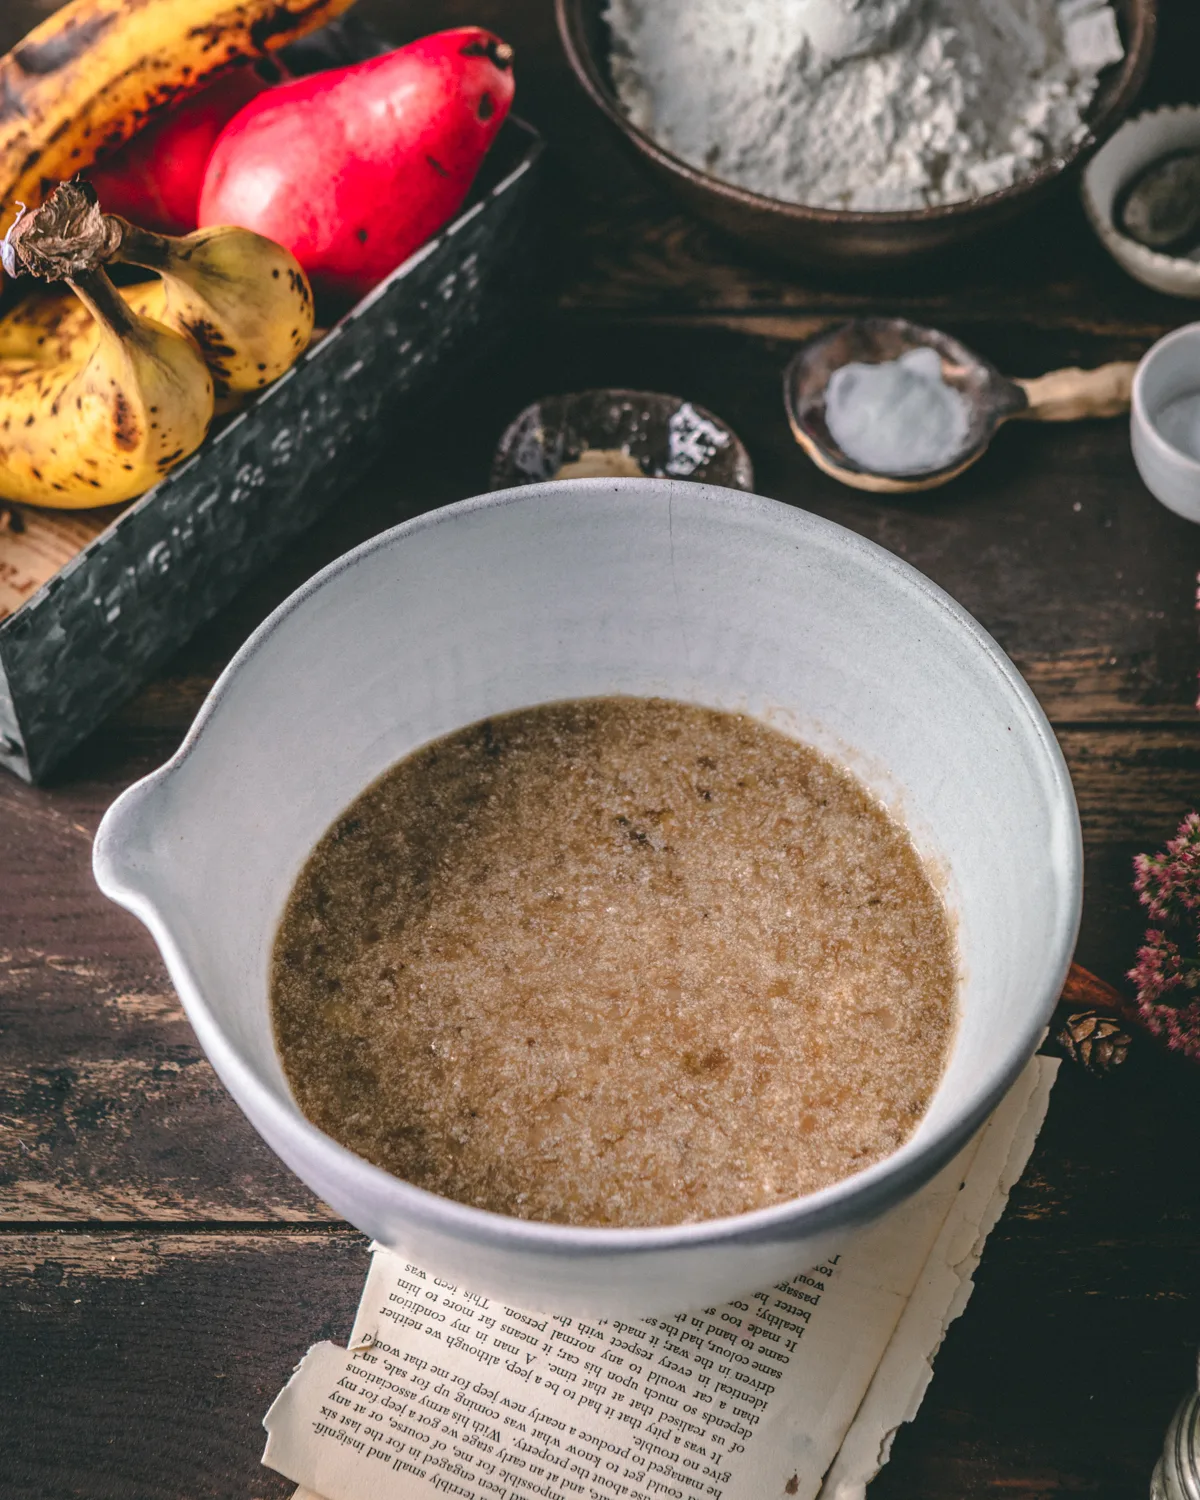
After you’ve gathered all your ingredients, place all your wet ingredients in a medium mixing bowl. Add in your fruits and mix well. I use a fork or a whisking tool to the bananas. Add in your sugar and mix well until it looks light and creamy.
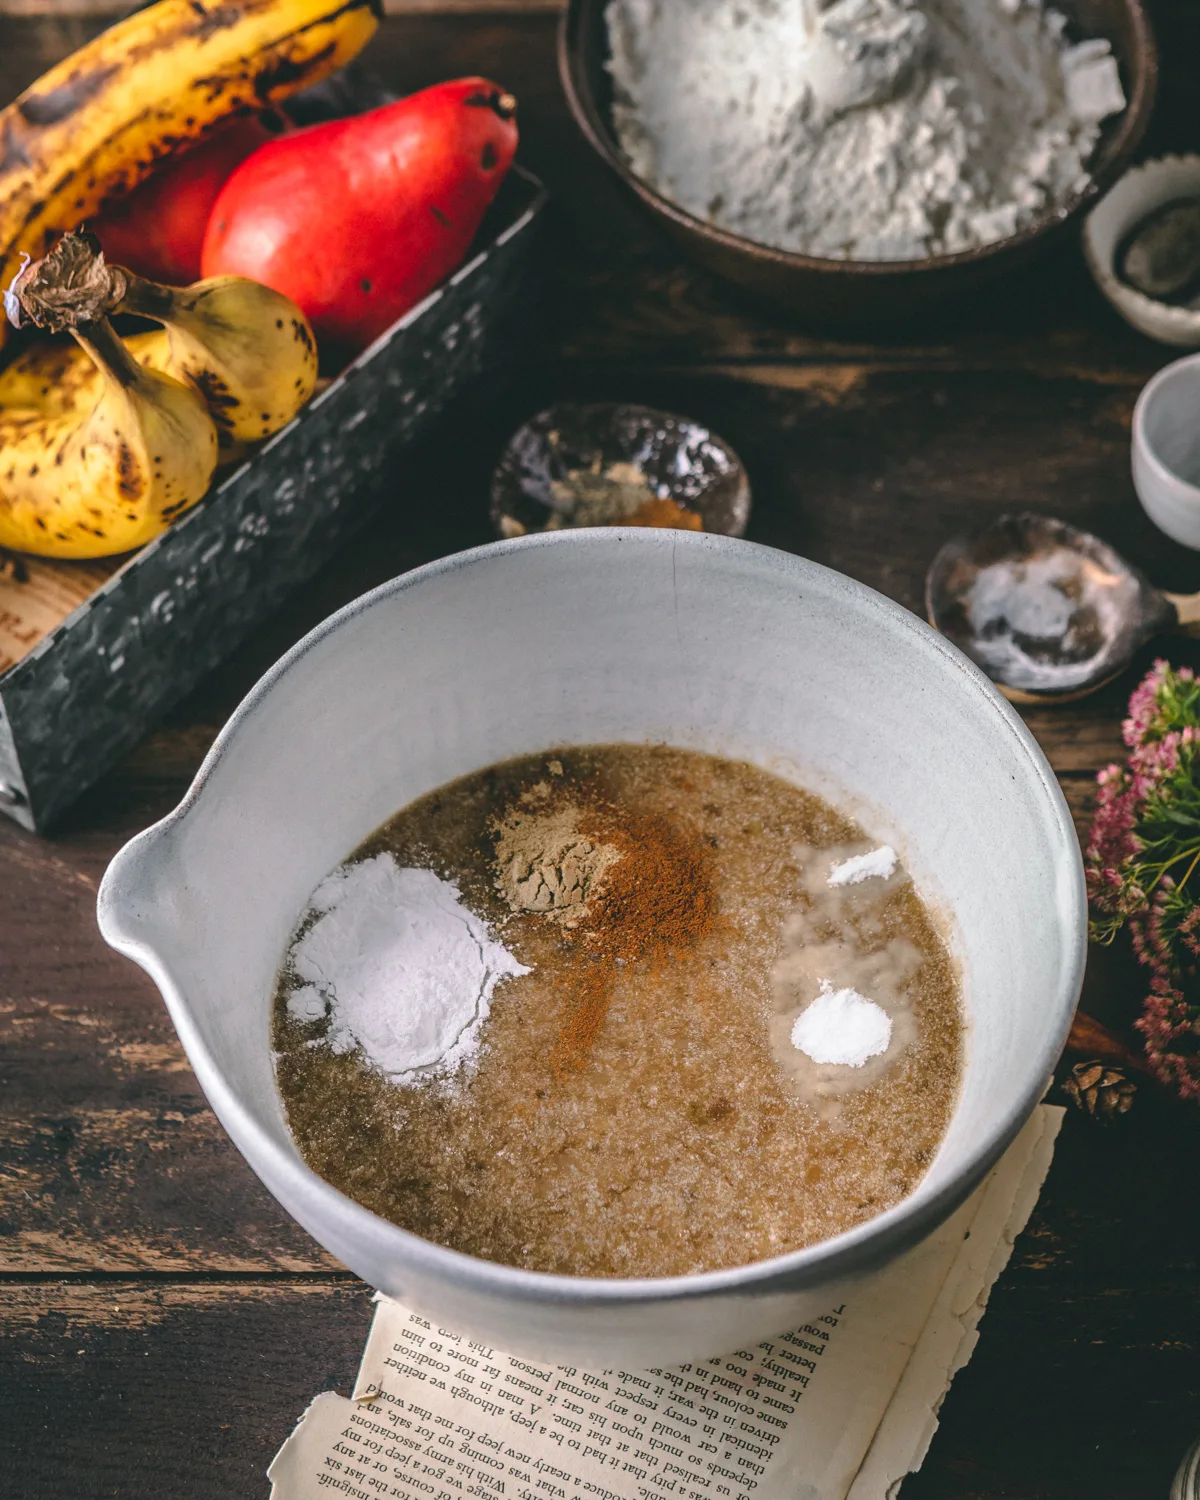
Add in your dry ingredients and finish with your flour. Fold in half of it and mix and then fold in the rest. You don’t want to overmix but you want it to mixed until all the ingredients are incorporated well.

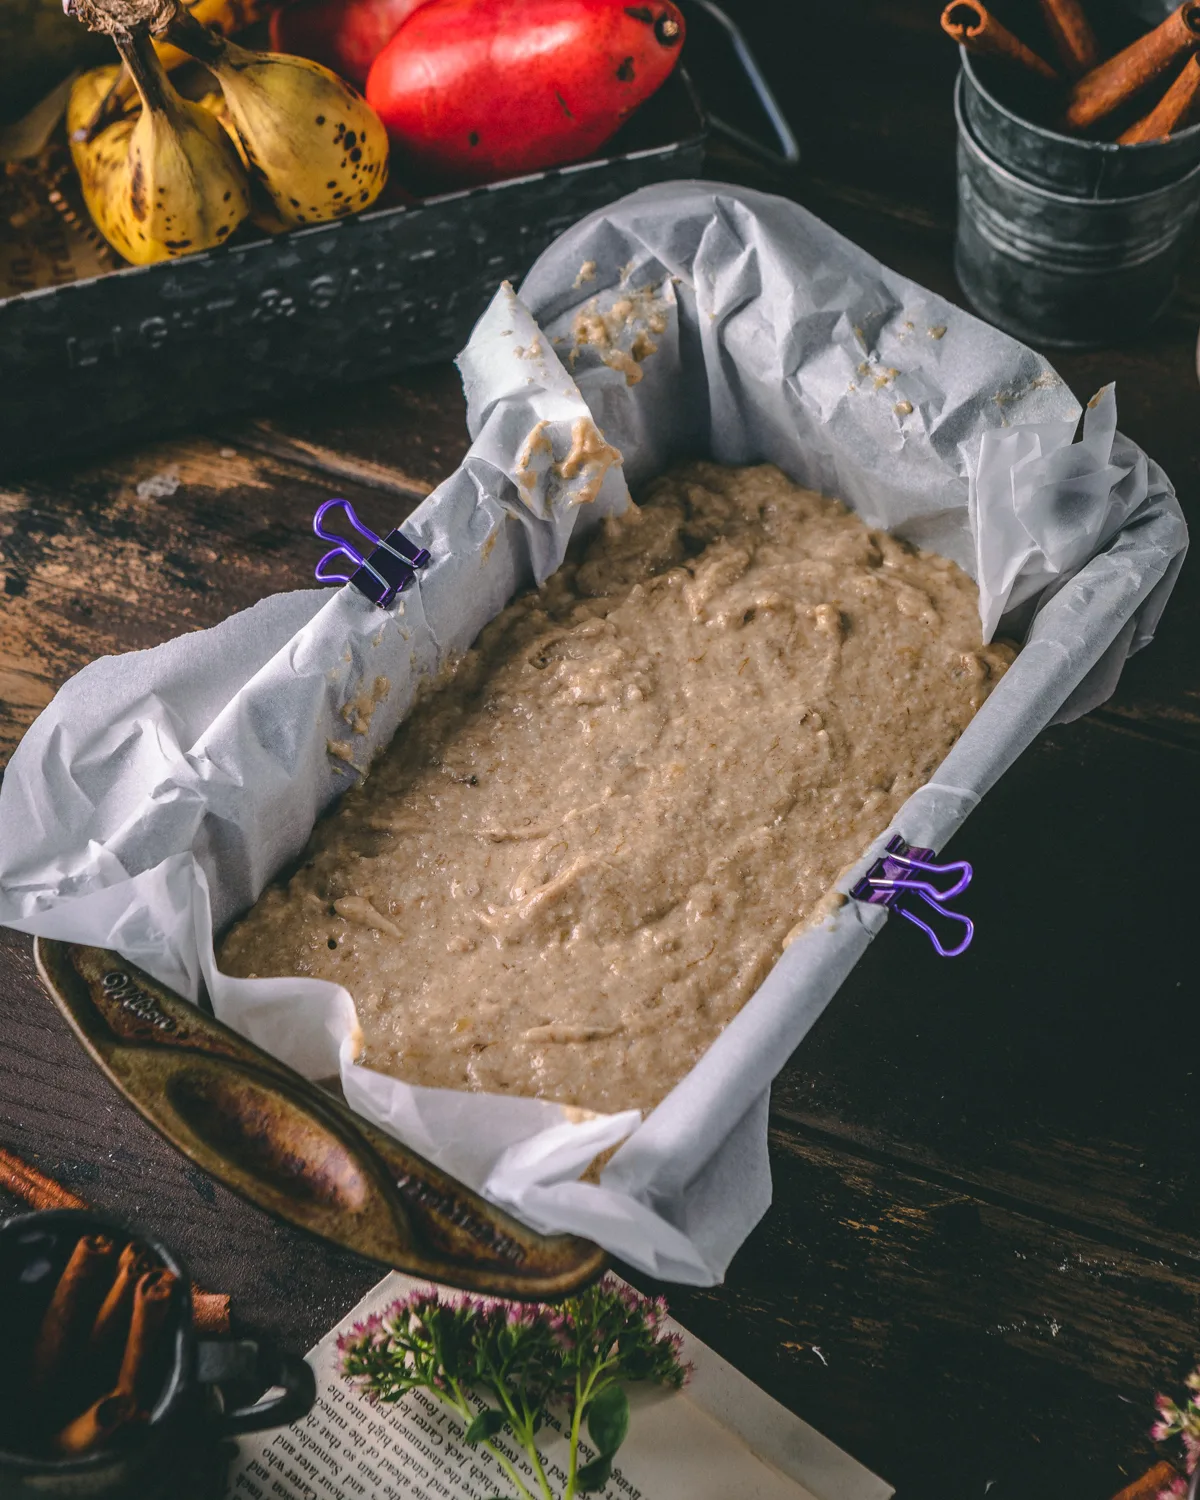
Pour the batter into your prepared loaf. Leave aside and, if you haven’t already, prepare your pear slices. I used paper clips to ensure my parchment paper doesn’t fold in. You could just as well spray the pan with baking spray.
Slicing your pears
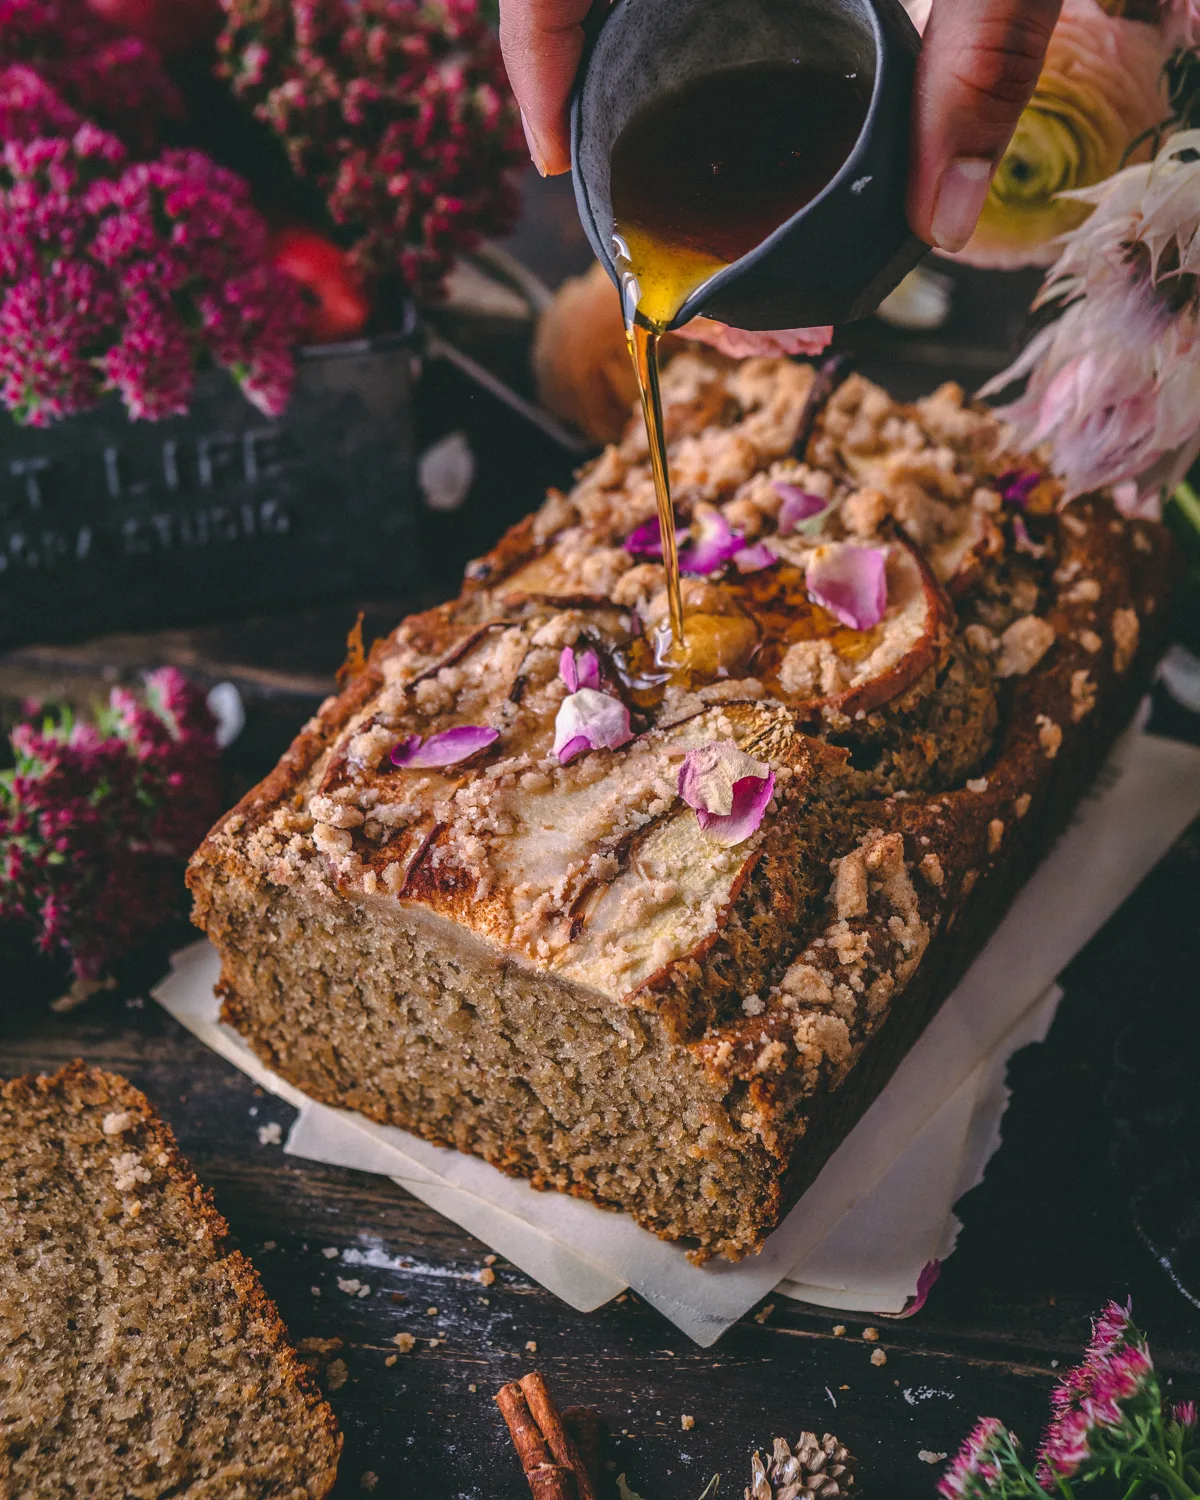
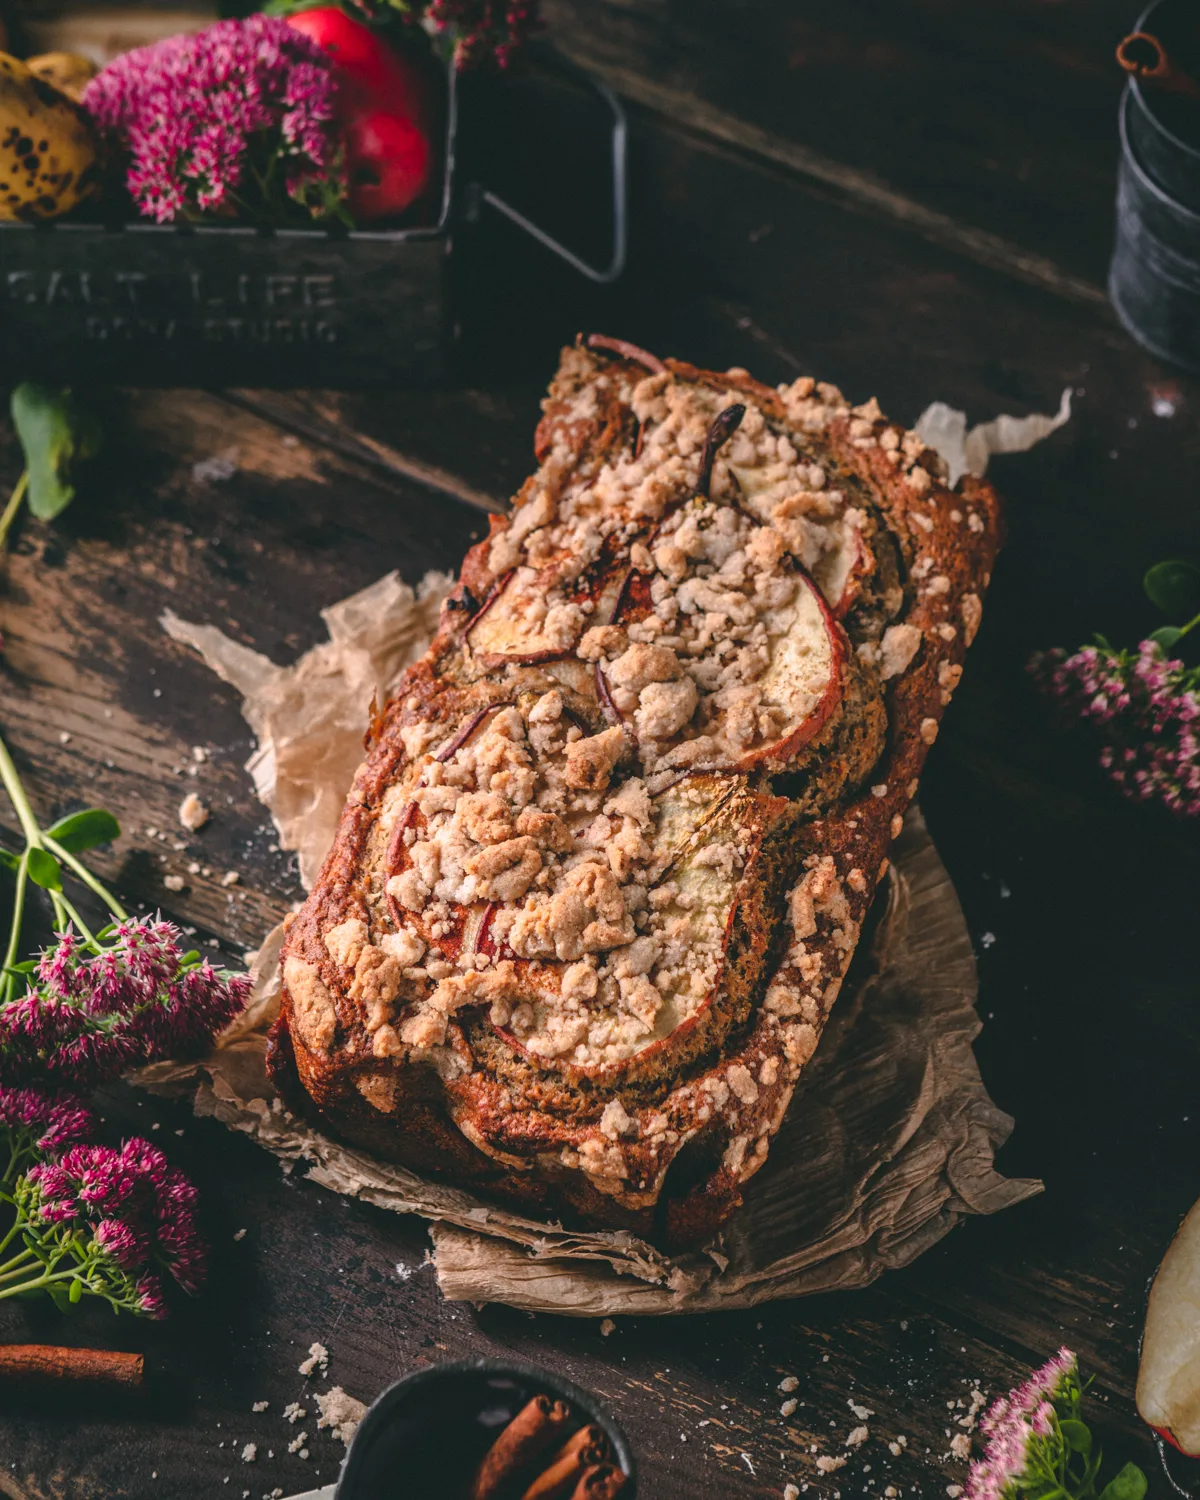
When slicing your pears to top the loaf, I included the stem and used the thick middle part to add to the rustic look of the cake. I usually cut the centre pieces from the middle of the fruit. They’re bigger and can cut evenly. I layer it on top and let them overlap. With the leftover pieces I munch on them as a snack or give it to my kids as a snack!
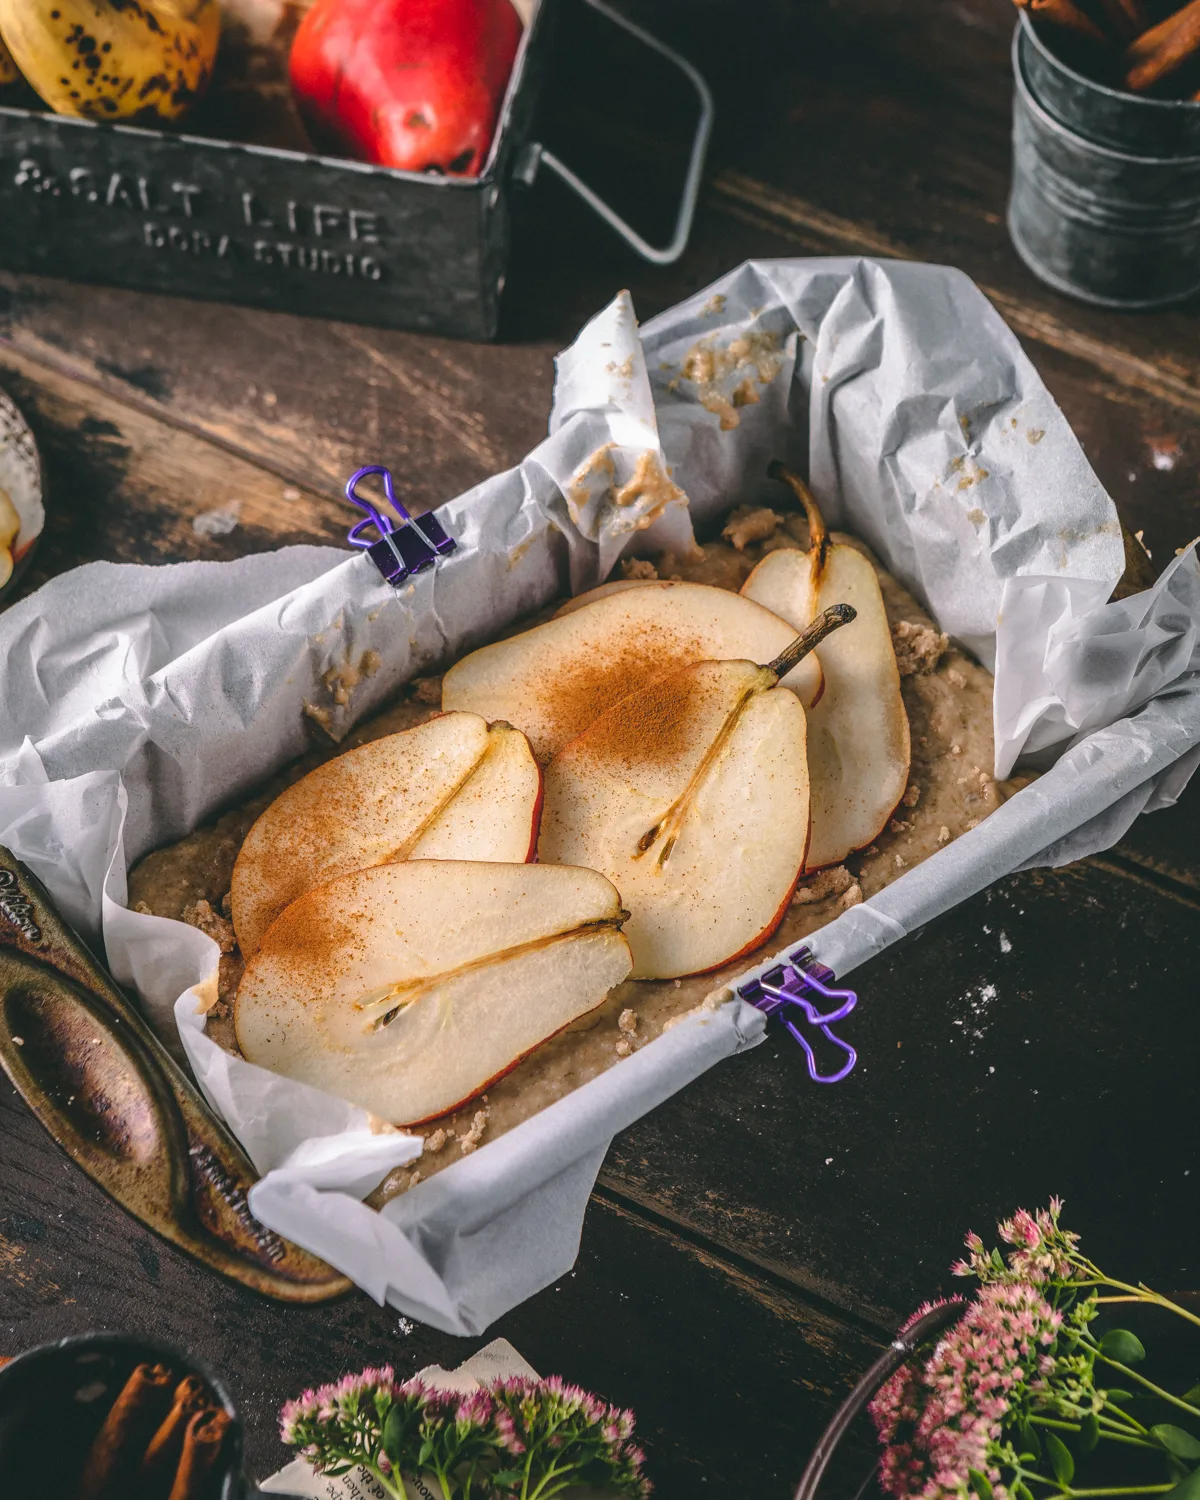
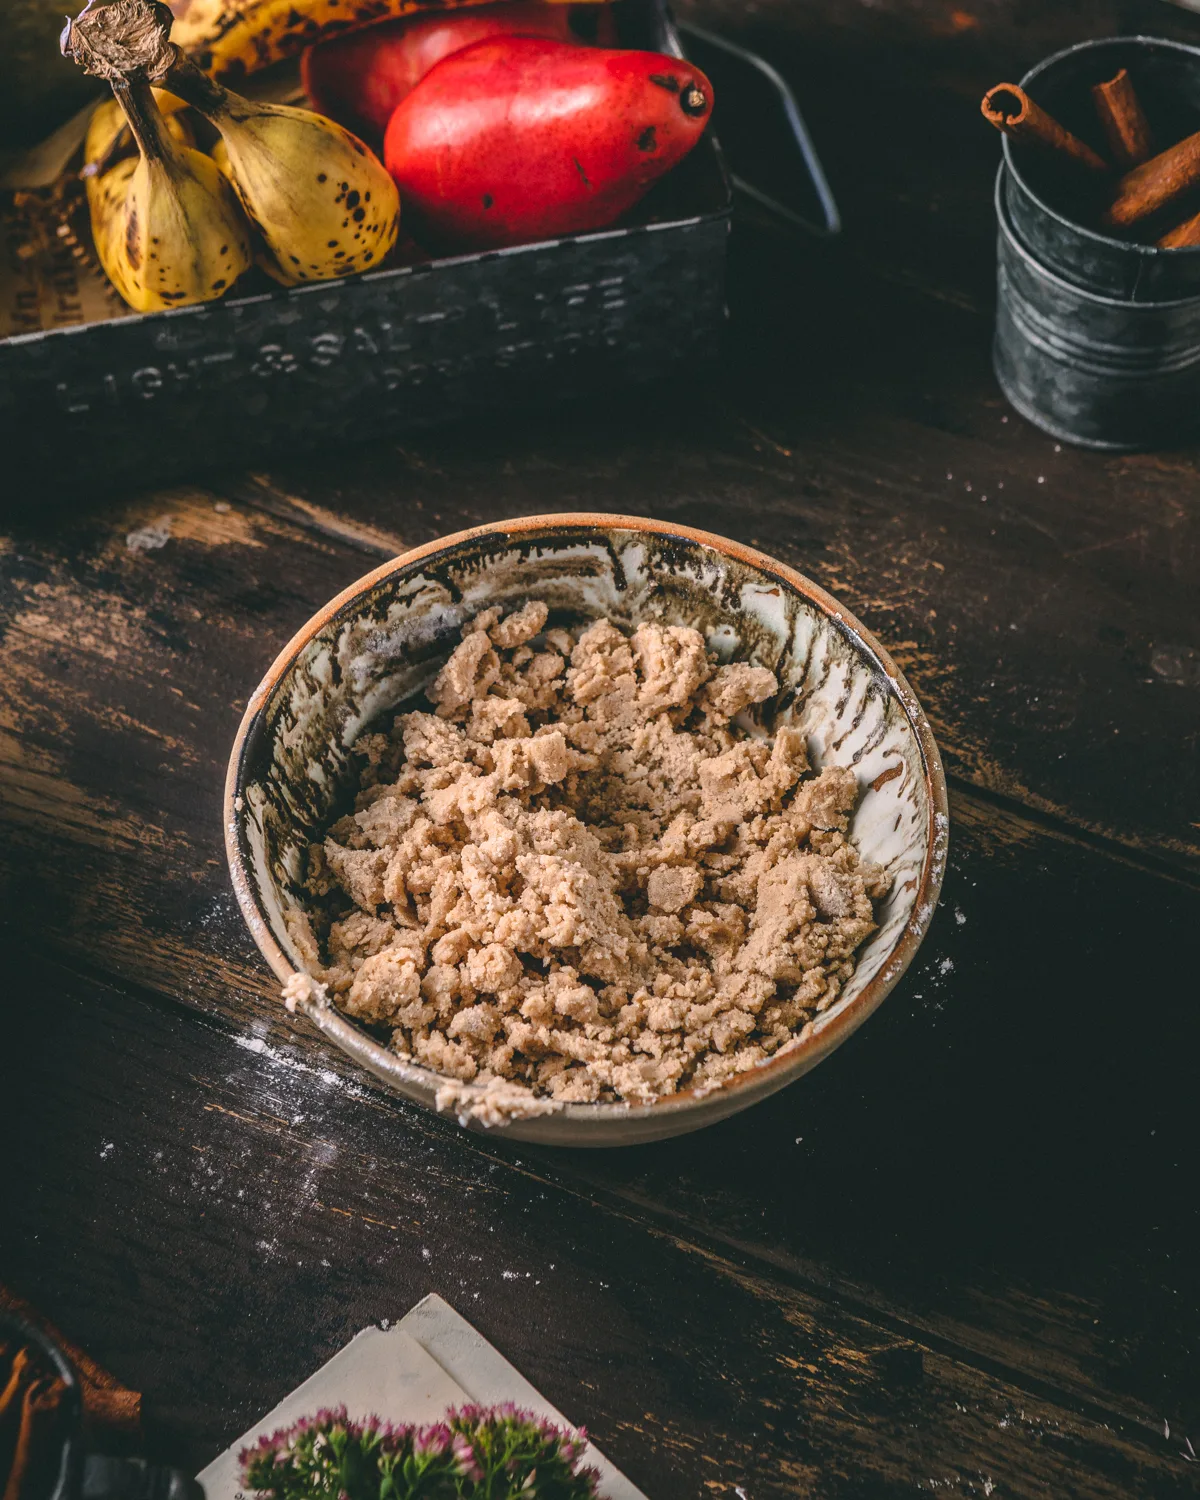
Streusel
If you’d like a little bit of crunch and extra sweetness, try adding some streusel on top. It’s completely optional, but in my opinion it would really take the cake from a 10/10 to a 20/10! Simply gather all your ingredients and sprinkle your streusel on top of the batter. I also sprinkled some extra cinnamon on top!

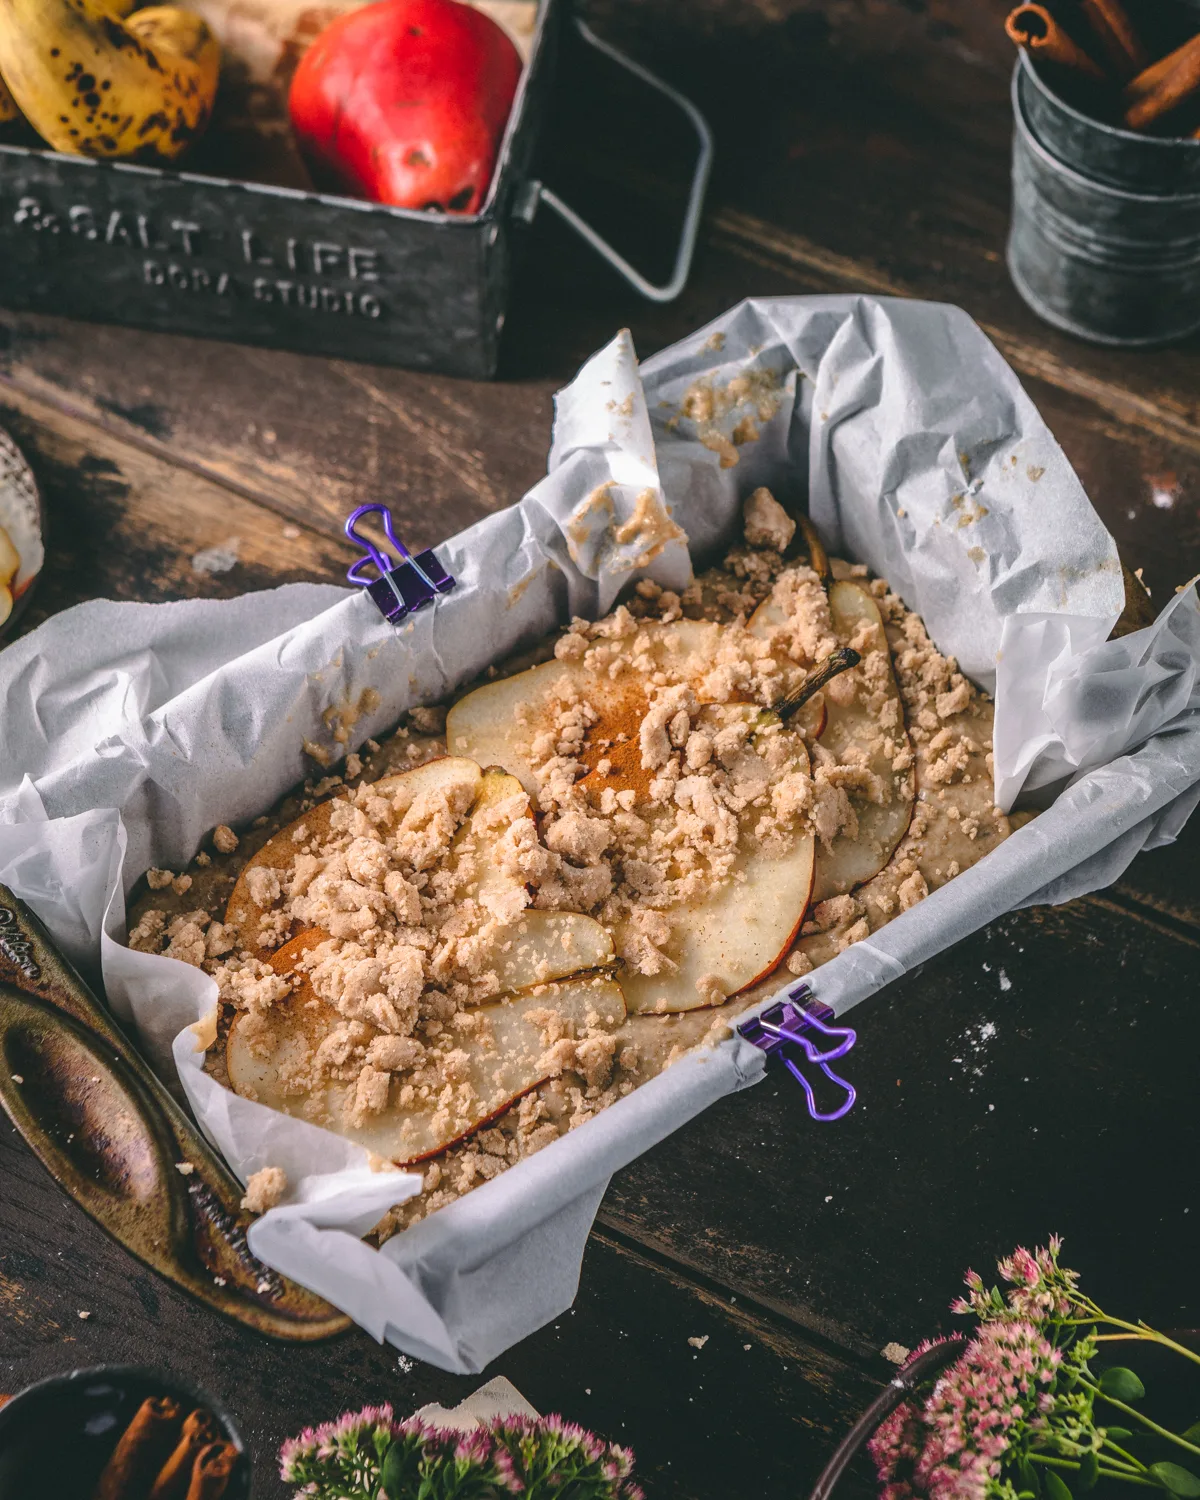
You’re done your masterpiece!
You’re done your beautiful recipe! Spare no time and eat it warm! Put your favourite vegan butter on top!

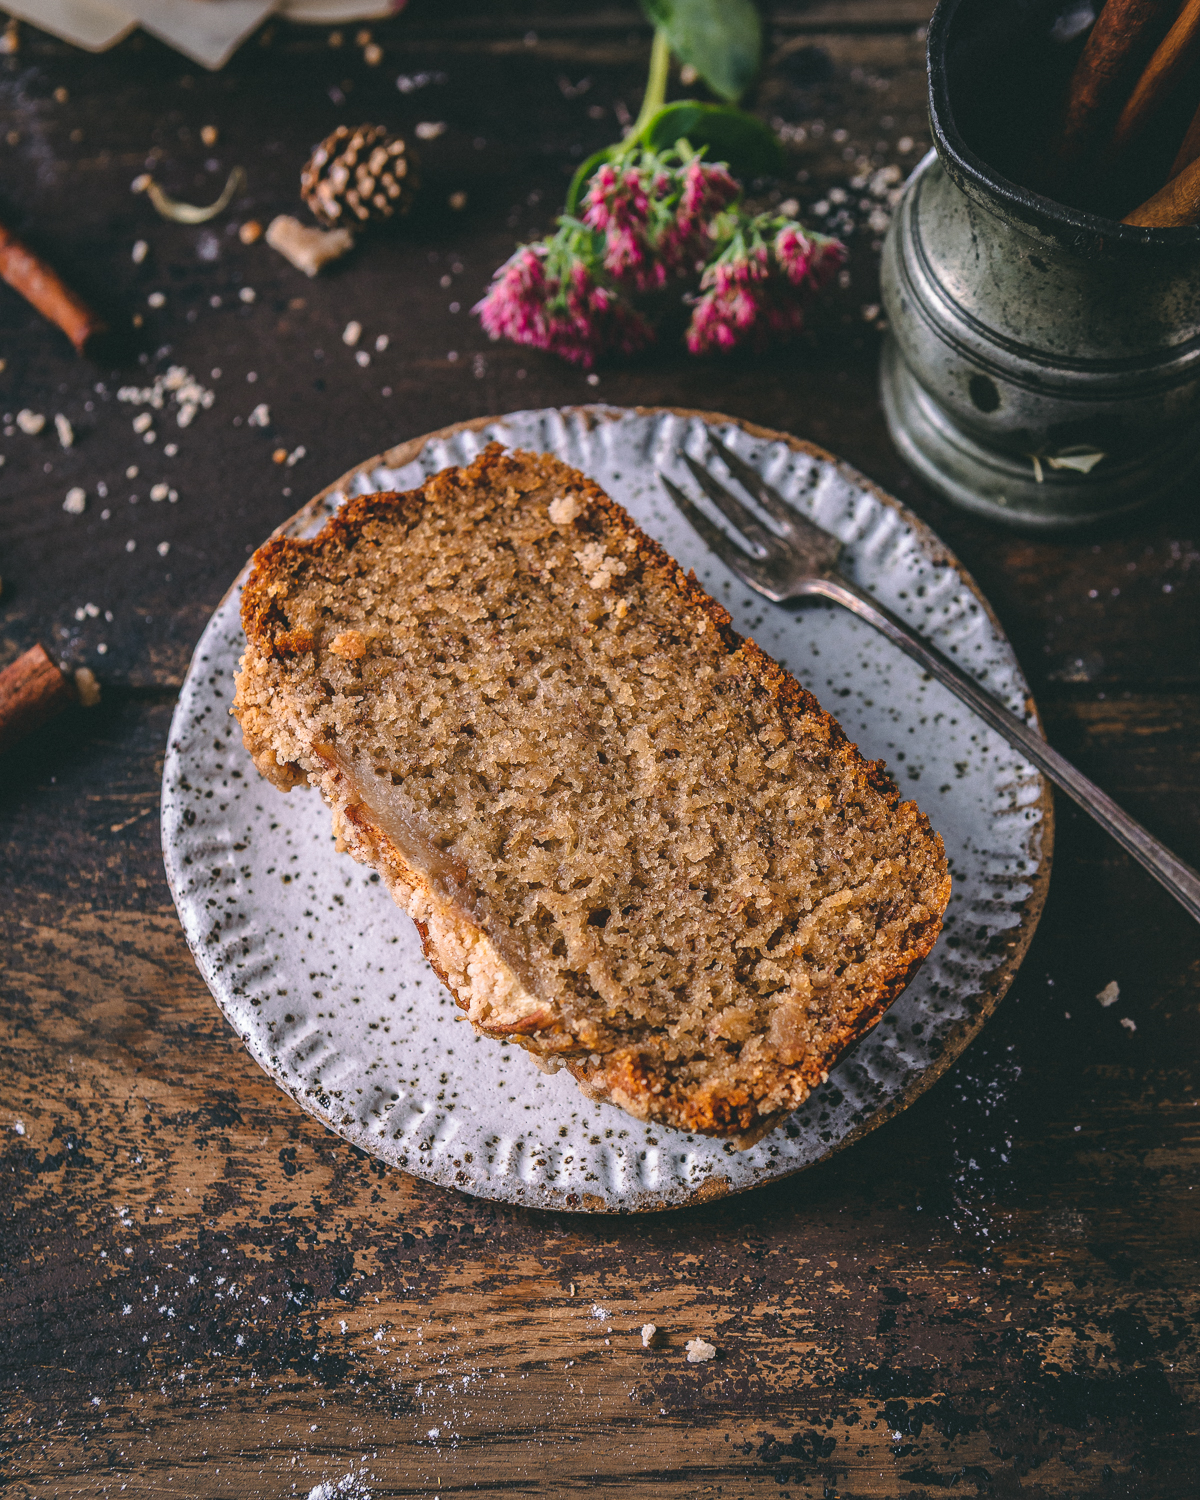
Final touches on top
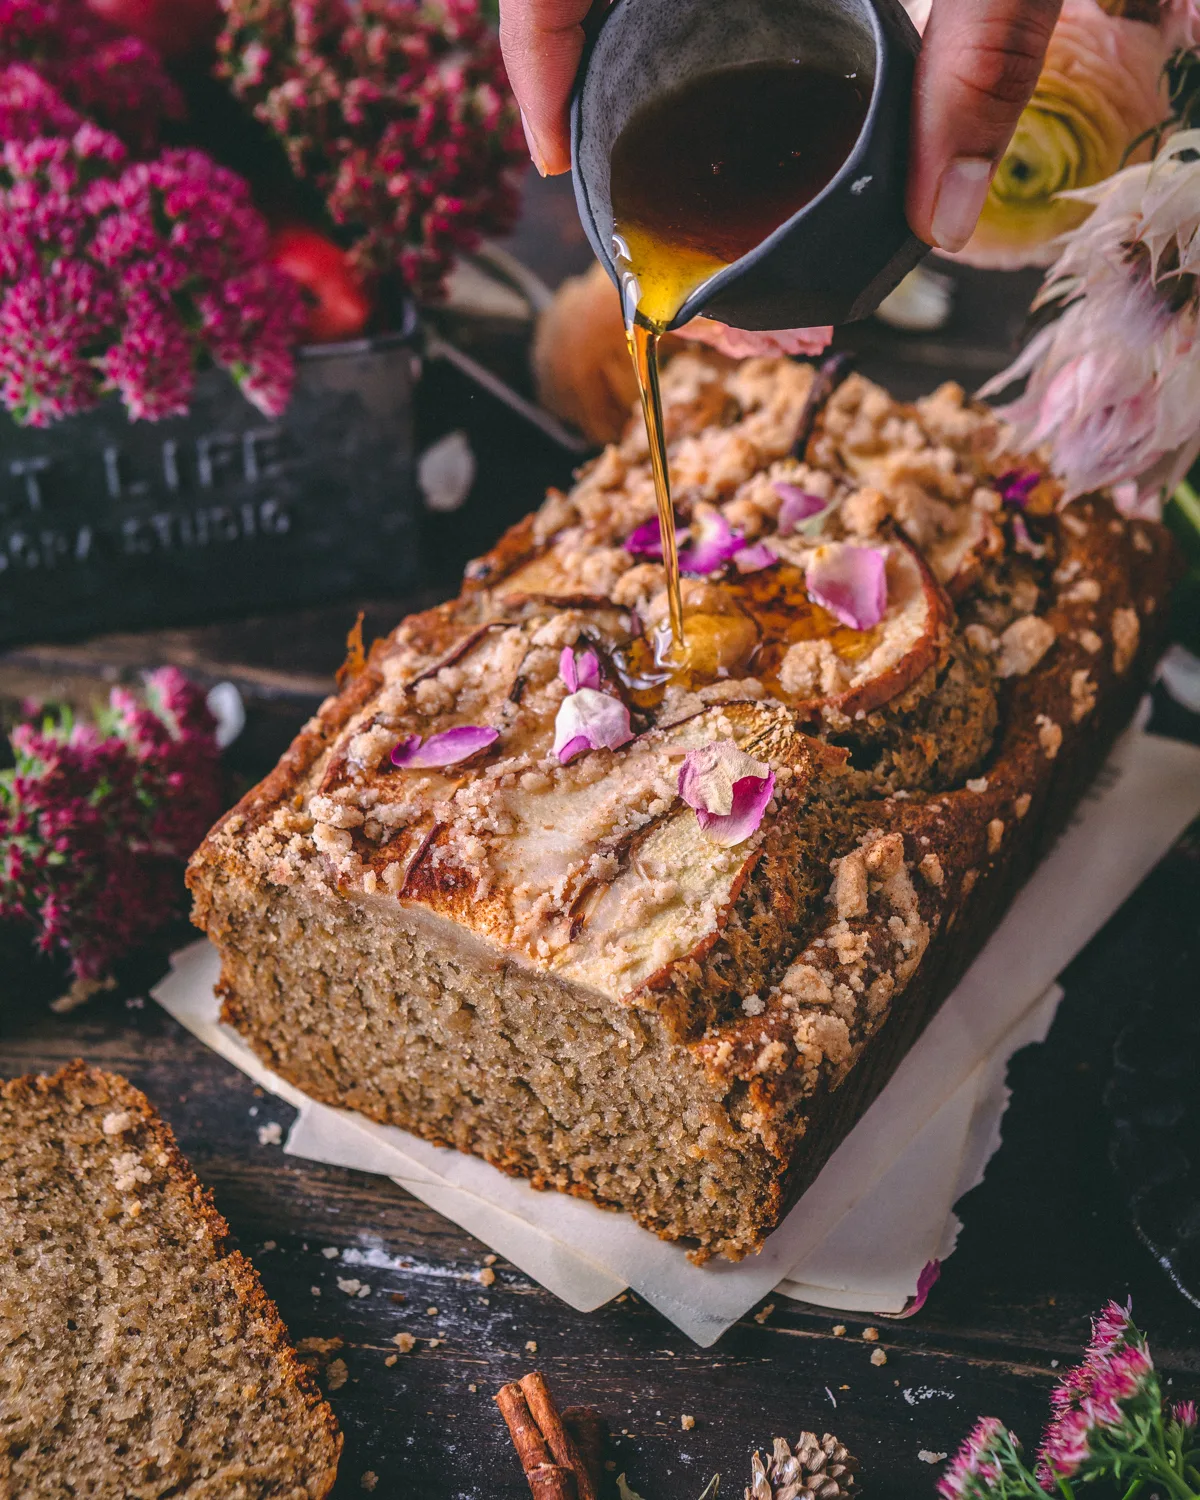
Finally, if you REALLY want to indulge you can drizzle maple syrup on top afterwards.
If you want it to look extra pretty, you can add some edible flower petals! Chopped nuts like walnuts or pecans would go really nice with this bread!
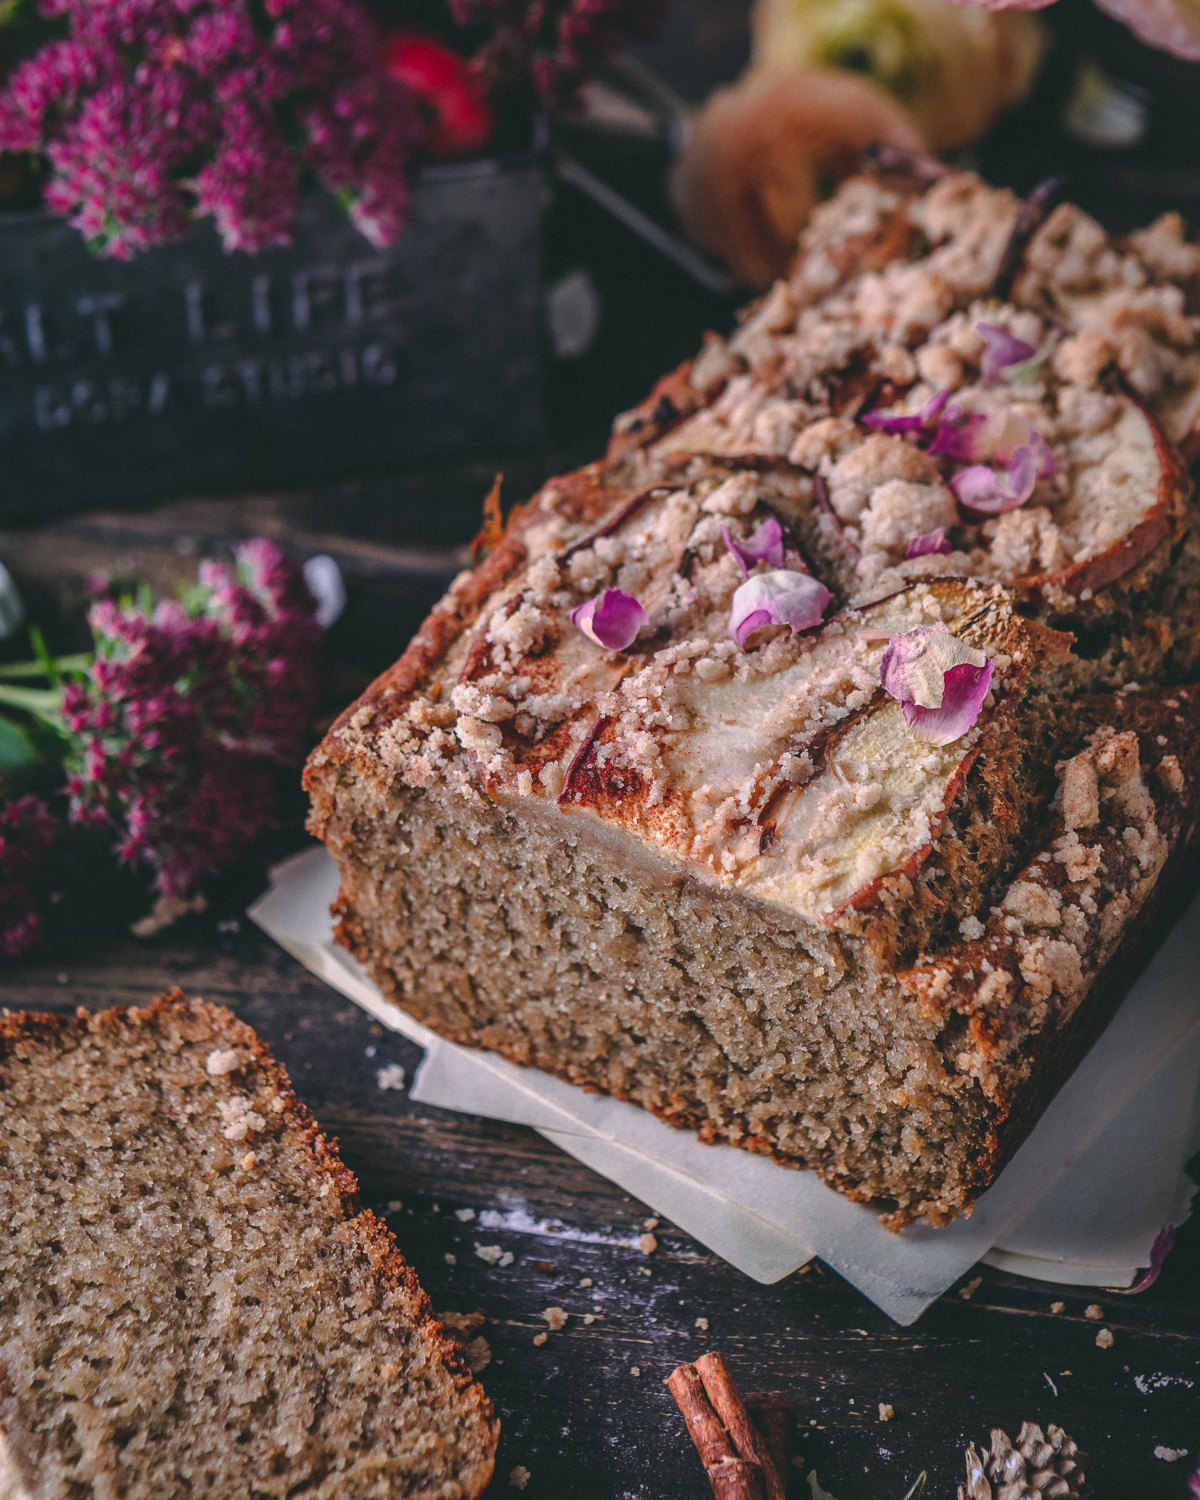
Can you replace the pears with another fruit?
Absolutely! I’ve paired it with everything. This is such a versatile recipe and pairs with just about anything. I’ve tried:
- Peaches
- blueberries
- raspberries
- cherries
- cranberries
Freezing and storing your extras
You may just be lucky enough to have extras at the end of your day! If you do, just place it sliced or unsliced in an air tight container. Keep it on the countertop for a day or two and in the fridge for up to 5 days. You may place it in the freezer if needed. I would keep it in a seal proof container for up to 3 months. Allow it to warm up to room temperature for a couple of hours. Should be fine!
Can you turn this loaf into muffins instead?
Yes! You can make muffins instead of a loaf. I would fill in my muffin tray and bake in the oven at 350F for about 20-22 minutes or until a toothpick comes out clean. This can be a perfect snack idea for when your kids (or you!) go to school or work.
You could add some protein powder to make it packed with protein as well. A tablespoon of protein powder shouldn’t make or break the recipe.
This cake was just heaven. Hope you try it!
Inspired to make more like this? Try these:
As always, if I’ve inspired you to make this loaf or any other recipes please do take the time to write a comment below or send me a message or photo @sculptedkitchen.com
Thanks so much! I really appreciate you!
Equipment
- Stand alone mixer
- Shredder use the side that has larger holes
Ingredients
- 1 tbsp baking powder
- 3 medium banana very ripe
- 1 cup coconut sugar brown sugar would be fine
- 1/2 cup coconut oil *see note
- 1/2 cup milk plant based, room temperature *see note
- 1/2 tsp cinnamon powder
- 1/2 tsp cardamom powder
- 1 cup pear peeled and shredded
- 2 1/4 cup flour
- 3 pears sliced, *see note
Streusel
- 1 tsp baking powder
- 1 cup flour
- 3 tbsp brown sugar
- 2 tbsp coconut sugar or white sugar
- 1/4 tsp cinnamon
- 4 tbsp butter vegan
Instructions
- Preheat the oven to 350F and prepare a loaf pan with either baking spray or parchment paper. I used paper clips to keep the edges in tact (see photo)
- In a large mixing bowl, add your milk, coconut oil, sugar, pear and bananas and mix well
- Add to this your spices and powders
- Add your flour in three batches and mix well between each addition
- Pour into your loaf pan and even out the top or settle the batter by lightly banging it on a surface
- Slice your pears carefully. Use the middle slices of the pear. Save the remaining slices to munch on for a snack.
- Lay it on the loaf batter letting some slices overlap
- Make the streusel and sprinkle it on top. Adding more or less is your preference. You may have leftovers that you can seal and put in the fridge for later use.
- Bake in the oven for 70 minutes or until a toothpick comes out clean
- Let it cool completely and drizzle maple syrup before serving
- Enjoooooooy 🙂
Notes
Nutrition
© sculptedkitchen.com. All content and images are protected by copyright. Please share this recipe using the share buttons provided. Do not screenshot or republish the recipe or content in full. instead, include a link to this post for the recipe.
