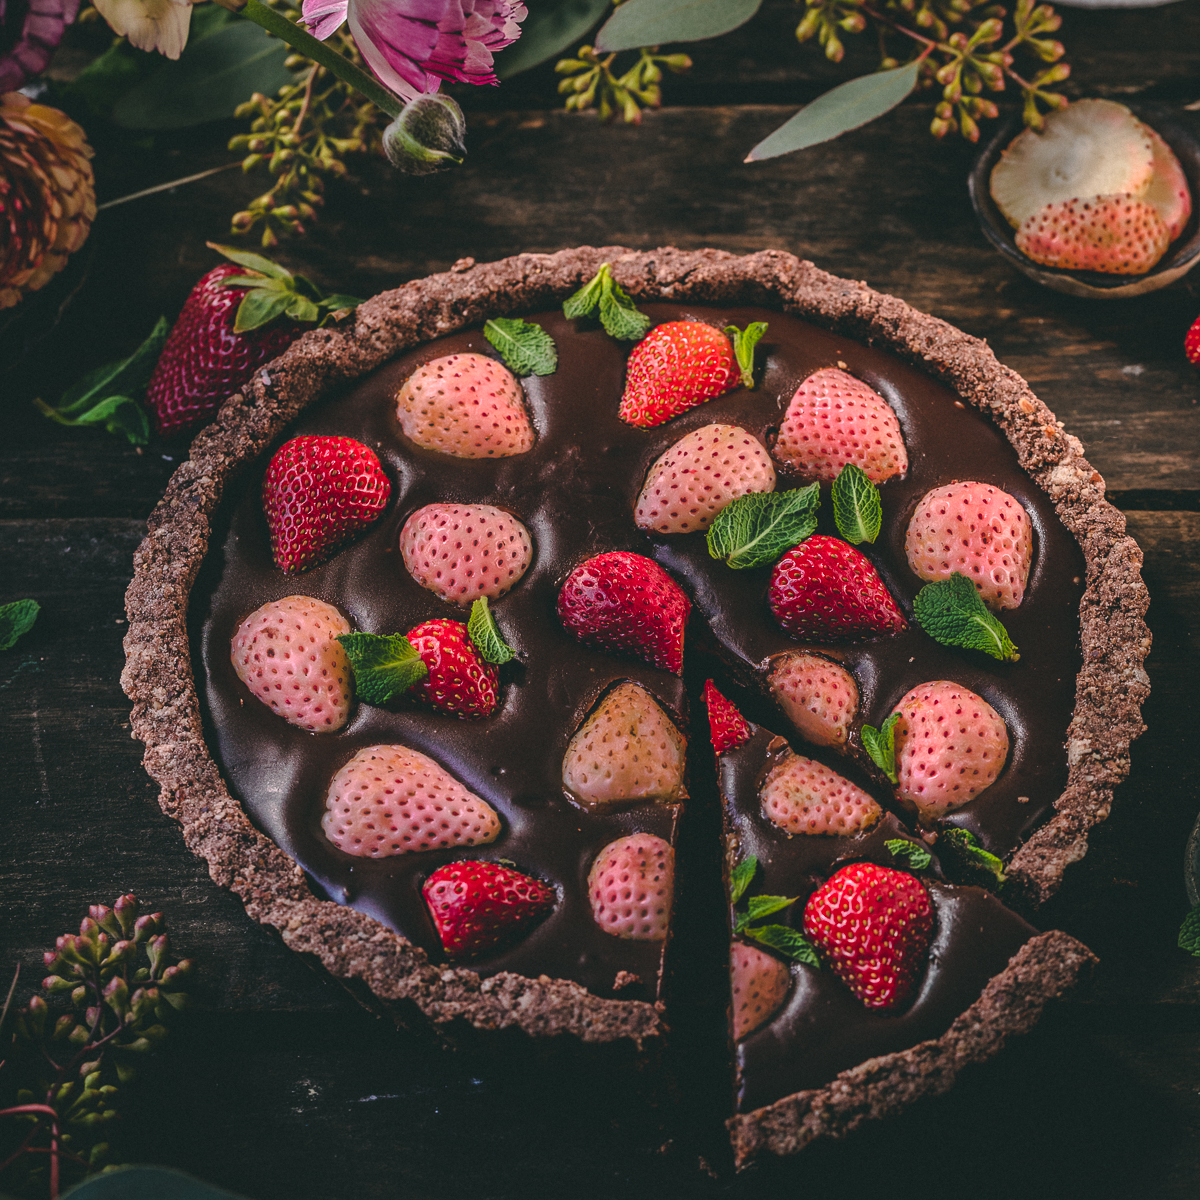
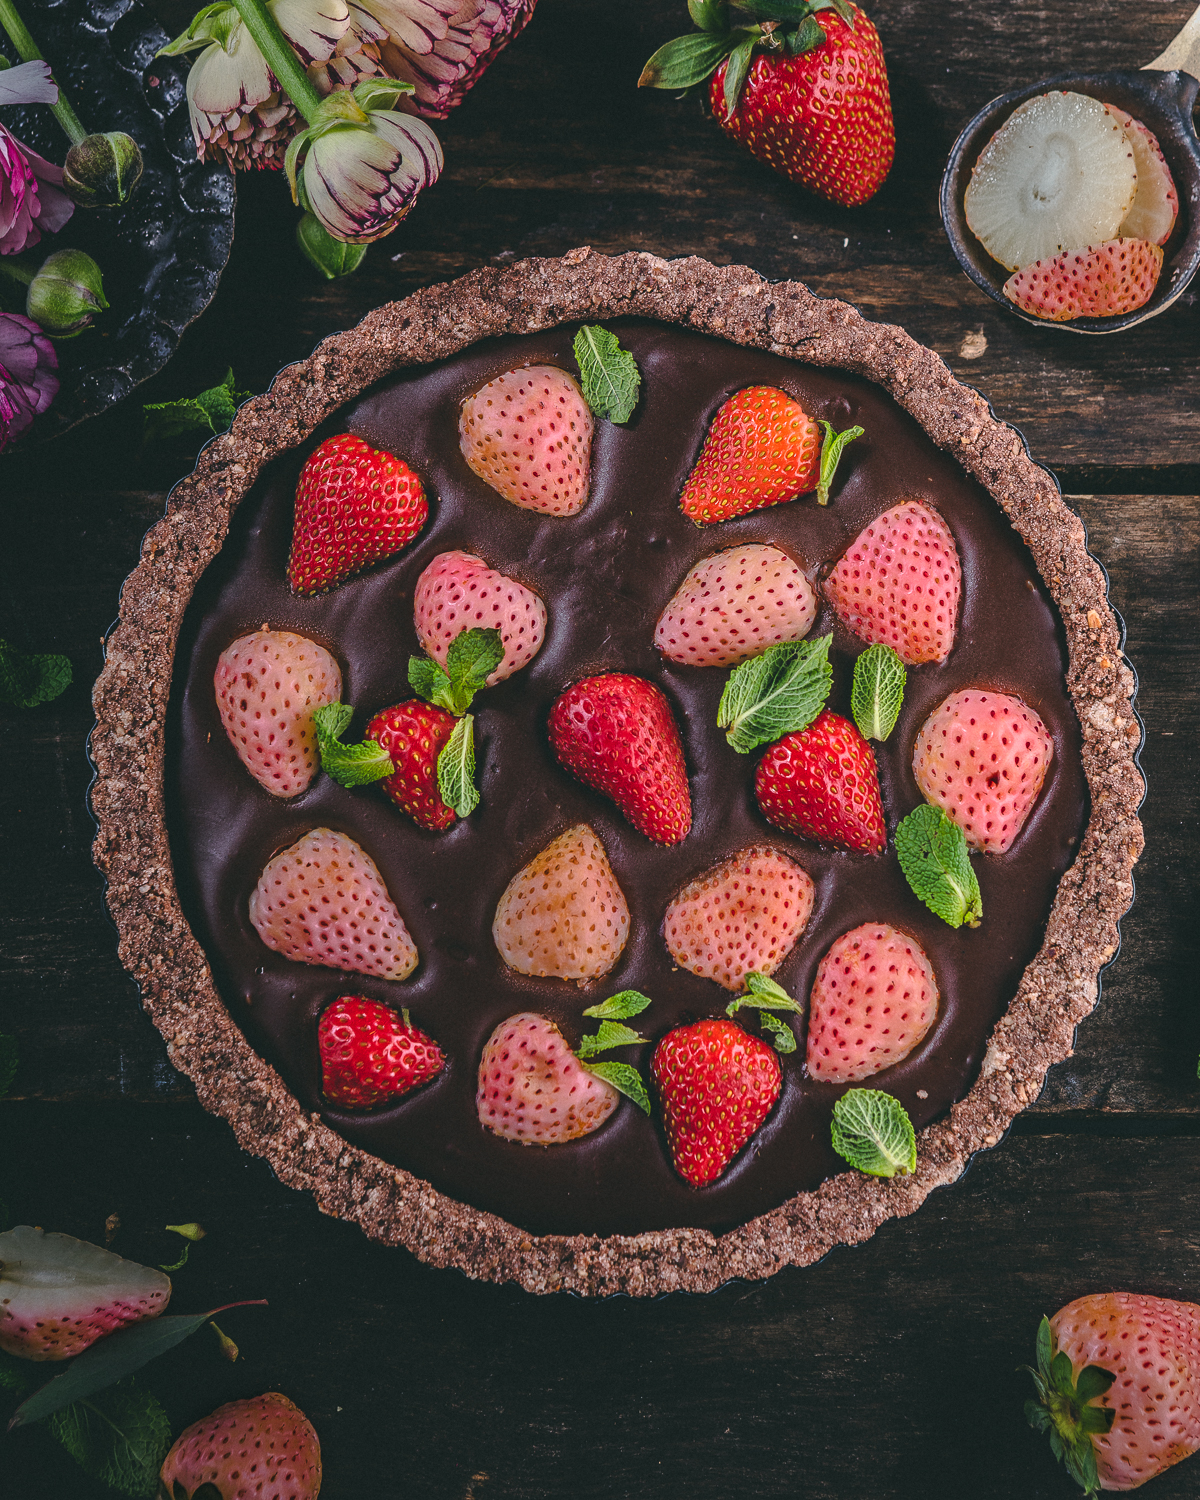
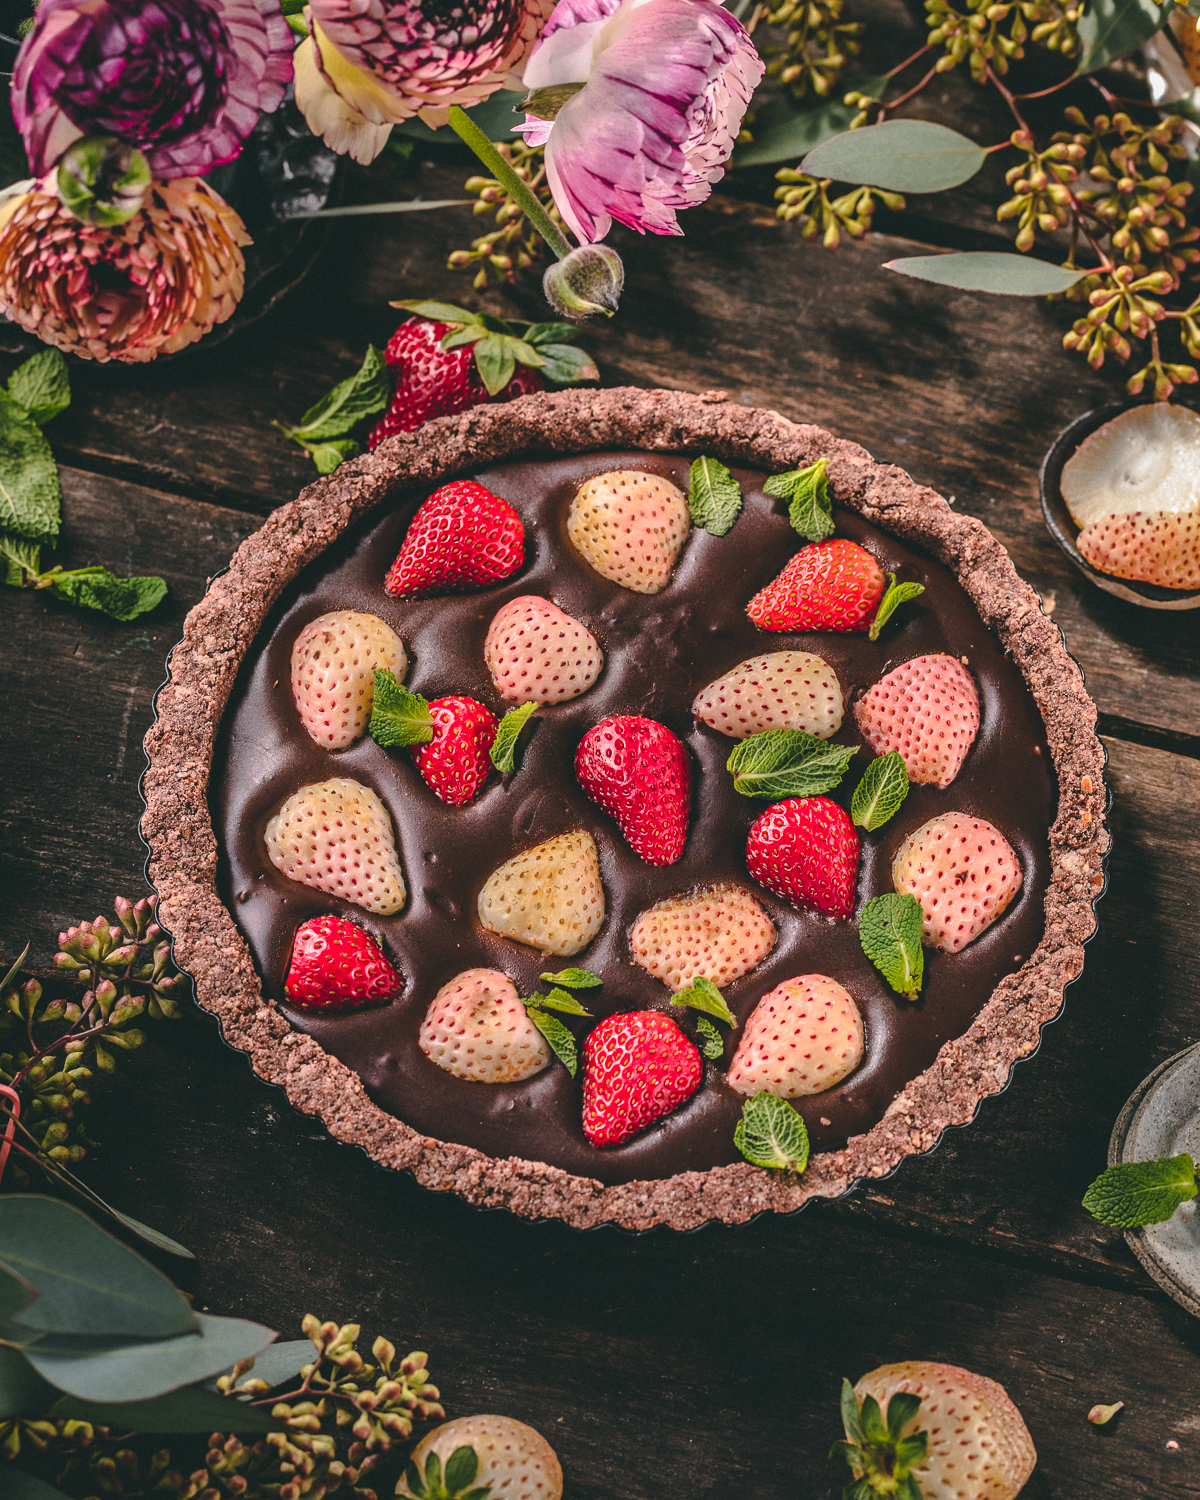
The combination of chocolate and strawberries come together in the best way with the hint of mint in this lush and delicious tart! Gluten free, vegan and absolutely addictive! Impress your friends at your next get together!
Making the crust
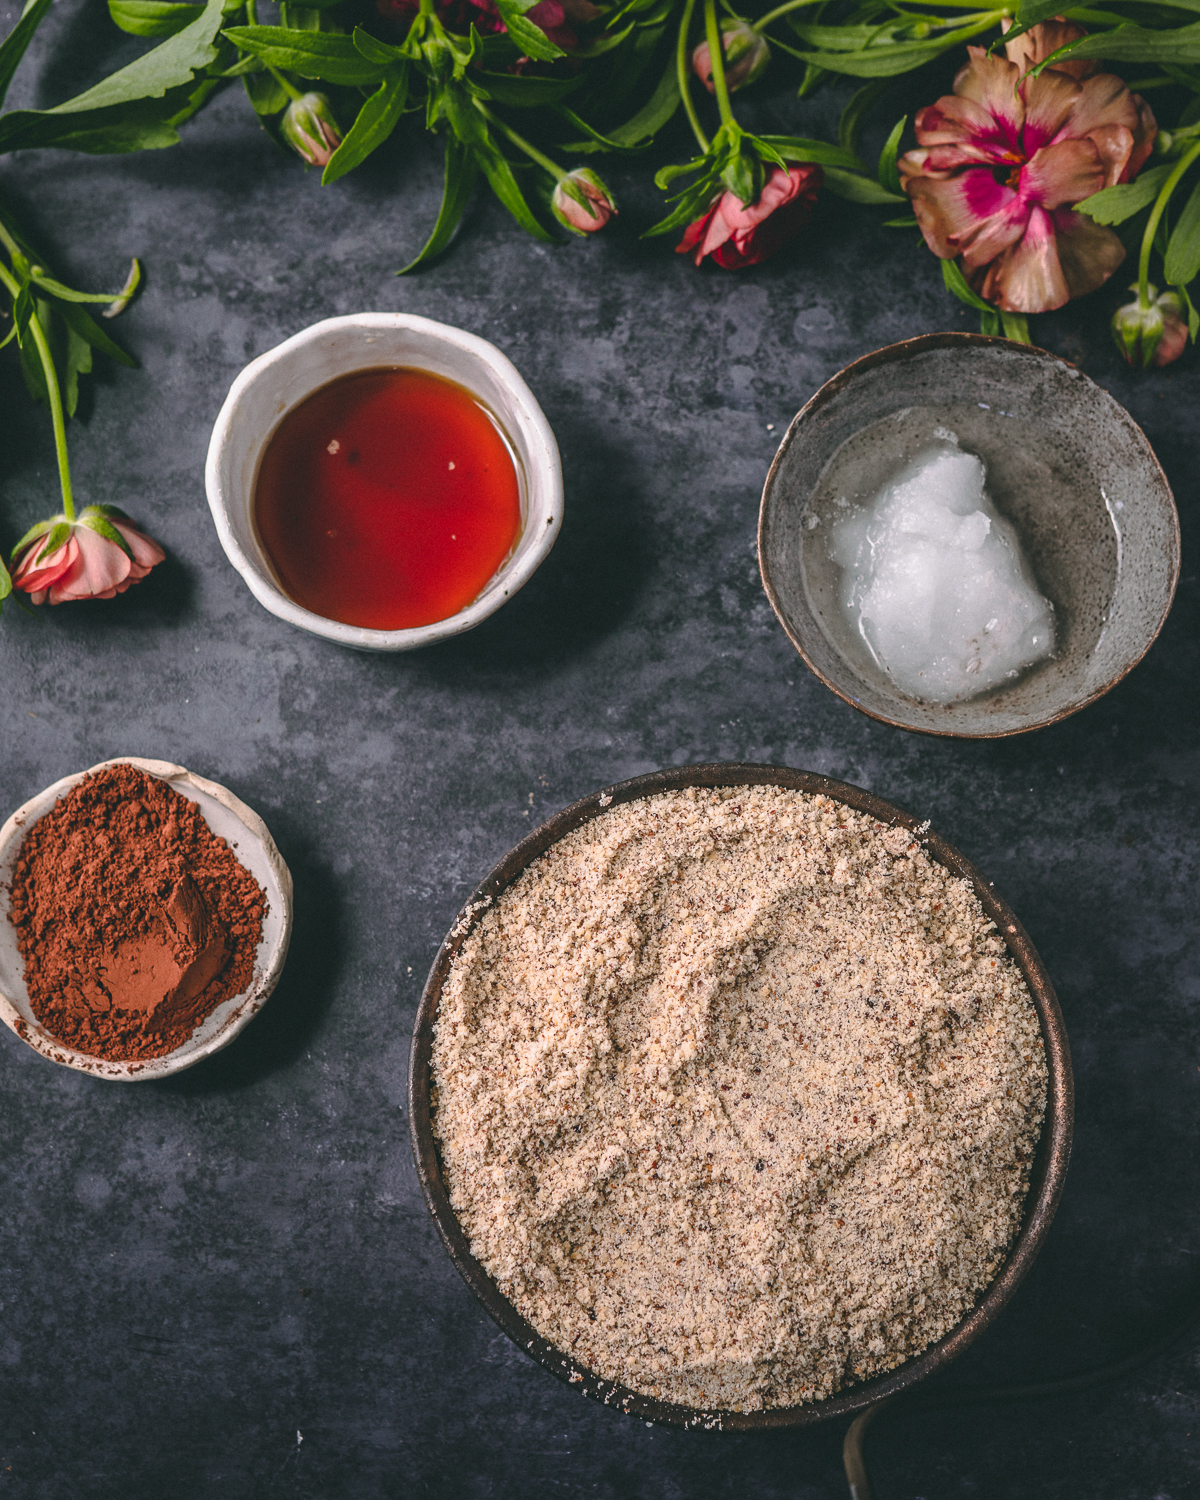
This crust is gluten free and vegan and come together in FOUR ingredients:
- Coconut oil
- Maple syrup
- Hazelnut/almond flour
- Cocao powder
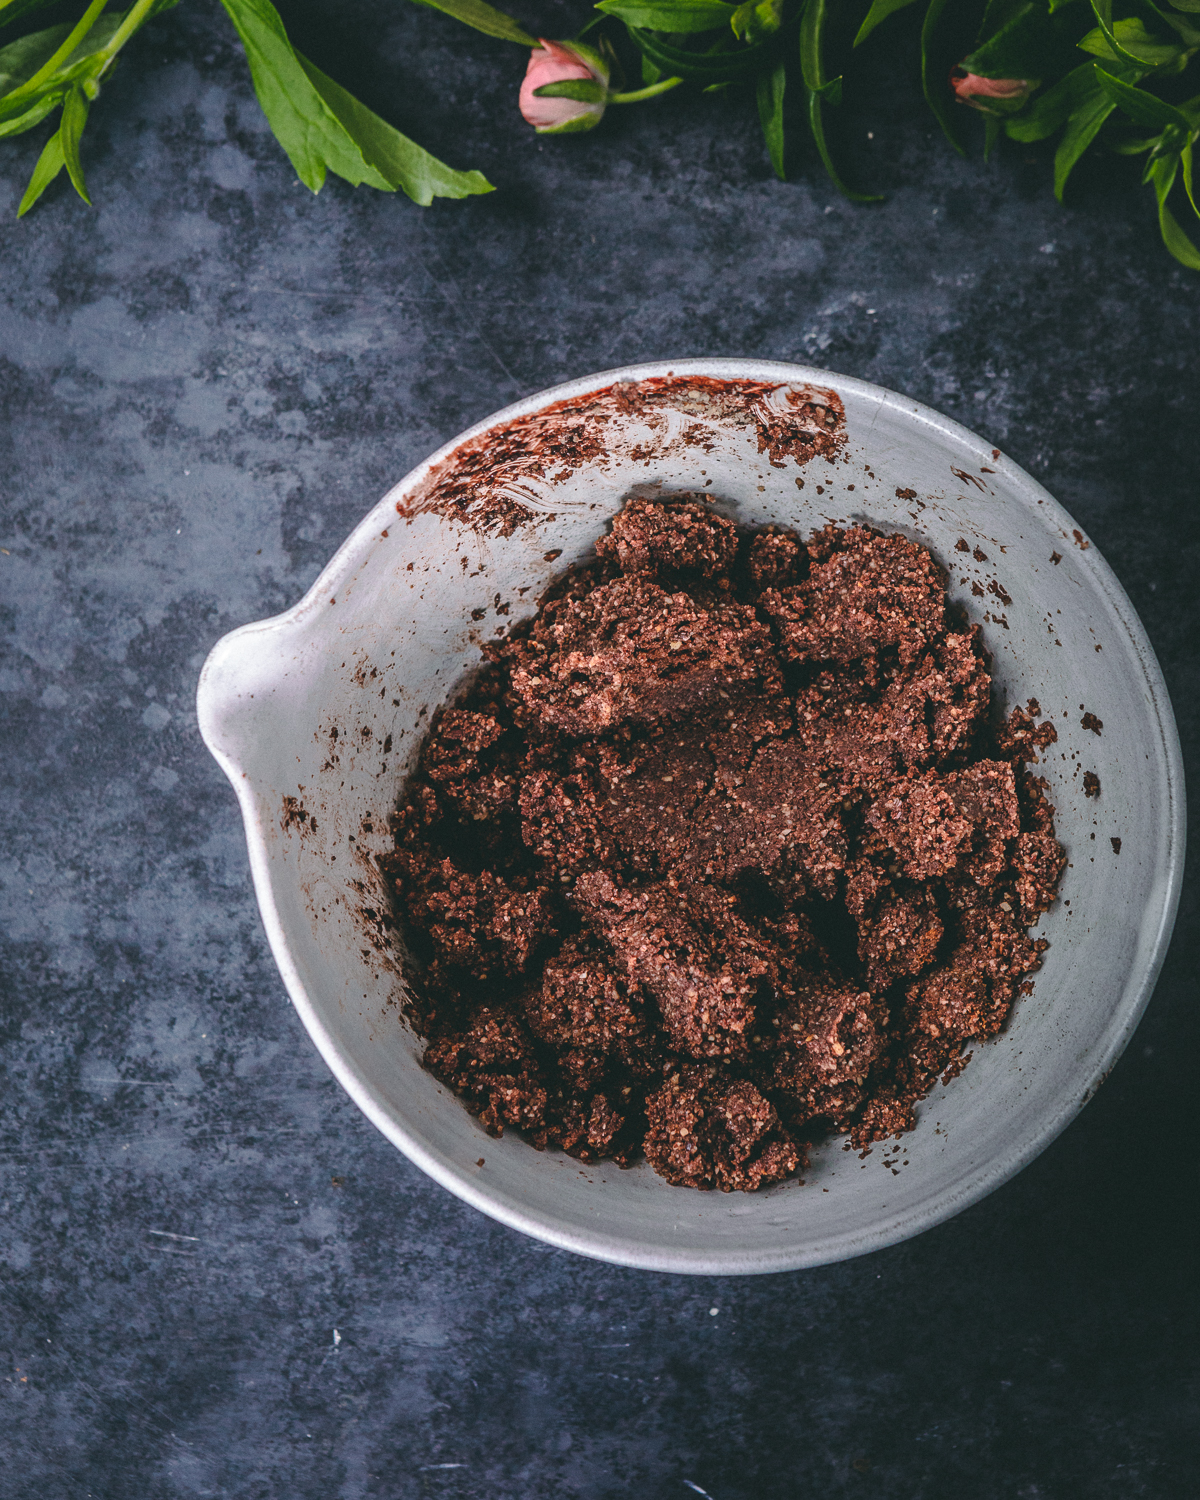
Depending on the ingredients, sometimes the crust will feel dry and crumble in your fingers. If this happens to you, you can always add a tiny bit more maple syrup.
Making the Chocolate Mousse
The mousse is also so easy and incredibly rich! You will need:
- 15 oz dairy free chocolate
- 1 can of coconut cream
- Mint extract or 10 leaves of mint
- A pinch of vanilla
This is such a rich and delicious way to make dairy free chocolate mousse.
Steps to creating your perfect tart:
Crust
- Gather your ingredients in a large mixing bowl. Mix it all together with your hand. It should start to form and be slightly sticky
- Get your tart mold ready. You can do one large one or a few smaller ones.
- The longest part is just to shape the sides of the crust. It takes awhile but so worth it!
- Place it in a preheated oven at 350F for 5 minutes. Remove and let it cool completely
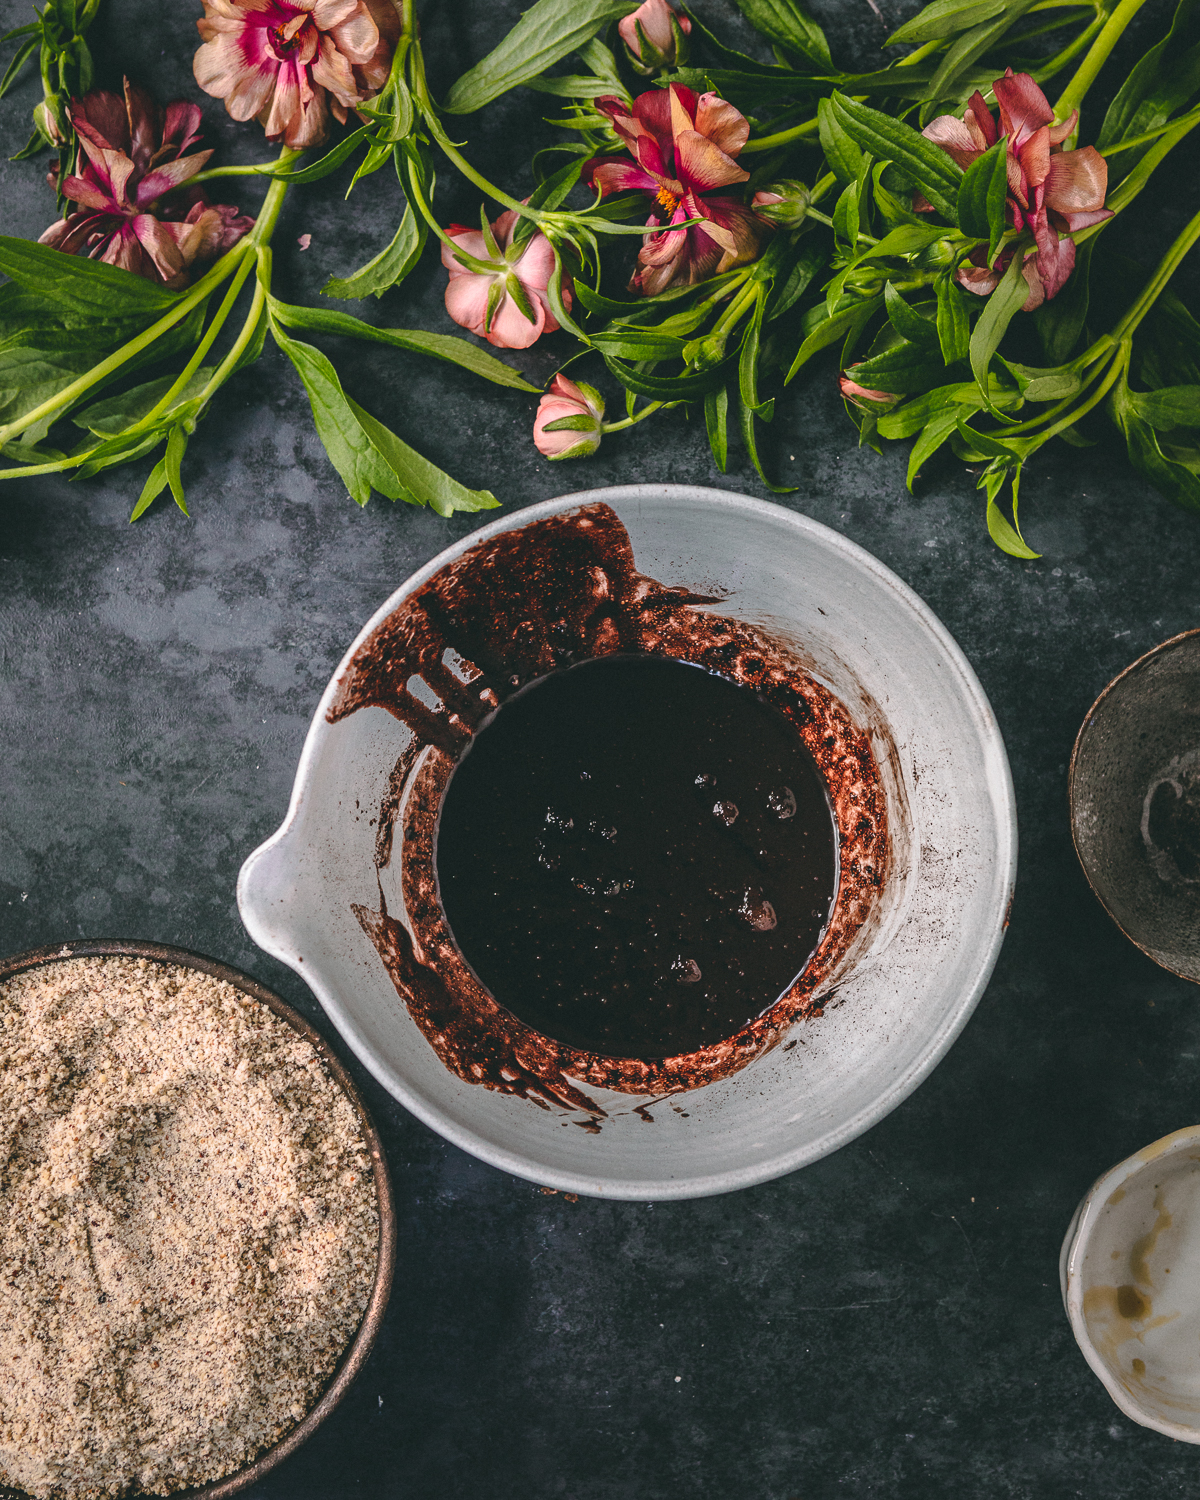
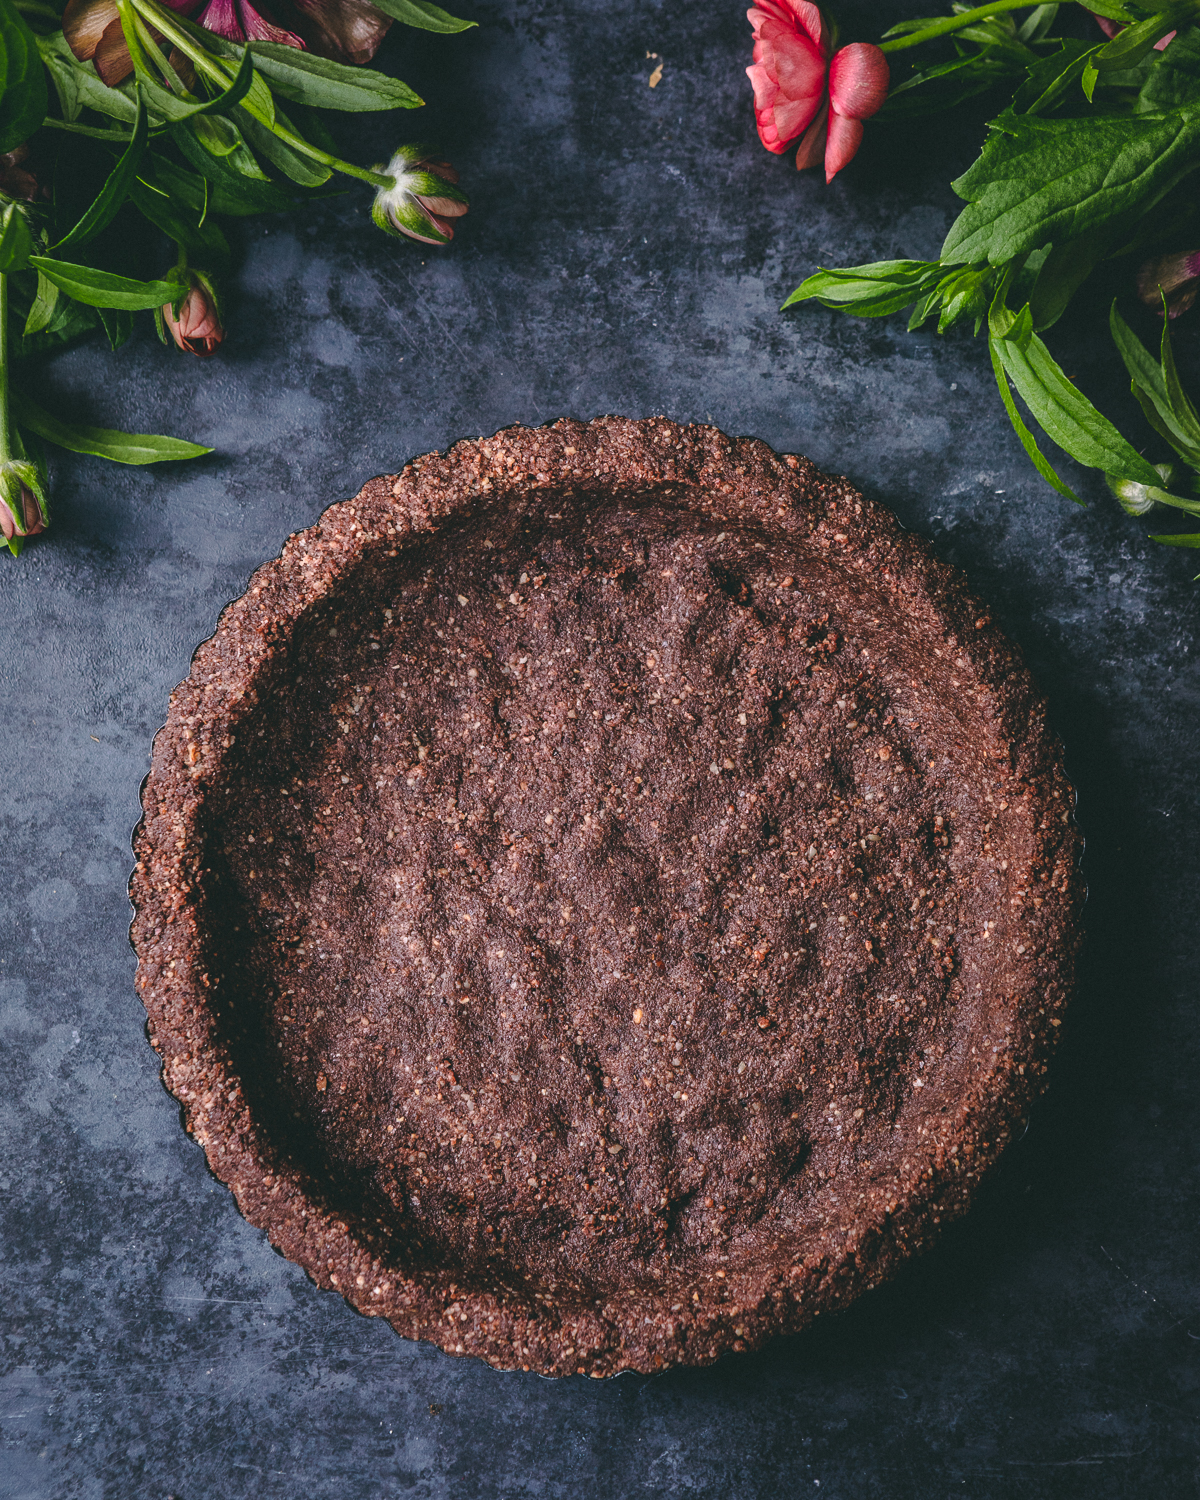
Filling
- Place your coconut cream can contents into a small pan. Bring it to boil. Don’t leave the area as it’ll boil over.
- While it’s warming up, place 15 ounces of chocolate, your mint leaves and vanilla into a heat proof medium sized bowl.
- When your coconut cream has boiled, pour it over your chocolate and let it sit for 5 minutes.
- Using a heat proof spoon, stir the contents of the bowl gently until everything is completely melted.
- I fished out the mint but you can always use mint extract instead of the leaves! If you’re not into leaves, you can just opt it out and use essence of mint!
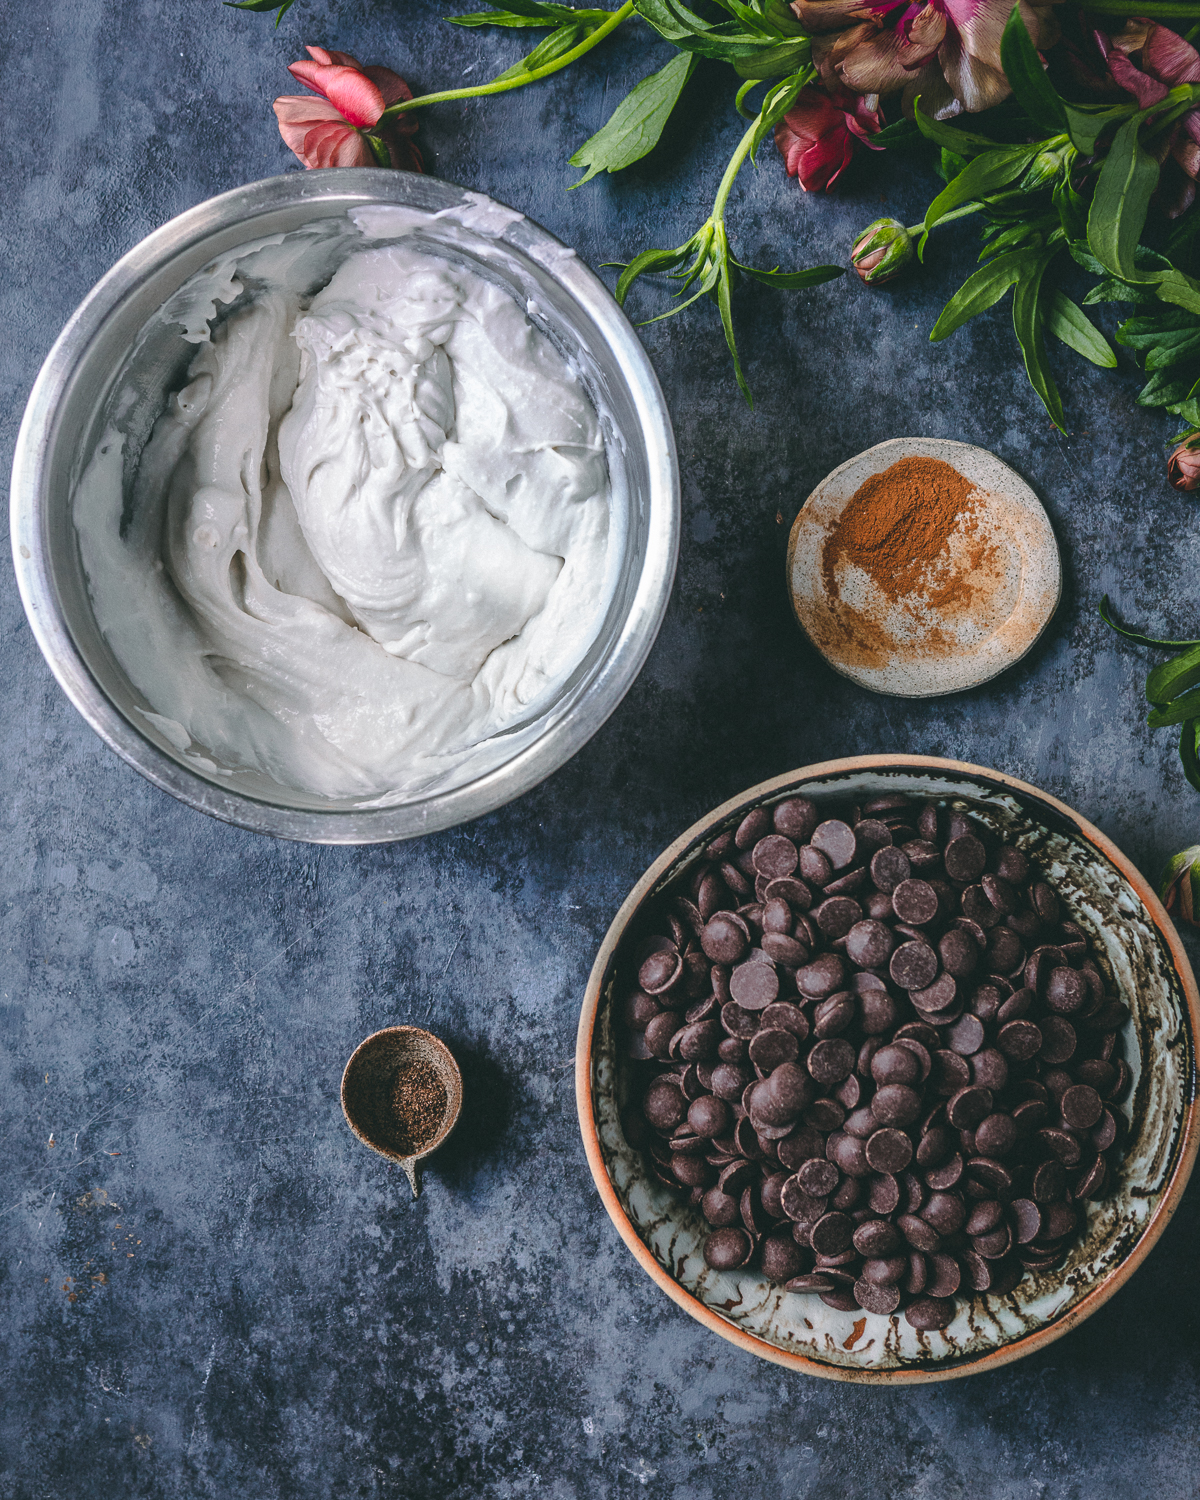
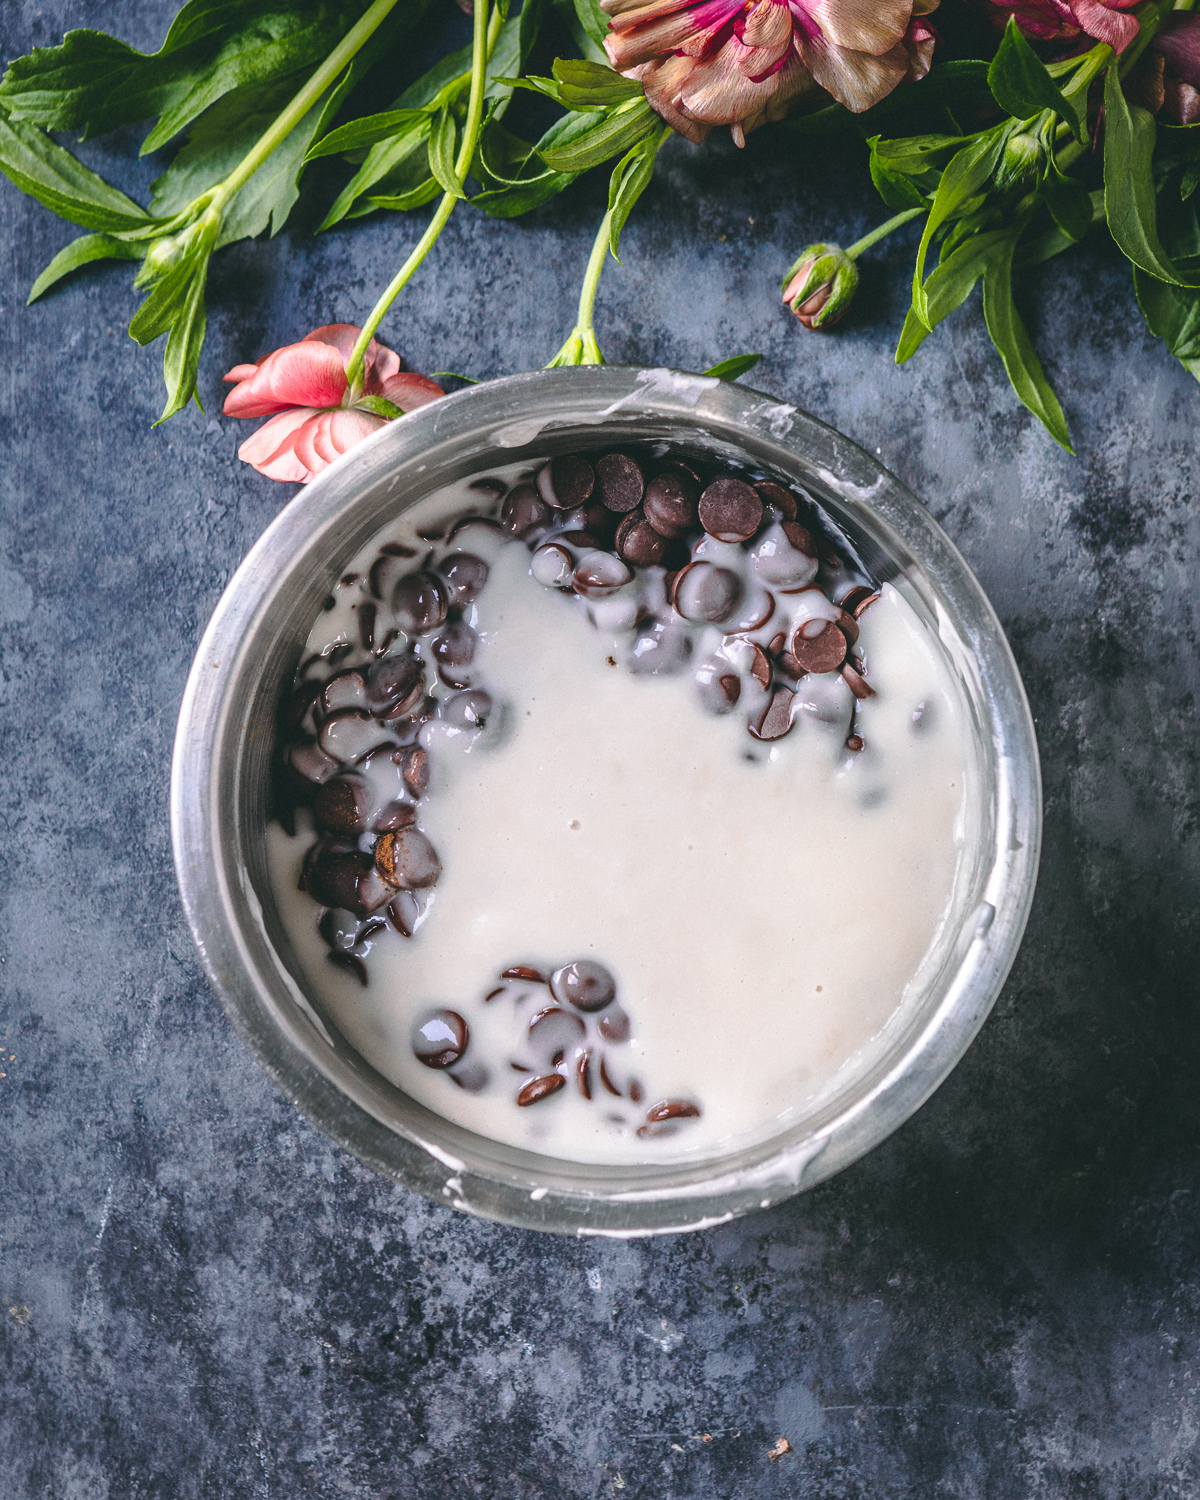
Final assembly
- Pour your filling inside the prepared pan, let it cool in the fridge if you’re leaving the top free of berries. Otherwise place your haloed strawberries on the surface of the mousse and gently press in.
- Leave in fridge for a few hours and serve chilled. Enjoy!
Why you’ll LOVE this recipe:
- It’s gluten-free
- It satisfies a deep chocolate craving
- You can serve it to vegans AND non vegans alike!
- You can freeze it for a cold treat
- You can decorate the top with anything. I find it so relaxing and beautiful to use it as a canvas to create a beautiful picture. I used white and red ones for this recipe!
Decorating options – get fancy!
Decorating is so therapeutic and rewarding! There are so many different ways to fancy up your recipe.
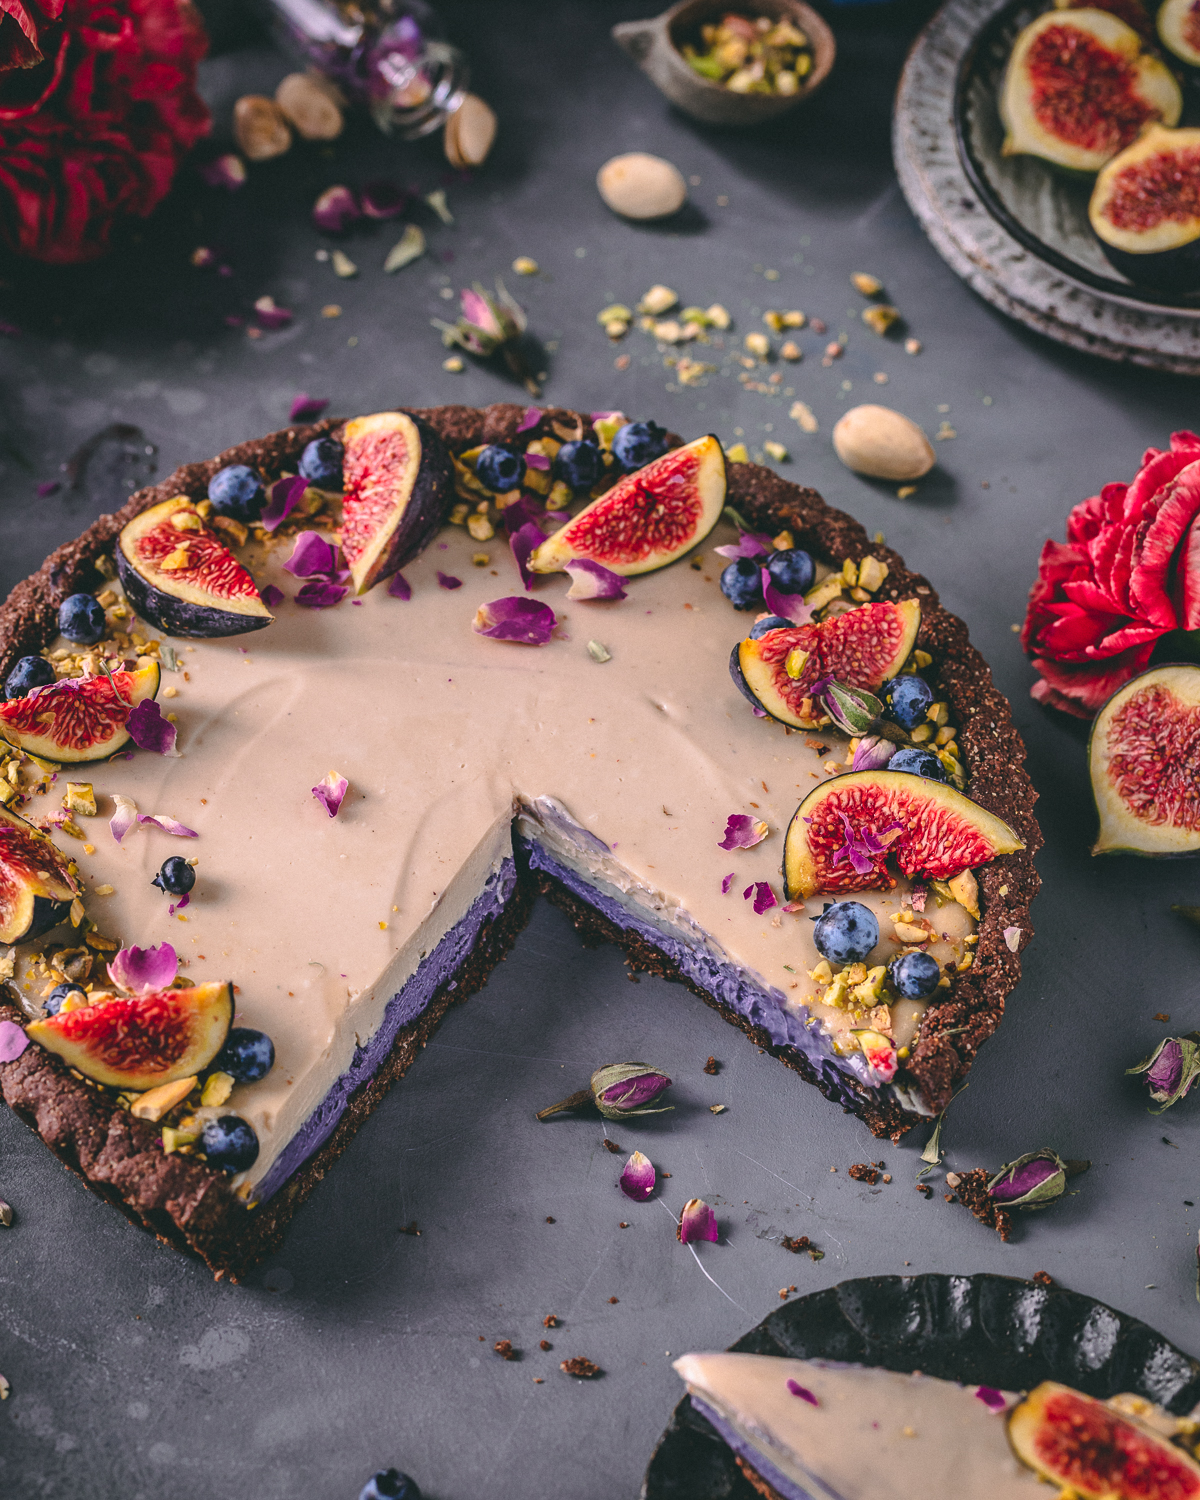
Outlining the border:
A great and simple way to decorate is to simply create an inner circle bordering the outside of your crust. You can do this with fruits, flowers and nuts!
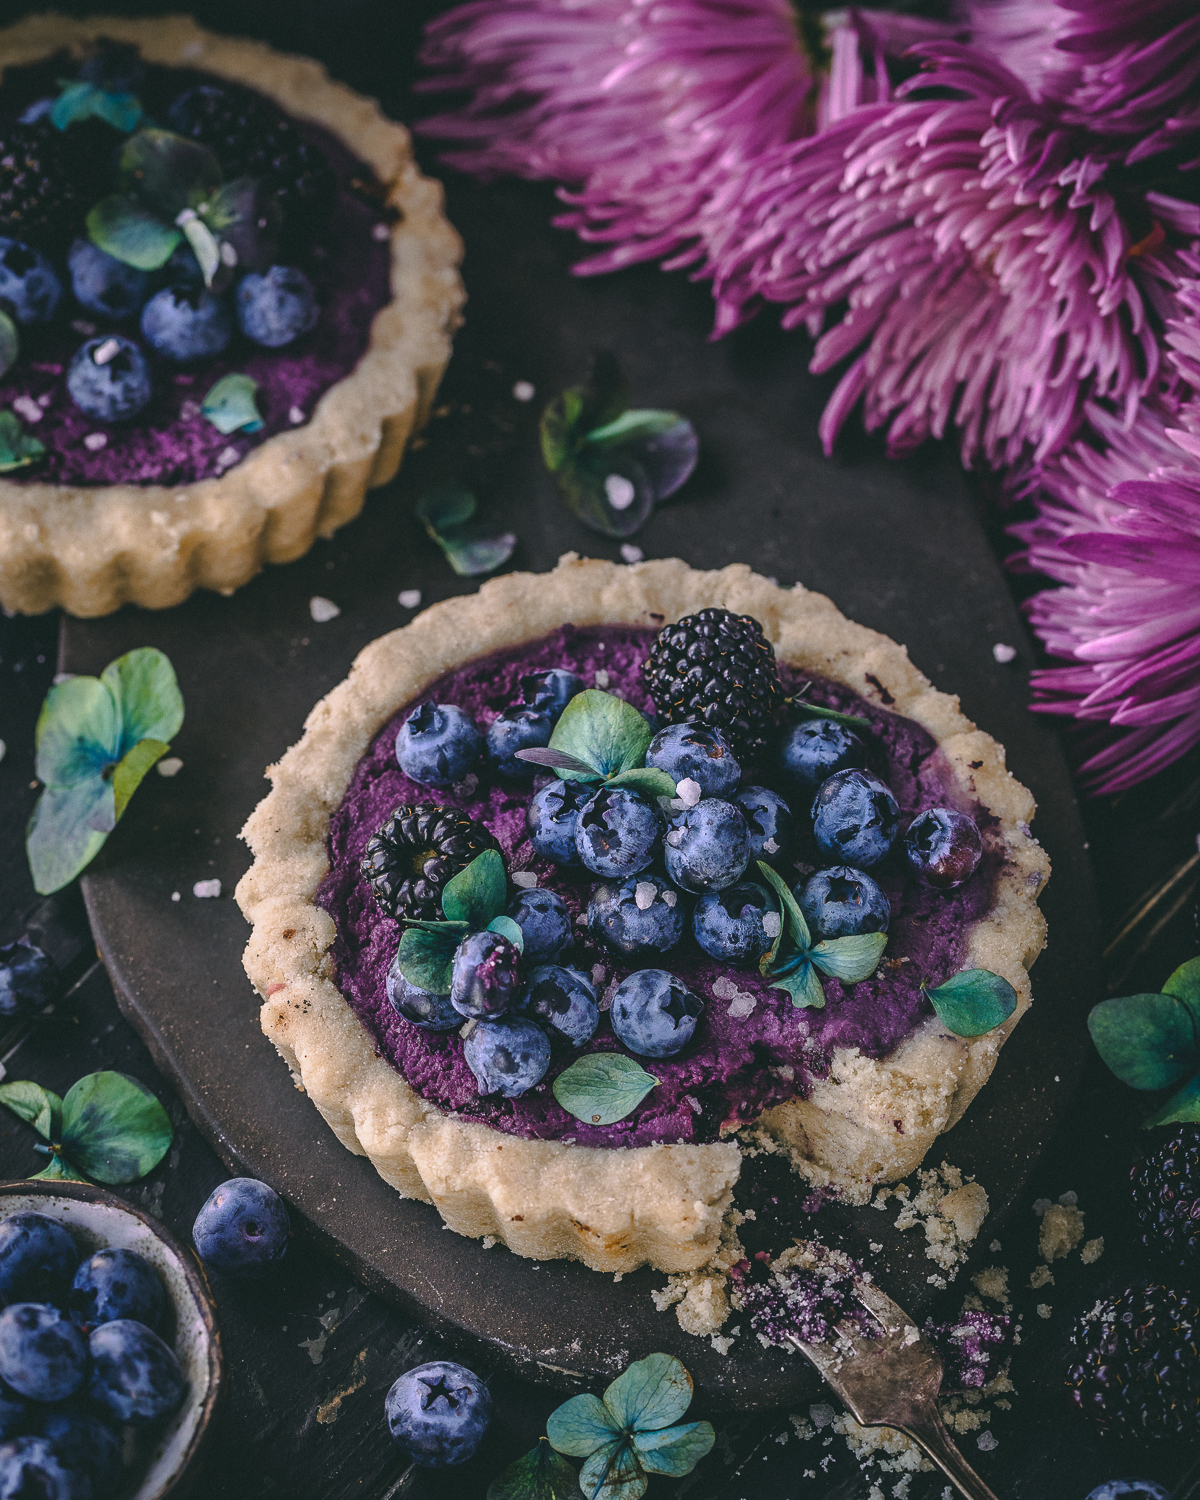
Clustering in the Centre:
Another simple but effective way to decorate is to cluster your fruits in the centre. Adding little garnishes like pearl sugars and edible leaves can really help to highlight the colour of your fruits.
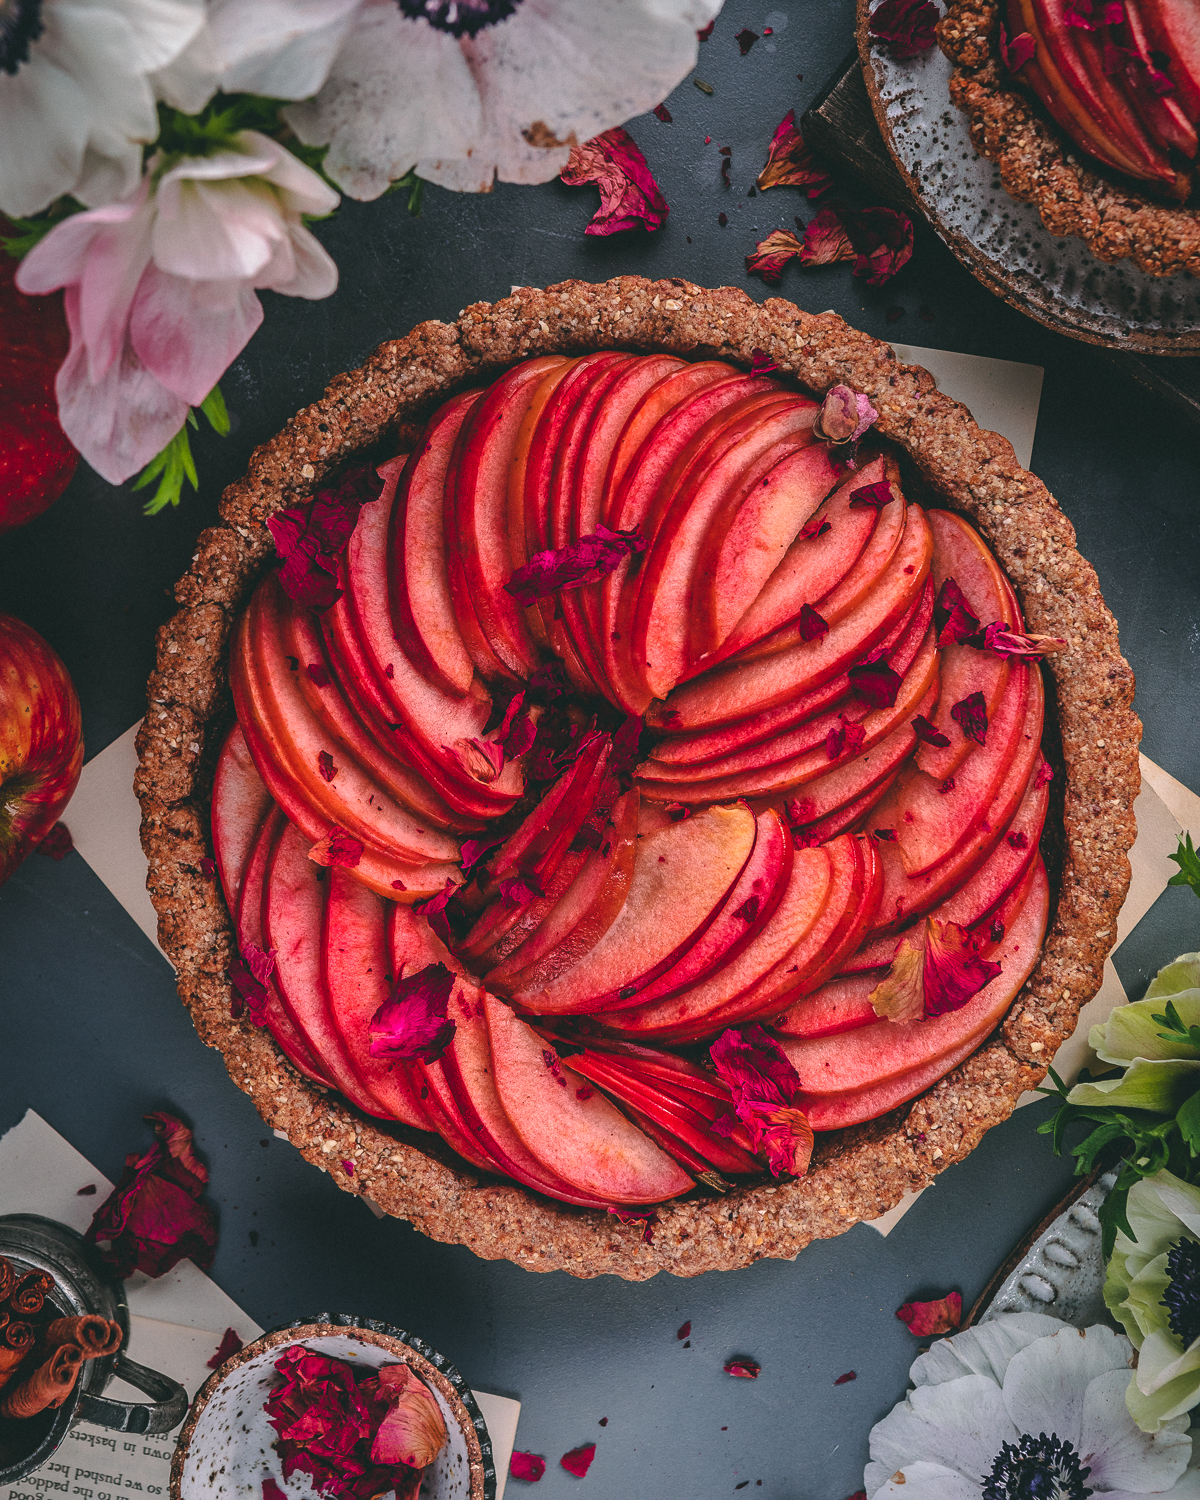
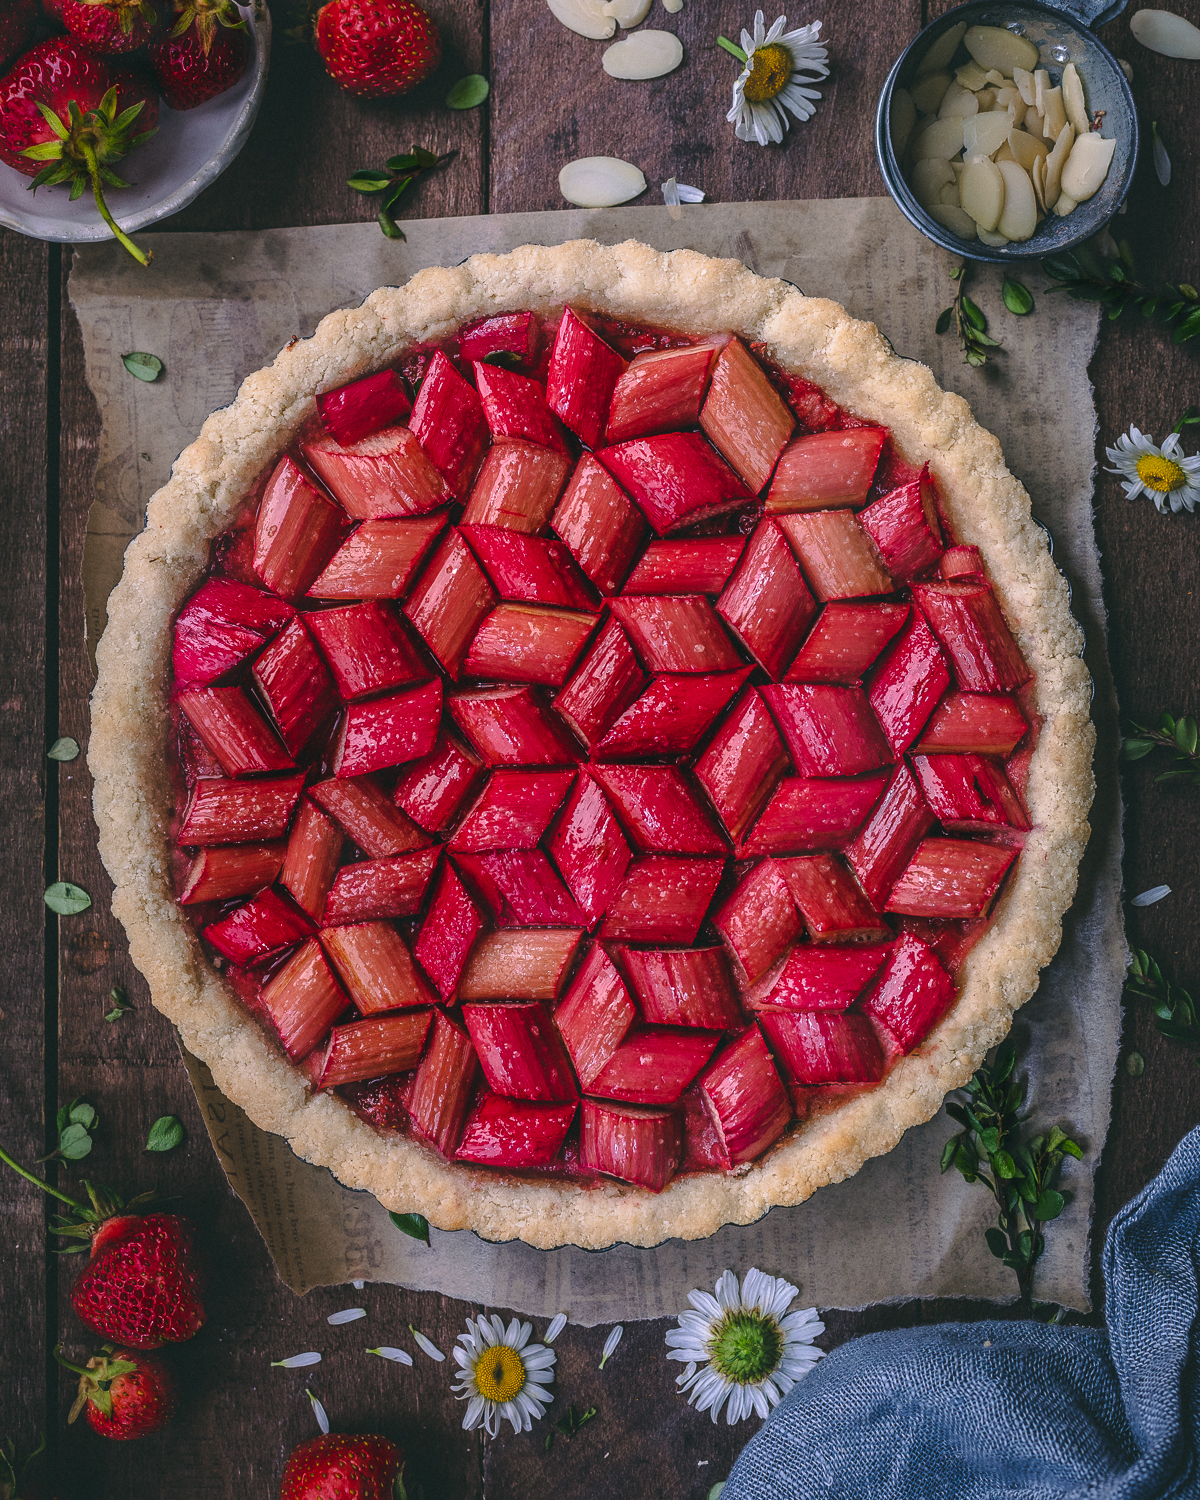
Creating a Pattern:
You can create a rose or an overlapping pattern. The best fruits to use this are:
- mangoes
- nectarines
- peaches
- rhubarb
- apples
Frequently asked questions
Can you make this recipe the day before?
Absolutely! I personally think the flavours tastes better the day after. I love the taste of a cooled tart from the fridge. The chocolate and berries will be set from sitting in the fridge overnight.
How to store?
Honestly this will usually stay as fresh as the fruit that you’re using. I can get 2-3 days max with this recipe. What I do with them is to store them in the freezer, pre- cut. I love the taste of frozen fruits and chocolate. It makes this decadent dessert even more indulgent! Make sure whether you put it in the fridge or freezer that you wrap it tightly in plastic wrap.
Crust Substitutions?
You can definitely replace the ingredients! Things to try (but I haven’t tried before) can be seeds, dried apricots, dates or dried figs. These are nice sweet substitutions if you don’t want to use maple syrup.
Fruit substitutions?
If strawberries are not in season or you don’t have them on hand you can easily use fruits like raspberries, blueberries, kiwi slices or even mandarin oranges. Whatever you think will go with chocolate!
Can I make mini versions of this recipe?
Absolutely! This would be such a cute idea to serve friends! Try using 6 mini tart pans for this recipe!
Tart ideas:
- Artichoke and spinach
- Chocolate with berries
- Apple tart with a beautiful arrangement of slices on top
- Stone fruit tart with a delicious sweet cream cheese bottom
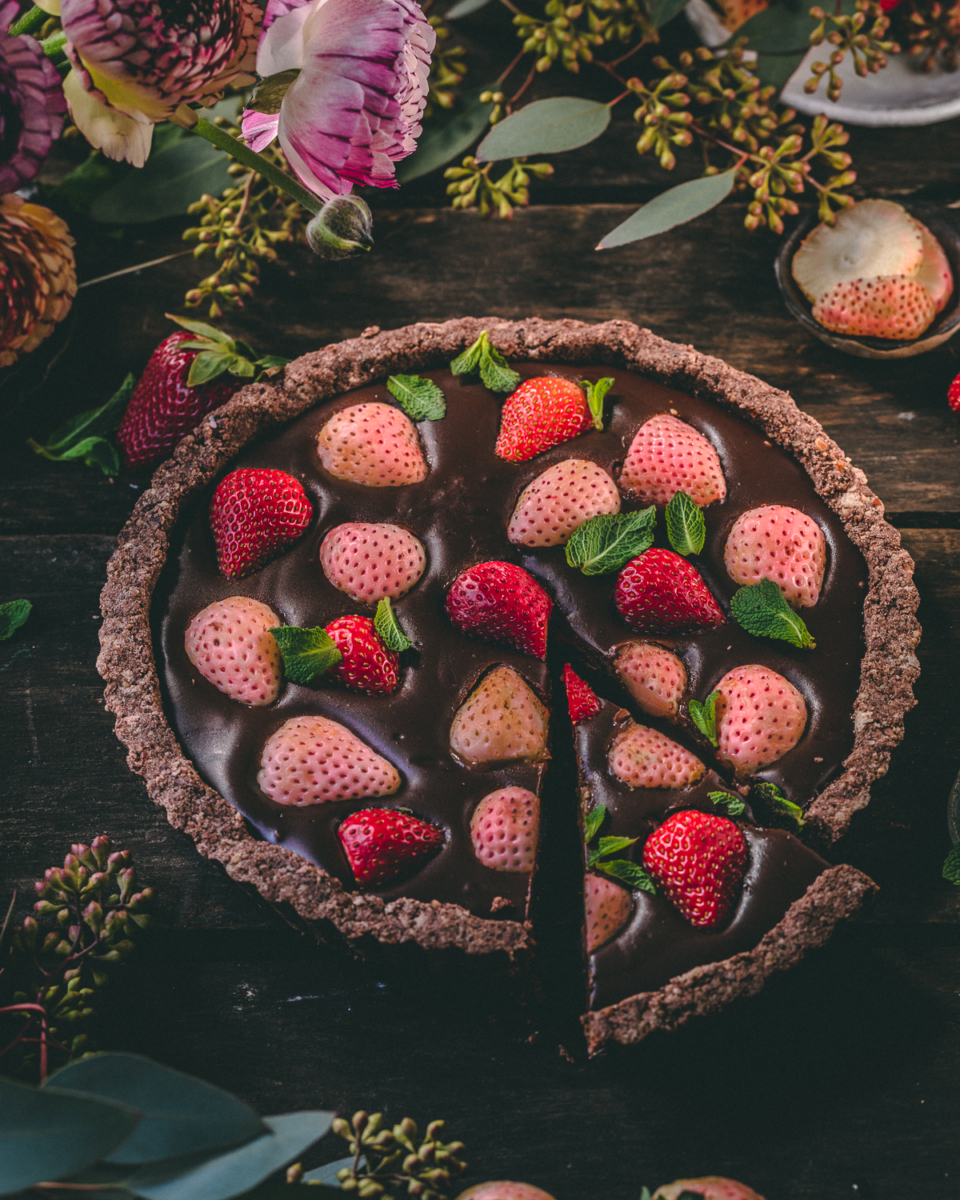
Craving more chocolate? Try:
Strawberry Chocolate Mint Mousse Tart
Equipment
- 1 Oven
Ingredients
Crust
- 2 cups hazelnut meal or almond meal or a combination of both
- 1 cup sweet rice flour
- 6 tbsp maple syrup
- 2 tbsp coconut oil
Chocolate Mousse Filling
- 1 can coconut cream 400 ml
- 15 ounces dairy free chocolate dark chocolate or semi sweet
- 1 pinch vanilla powder
- 10 leaves mint alternatively mint extract
Instructions
Crust Prep and Cooking
- Preheat oven to 350F
- Prepare a circular tart pan or 2 small ones
- Place all your crust ingredients into a small bowl and use your hands to form a mixture that's slightly sticky
- Press into your tart pan and take the time to create the sides and shape them
- Cook for 5 minutes. Remove and let it cool completely
Filling Instructions
- In a small pan, drain the contents of your coconut cream can
- Let it come to a gentle boil, watching it carefully to not let it boil over
- In a separate heat proof bowl, place your chocolate, vanilla and mint extract or leaves
- Pour your boiling coconut cream over the contents of the bowl. Let it sit for 5 minutes.
- Stir after 5 minutes until the chocolate is completely mixed. Remove leaves.
- Pour into your prepared tart shell. Add decorations like strawberries and push them slightly in.
- Place into fridge and serve chill
- Alternatively you can decorate it when chilled with berries and flowers!
Nutrition
© sculptedkitchen.com. All content and images are protected by copyright. Please share this recipe using the share buttons provided. Do not screenshot or republish the recipe or content in full. instead, include a link to this post for the recipe.
