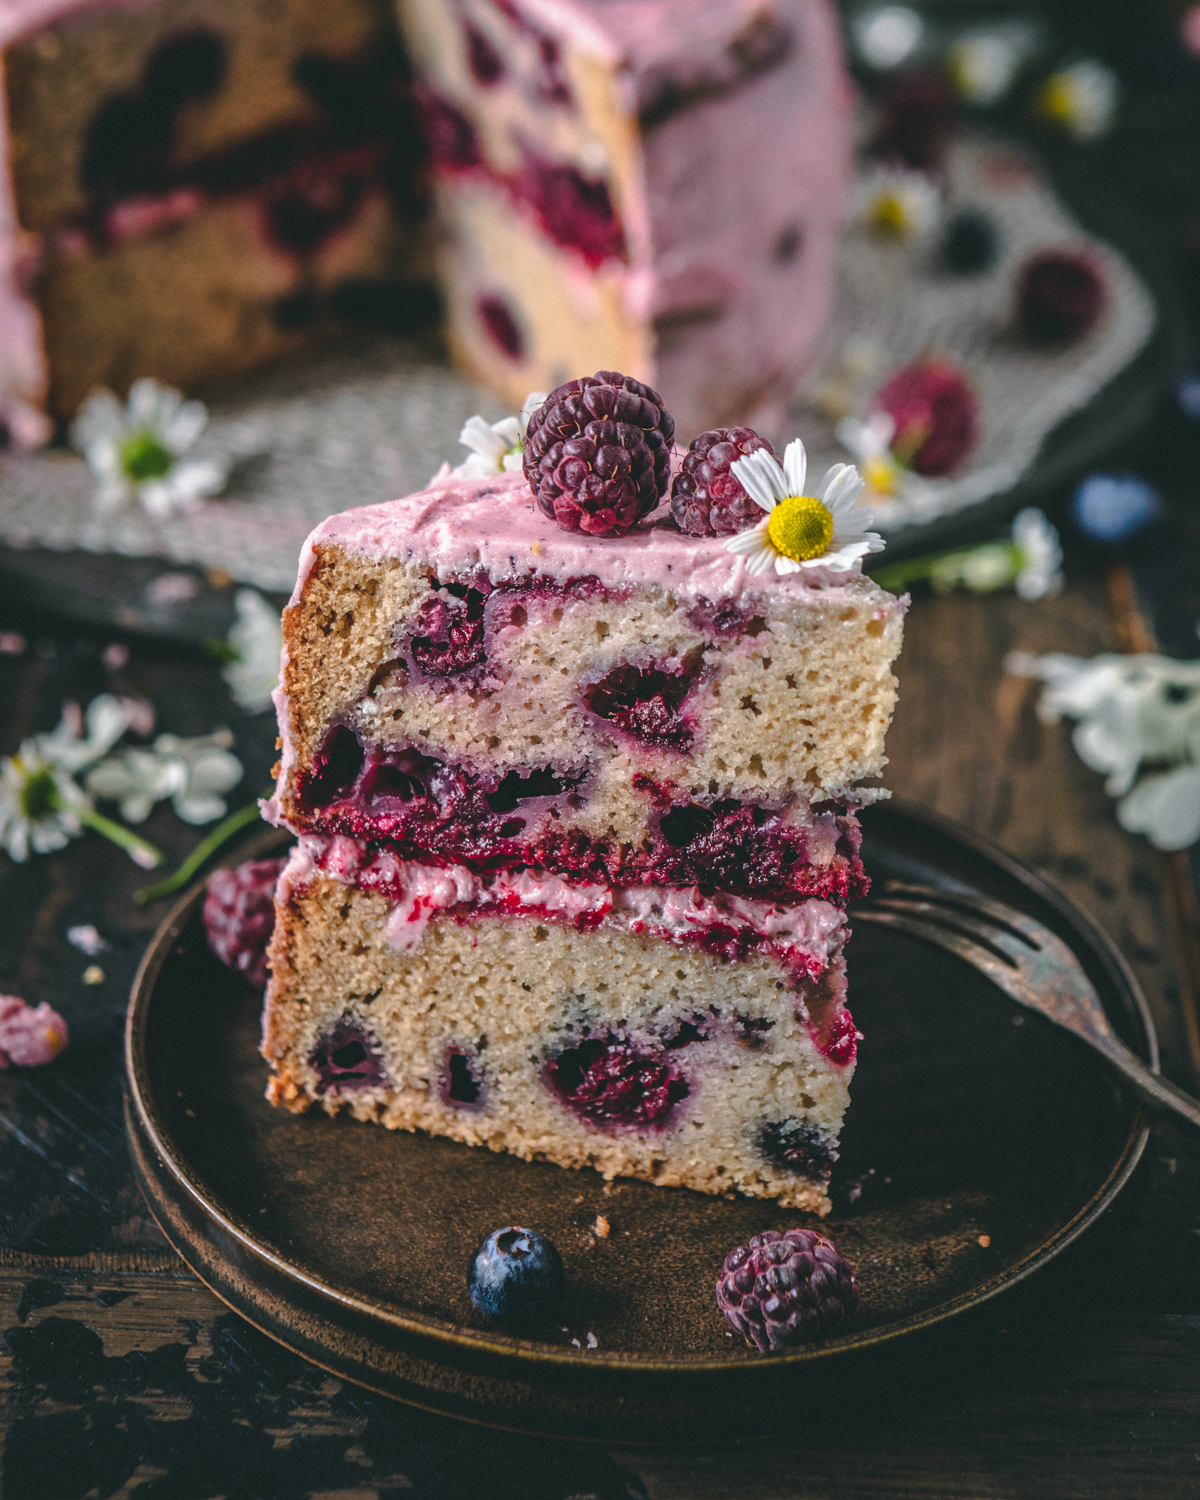
Friends! I’m SO happy you’re here! I’m sharing with you this delicious and beautiful raspberry cake with infused chamomile tea! Perfect for a summer picnic or with an afternoon tea!

Right about end of July, early August there is an explosion of purple raspberries in farms about an hour away from where I live. I look forward to kneeling within the bushes to pluck these beauties. I take so much care making sure not to over fill the baskets as they can smush and all of them will bleed and become soft.
For as long as I can remember I’ve been in love with hues of blue and purple. This cake, I feel, is truly like an artist drawing on a blank canvas. The canvas, in this case, is the cake and my paintbrush are these beautiful gems of fruits. I hope you enjoy this cake as much as I do! It’s:
- Easy and fun to make
- Delicious!
- Moist and irresistible
- Will appease to the even pickiest of eaters!
Ingredients needed for this recipe
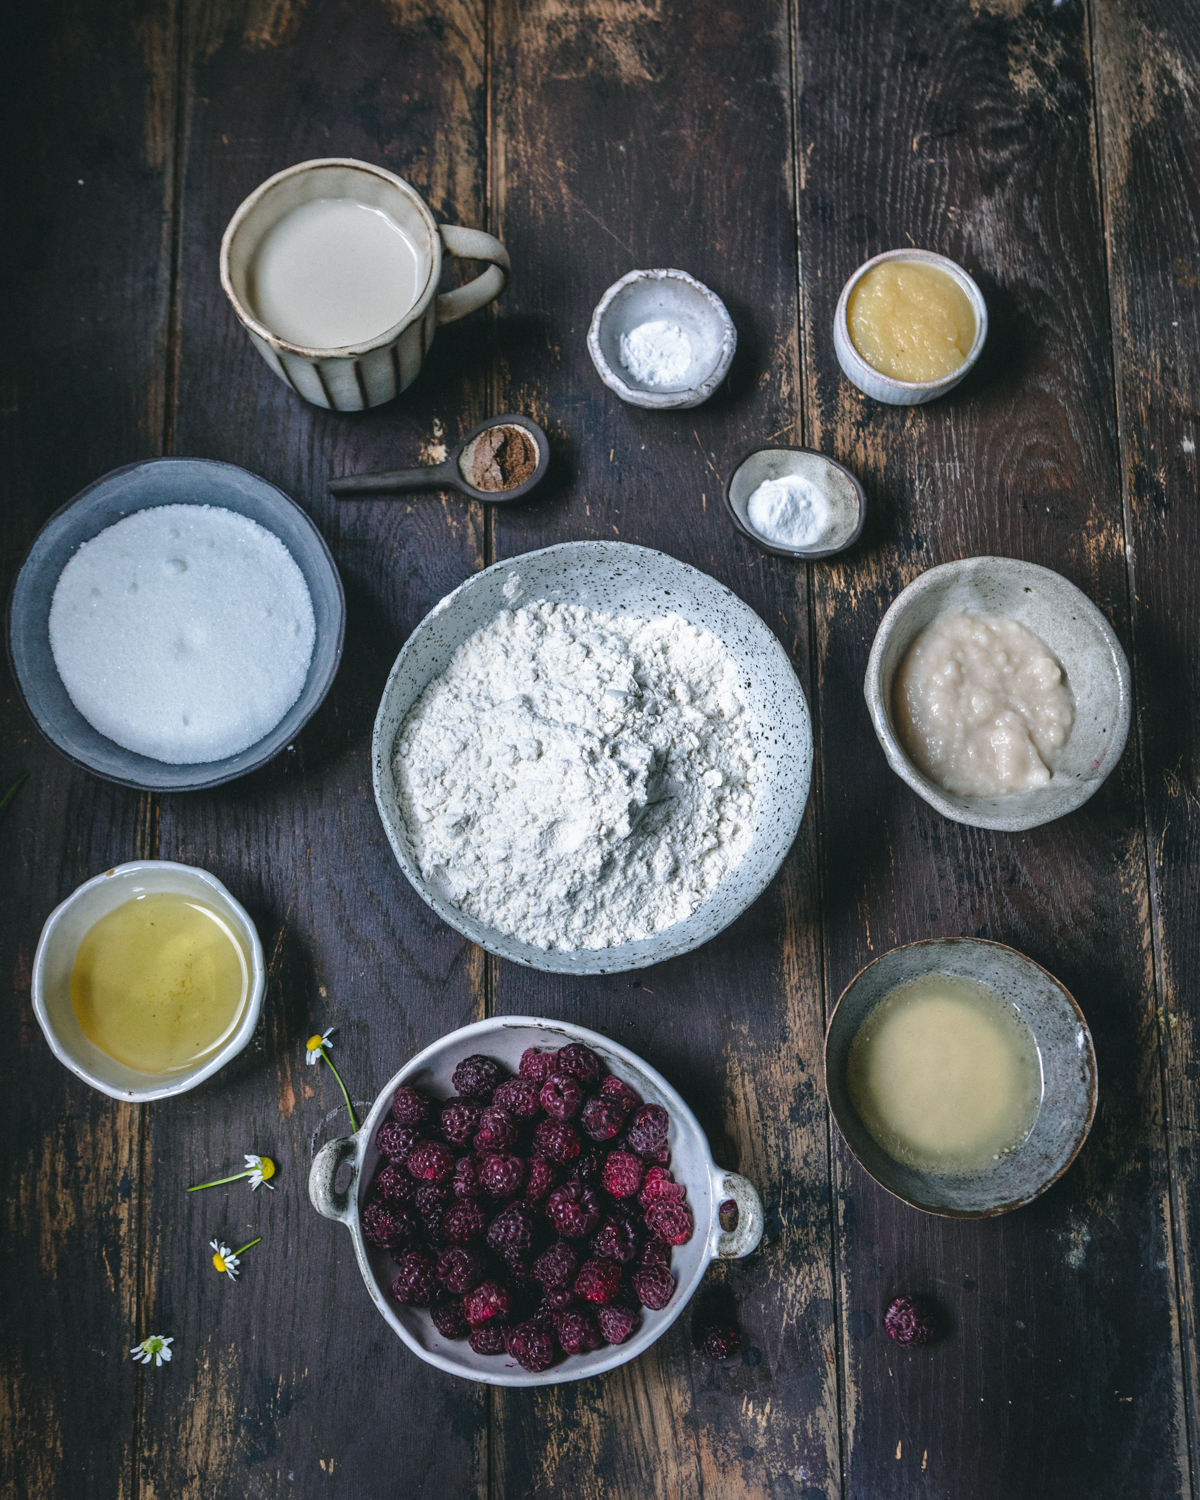
Chamomile tea: I think the only thing that may be different for this recipe is steeping some chamomile tea for the batter. For a deeper flavor, I would steep it overnight or for at least 2 hours with hot water.
Coconut oil: This is used in lieu of butter for the fat content. It also adds a bit of soft crispiness on the outside the cake but keeping the inside of the cake soft and moist.
Apple sauce: Not using eggs? Not to worry! Apple sauce is a lovely substitution and it doesn’t take away from the fresh raspberries you taste in this recipe.
Coconut yogurt and plant based milk: just adds some more moisture and richness to the cake.
This is not the whole list of ingredients but rather just a summary of some of the ones I feel are important to highlight.
Raspberry jam
You can definitely buy preserves from the store but with summer bursting with so many berries, I just used the leftovers to make a compote. Just take your raspberries and saute it with some maple syrup until soft and thick. You could also use corn starch if you wish but sometimes I feel that makes the jam a bit grainy.
Don’t let the excess liquid/raspberry juice evaporate. Capture that goodness with a strainer and use it for your frosting!

Raspberry frosting
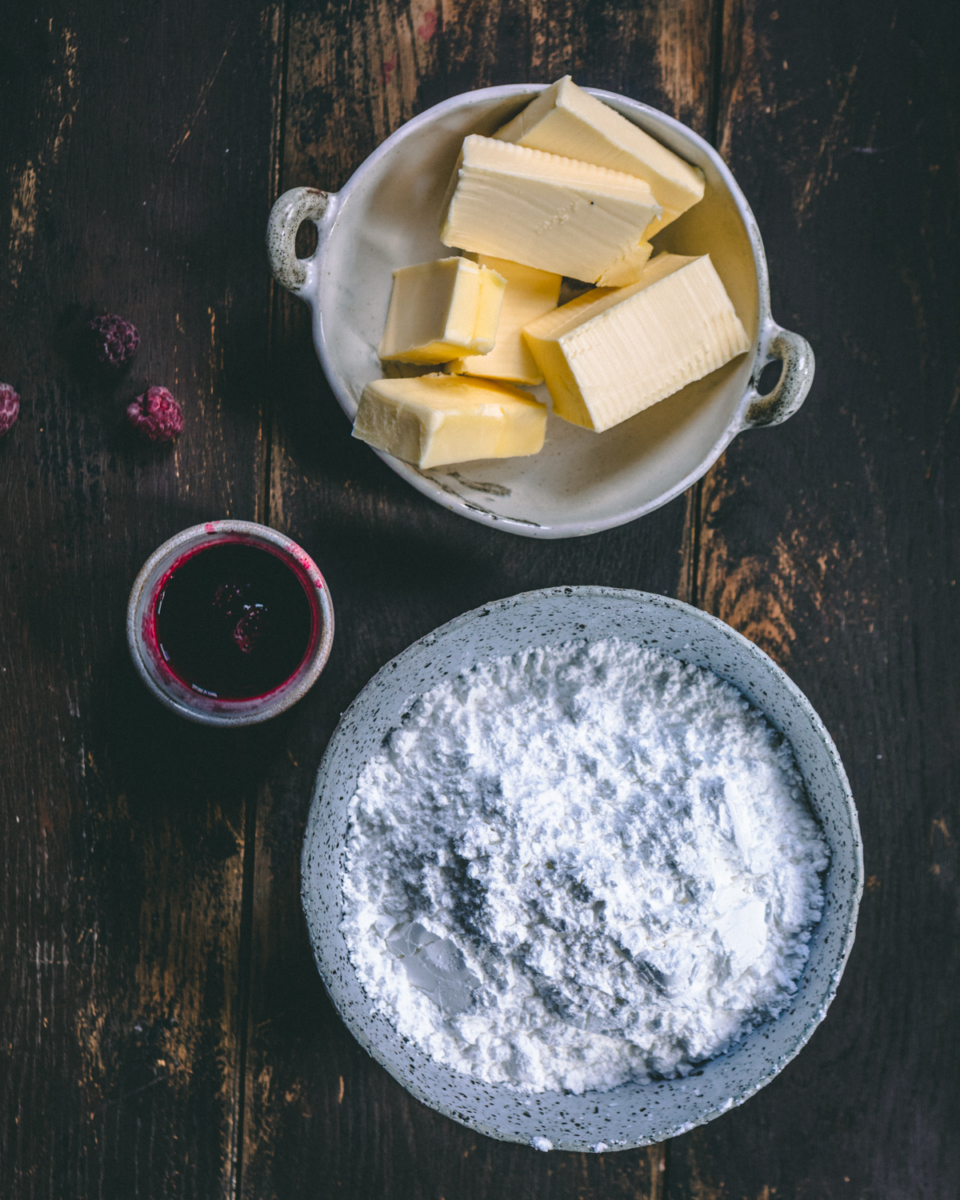
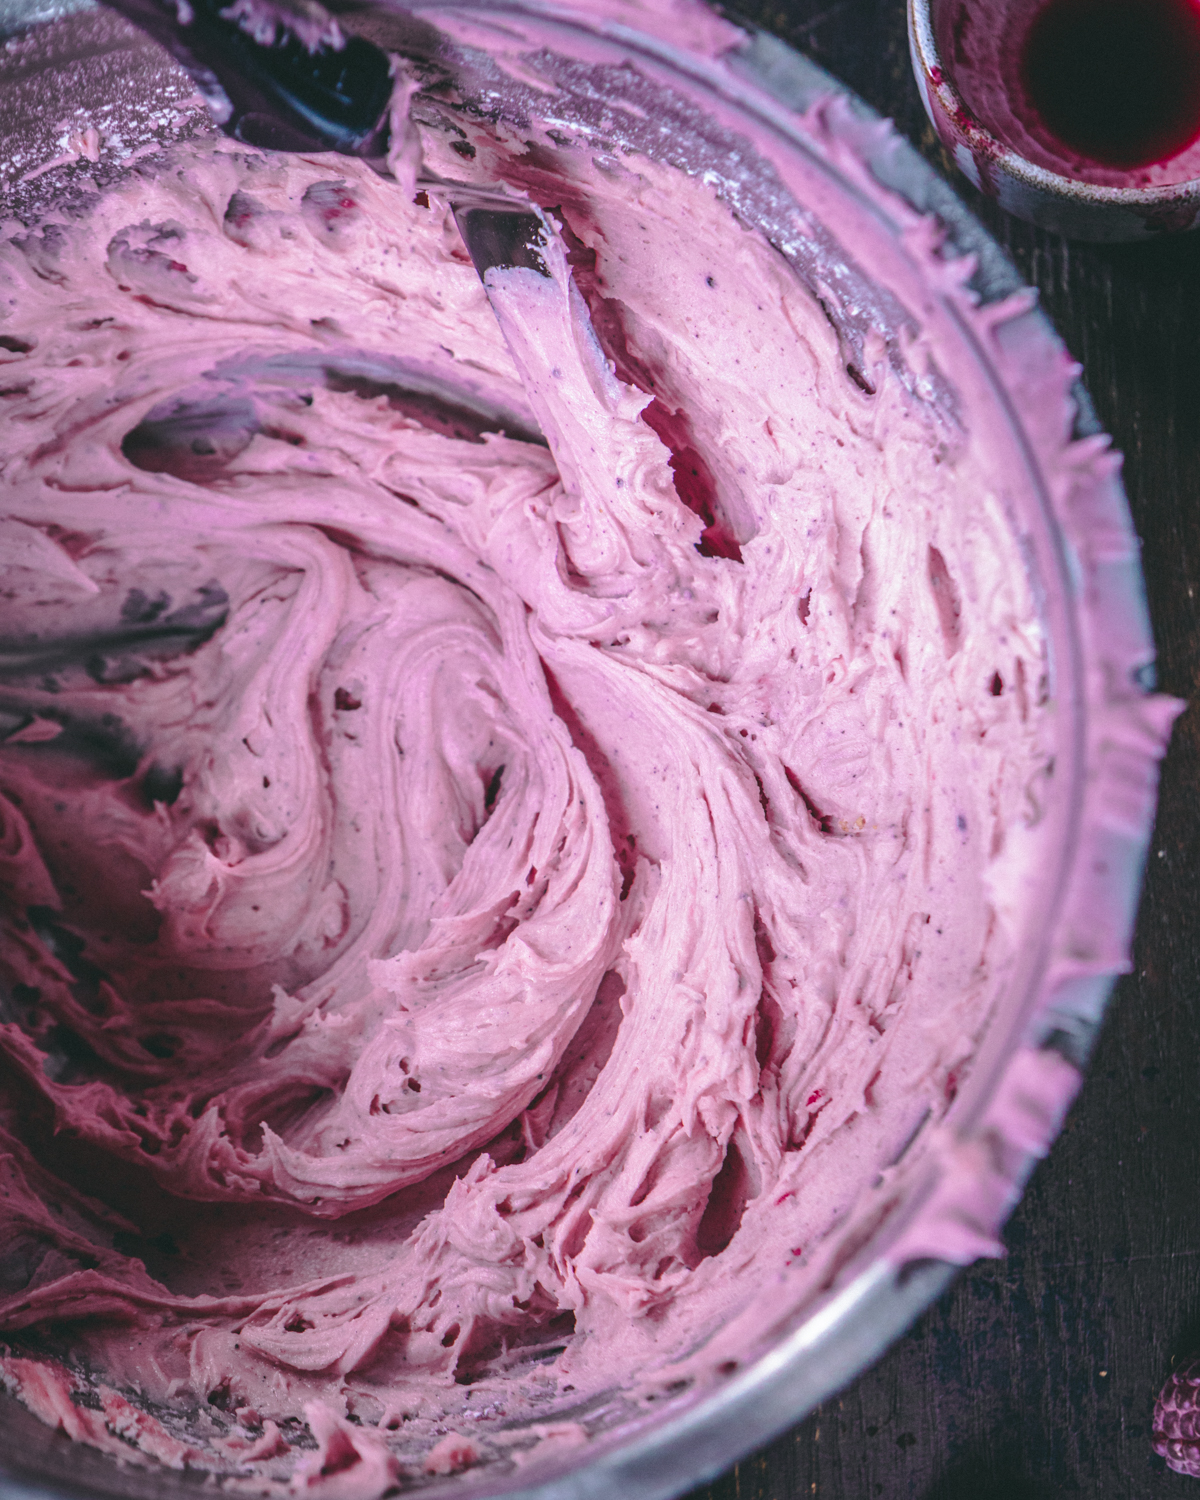
Let your vegan butter come to room temperature and cream it with a hand mixer. Add a bit of icing sugar until all 3 cups have been incorporated. Add some of the liquid you captured from the jam until you’ve reached the creamy texture you wish.
Assembling your raspberry cake with infused chamomile
Preheat your oven to 350F. Measure the size of your cake pans. I used 7 inch pans. If just using one pan, I use this one. Spray the pan making sure you’re generous with non stick cooking spray. Then place the cut out rounds on top and spray again. You don’t want your cake to get ruined by having it stuck. Put the pans aside as you work on your cake batter.
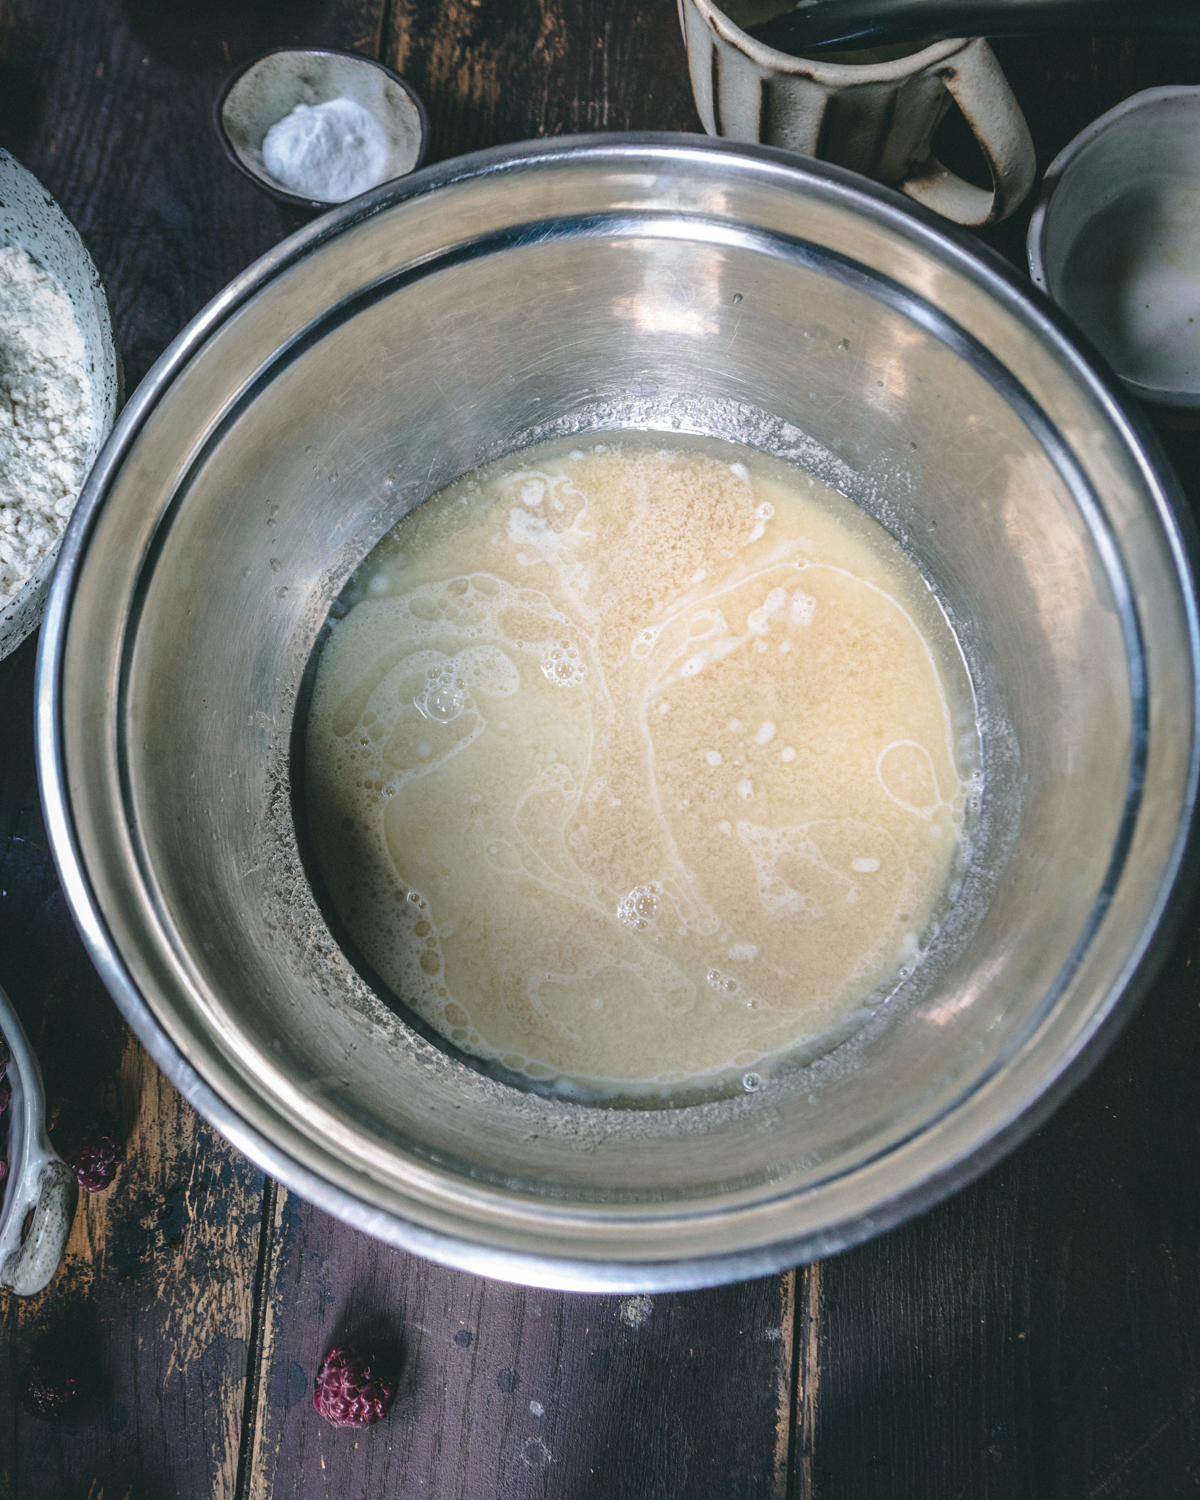
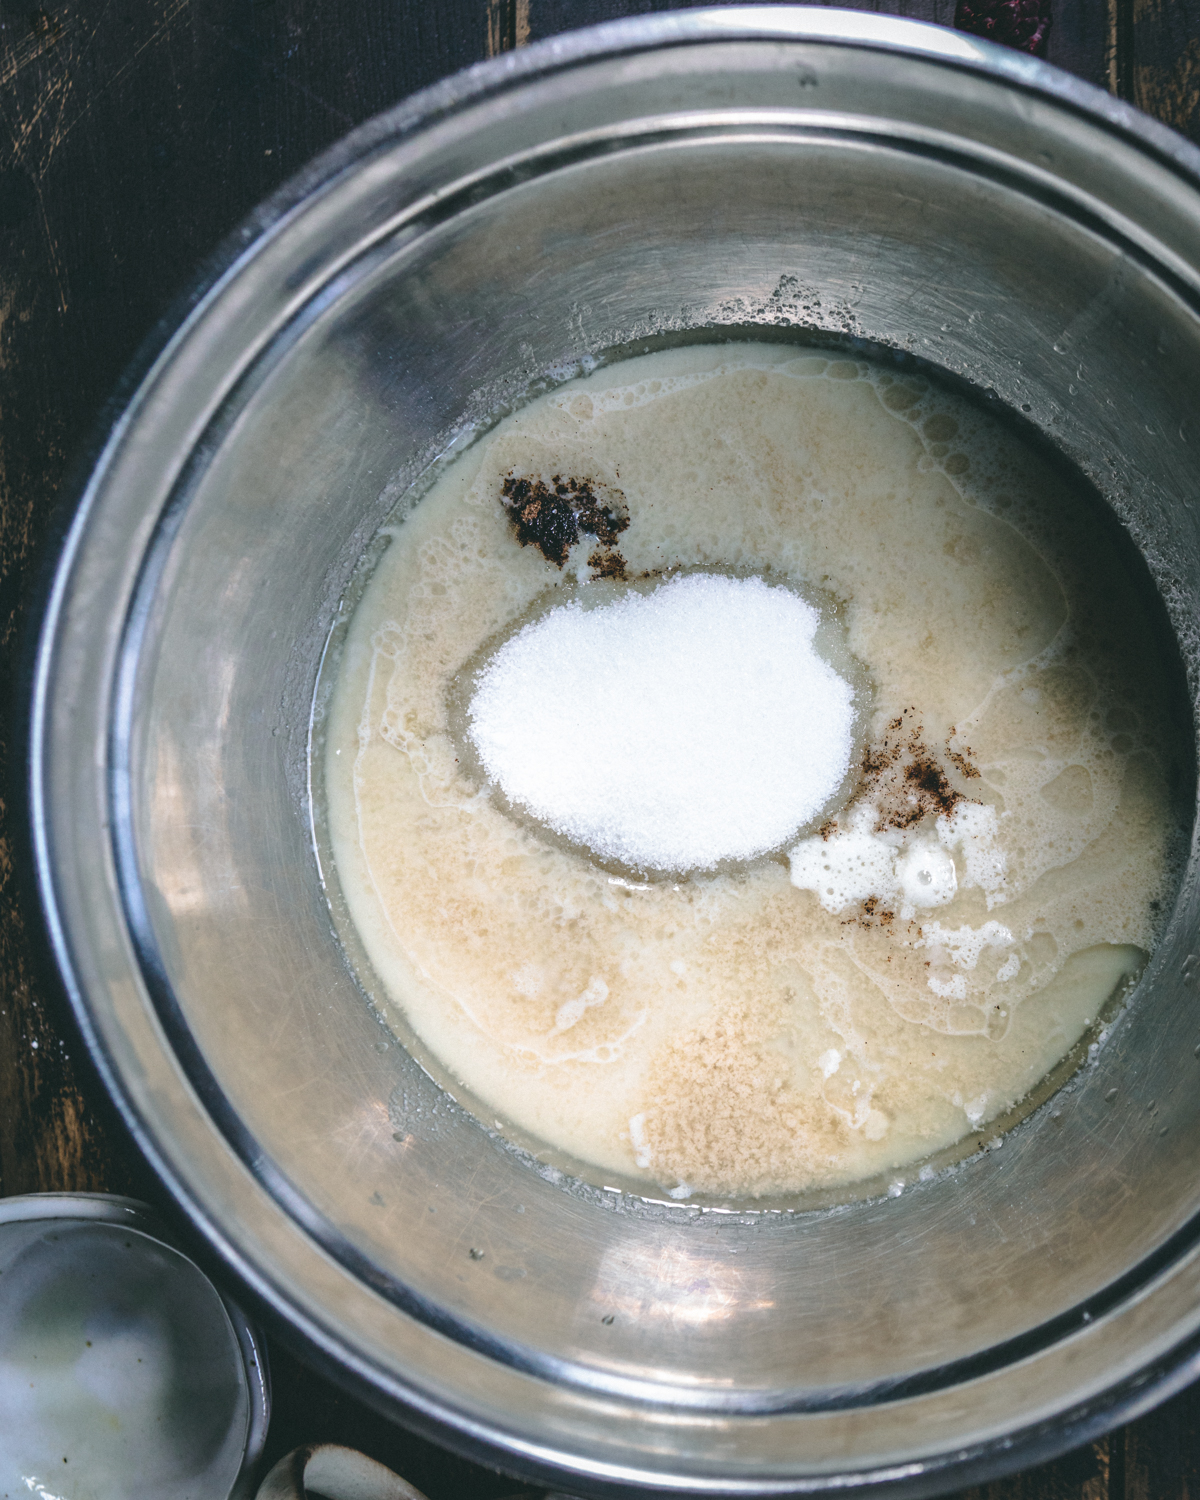
You can use one bowl with a hand mixer or you can use a stand alone, combine the oil and sugar together and cream it. Add in your vanilla, baking powder and baking soda. You can also add in your baking soda and powder to the dry ingredients. Mix away and make sure you scrape down the bowl or dislodge any chunky bits in your mixer. Add in your other wet ingredients.
In a separate bowl, measure out your flour and carefully fold it into the mixer a third of a batch at a time. Make sure you don’t overmix and keep scraping down the sides.

In another bowl, toss your frozen or fresh raspberries with a tablespoon of flour. Fold it in very carefully. I will definitely not use the mixer to mix it! Use a soft spatula and try not to handle the raspberries too much as you mix them.
Divide the batter evenly into your cake pans. I used a scale but you can eye ball it! Depending on whether you doubled the batter or the size of your pans, cook for 35-45 minutes or until the middle is cooked by testing it with a toothpick. You can always tell if it’s cooked if the batter is wet and clinging to the entire length of the toothpick like a streak or if a few moist crumbs are on it.
Crumb coating your cake
Sometimes I skip this step if I’m low on time but it’s definitely worth coating the cake with very thin layer of crumb coat. This ensures that when it comes time to frosting your cake it doesn’t pull on more crumbs and mixes it into your frosting and look messy.

Make sure you cool your cakes, wrap them up and place them into the fridge either overnight or at least for two hours before the crumb coat.
After the crumb coat, I would suggest putting it back into the fridge for another hour to set.

Place your cake layer on your display plate, and proceed to frost the bottom layer. Afterwards, add a few dollops of rasperry jam in the middle and spread it outwards. Making sure you don’t spread it thickly right to the edge or it will leak down the cake when you place the second layer on top.
Frost your second layer (except the bottom unless you feel you need it) and place it carefully on the top of the first. Then frost the entire cake again just to hide the cracks in between and smoothen out the frosting.
You can cool it in the fridge again or start to decorate your cake. You’re done! Enjoy!

Adding a jam layer between cake layers
This is an extra step that is, I think, an absolute! It connects the layers together and gives the cake a little bit more height.

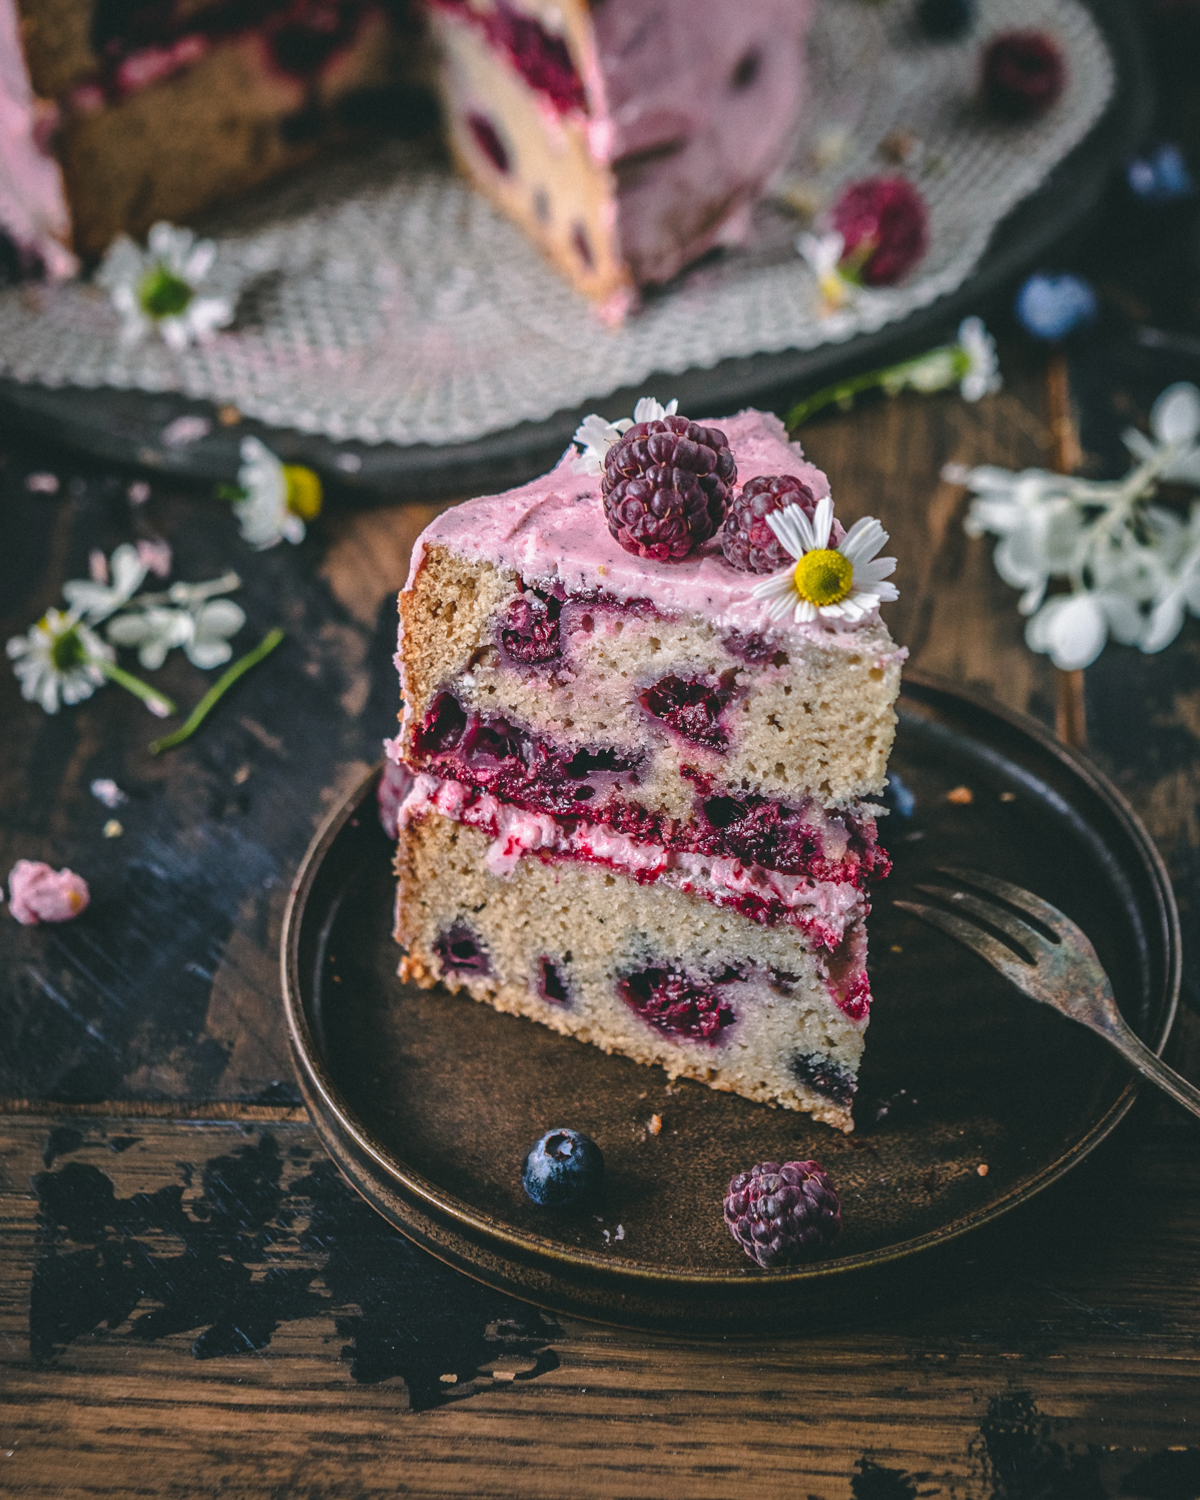
When spreading the jam make sure it doesn’t spread to the very edges of your cake! This could lead to the jam dripping down the sides when you bring the second layer on top of your first.
Tips and tricks
- Don’t let your frozen raspberries thaw. When you remove them from the freezer immediately toss them with some flour and then use them immediately into your batter.
- Let all your ingredients be at room temperature
- Try to spoon the flour into the cup rather than scooping three cups directly from the flour bag.
- Any leftover raspberries can be used for the jam or for decorating the cake. If you put too many into the batter it will result in a cake that may fall apart or not rise properly.

Substitutions for raspberries and chamomile
Store bought jam vs home made jam: If you’re in a time crunch, you can use store bought jam. Just watch the sugar content as you want one with the least sugar as it may make your cake too sweet with the added sugars in it.
Vanilla vs citrus: I feel that citrus and vanilla go really well with raspberries. If you want to add a citrus extract instead of vanilla go for it! You can add it into the frosting or the actual cake. It shouldn’t affect the overall cake consistency just make sure you’re not adding more than than 3 or 4 drops.
Other berries vs raspberries: If you don’t have raspberries, you could use blueberries, blackberries, loganberries, mulberries or strawberries!
Other flavors besides chamomile: you could make this with a hint of rose with rose tea as a substitution.
Could you make raspberry muffins rather than cake?
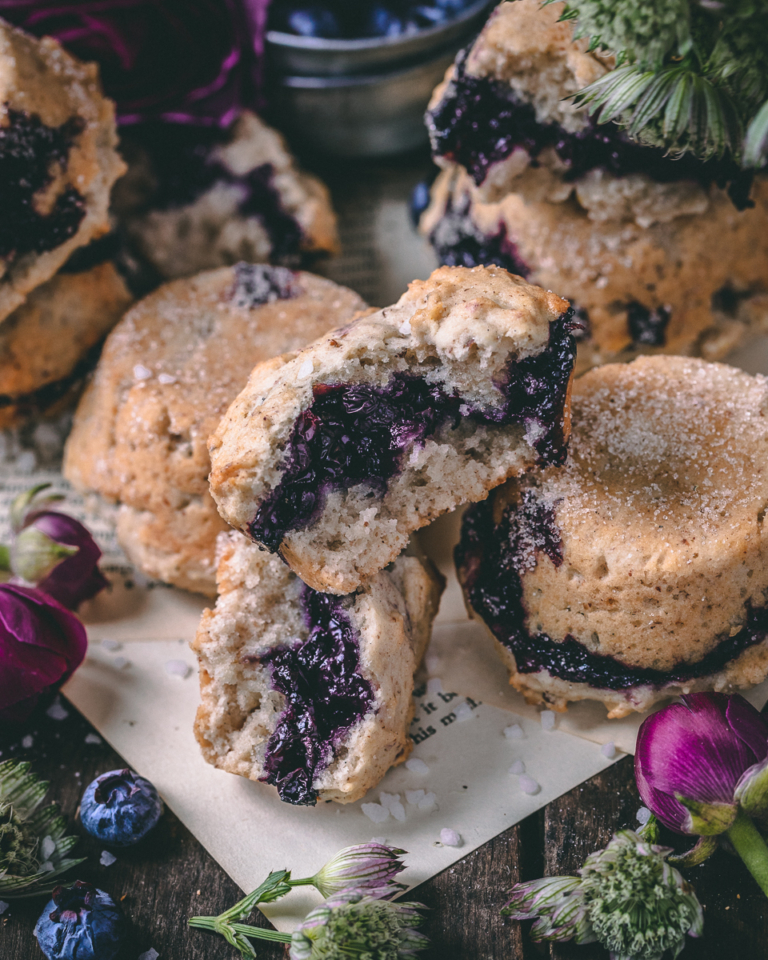
You definitely could! Put the batter into a prepared muffin tray and bake at 350F for 18 or 19 minutes. You could ice the muffins with a piping bag with the frosting in this recipe. With the raspberry jam, you could either cut out a bit of the center of the muffin to pipe some jam inside and replace the muffin back on top. Then continue to ice the muffins.
How to store your leftovers
Whenever I have leftovers I tend to share them with neighbors and friends. If you do have leftovers, you could wrap it tightly and store in the freezer for up to 3 months. Let it come to room temperature when defrosting.
Leftovers can be left on the counter for two days or tightly stored for up to a week in the fridge.

Other irresistible raspberry recipes
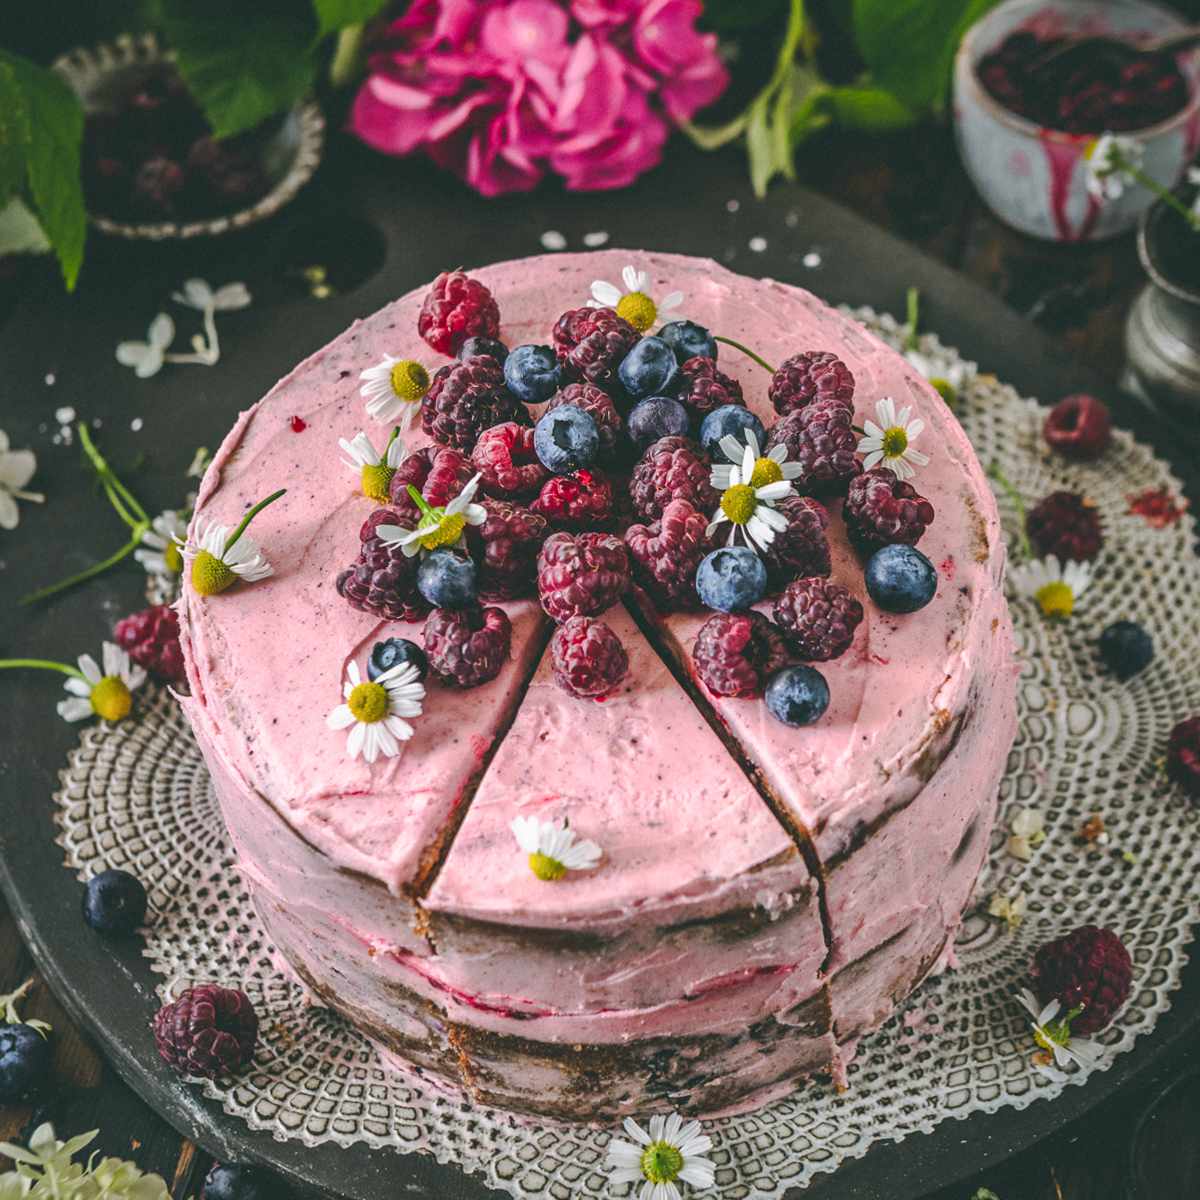
Infused Chamomile Vanilla Cake with Raspberry buttercream
Equipment
- 1 Oven
- 2 cake pans 3 cake pans if you want to make more layers
- 1 tea steeper A ball or a tea pot that helps diffuse your tea leaves
- 1 Stand alone mixer
- 1 hand mixer for making the frosting
Ingredients
Cake recipe
- 3 cups flour white flour
- 1 tbsp flour this extra tbsp to toss your raspberries into
- 1/4 cup tea chamomile tea steeped for a few hours or overnight
- 1/4 cup coconut yogurt I used vanilla flavored Yoso
- 1 cup almond milk I used whatever I had on hand, almond or soy is fine, unsweetened
- 1 tsp vanilla powder
- 2 tsp baking powder
- 1 tsp baking soda
- 1 cup sugar
- 1/2 cup coconut oil slightly melted
- 2 cups raspberries Frozen or fresh. I used purple raspberries and I also made sure they were frozen
Raspberry layer
- 2 cups raspberries fresh or frozen, purple or red
- 2 tsp maple syrup
Frosting ingredients
- 1 cup vegan butter room temperature
- 3 cups icing sugar
- 1 cup raspberries the liquid either squeezing it with a cheesecloth or the liquid that comes out when sauteing it
- 2 tbsp raspberry juice
Instructions
Cake instructions
- Preheat the oven to 350F. Prepare your cake pans with liners or baking spray
- Prepare your stand alone mixer or use a hand held mixer if you don't have a stand alone
- Cream your coconut oil and sugar well until somewhat fluffy. It won't look as fluffy as what butter and sugar look like but it's close
- Add the rest of your wet ingredients and mix well
- Add your vanilla powder, baking powder and soda and mix well.
- Fold in your flour in 3 batches and mix between batches. Making sure not to overmix*
- If you wish to have three layers, you may wish to double the recipe **
- Toss your frozen or fresh raspberries carefully with flour. Just a gentle toss will do. Fold in your raspberries VERY carefully. If they're frozen they'll be more forgiving and not bleed into your batter but if they're fresh handle them minimally and try to mix the batter without over mixing the berries
- Evenly measure out your batter (I use a measuring scale***)
- Pour into a prepared cake pan and bake for 30-35 minutes ****
- Check at the end of 30 minutes with a fork/toothpick to see if it's cooked through the centre. If not, add another 5-10 minutes.
- The cake can be very moist but cooked. Let it cool completely before you decorate/cut into it.
- I usually wrap the cakes, when cooled, and place it in the fridge to cool them overnight before icing and decorating
Raspberry frosting and raspberry layer
- your 2 cups of raspberries and saute it gently over a stove top with a small pot or pan
- Wait 5 minutes until they've softened and use the liquid that comes out from the raspberries for your frosting
- Using a hand mixer, mix your butter and icing sugar until creamy
- Add your raspberry juice for color and check for creaminess. If it's too stiff the frosting will break the cake as you ice it and if it's too soft then it won't hold. Add more icing sugar or juice/milk if necessary.
Assembly
- Remove your cooled cake and cut off the tops with a serrated cake knife.
- spread frosting evenly on the first layer and then add about 1/2 of raspberry compote that you made. Spread it evenly on this layer
- Repeat with the second layer and finally top your third frosted layer. Frost the sides of your cake with your spatula.
- Top your cake with additional raspberries and chamomile and enjoy!
Notes
- *overmixing your batter can create a dry cake batter when it comes out of the oven.
- **I usually double the batter for all my cakes because I love making more layers and having them high.
- ***Before pouring my batter into a bowl I tare the bowl on a kitchen scale and then weigh just the batter so I can remove half the batter. This will ensure that the bake is even and you have two cake sizes that are the same!
- ****If you’re not baking two separate cake pans then just pour into one cake pan and bake for 45 -50 minutes.
Nutrition
© sculptedkitchen.com. All content and images are protected by copyright. Please share this recipe using the share buttons provided. Do not screenshot or republish the recipe or content in full. instead, include a link to this post for the recipe.
